3D printing is awesome. Nobody argues with that. What nobody tells you is how steep the learning curve actually is. I wasted more filament in my first month than I care to admit.
Here are 10 tricks I’ve picked up the hard way. They’ll help you get cleaner prints and dodge the mistakes that cost me real time and money early on.
Photo Gallery
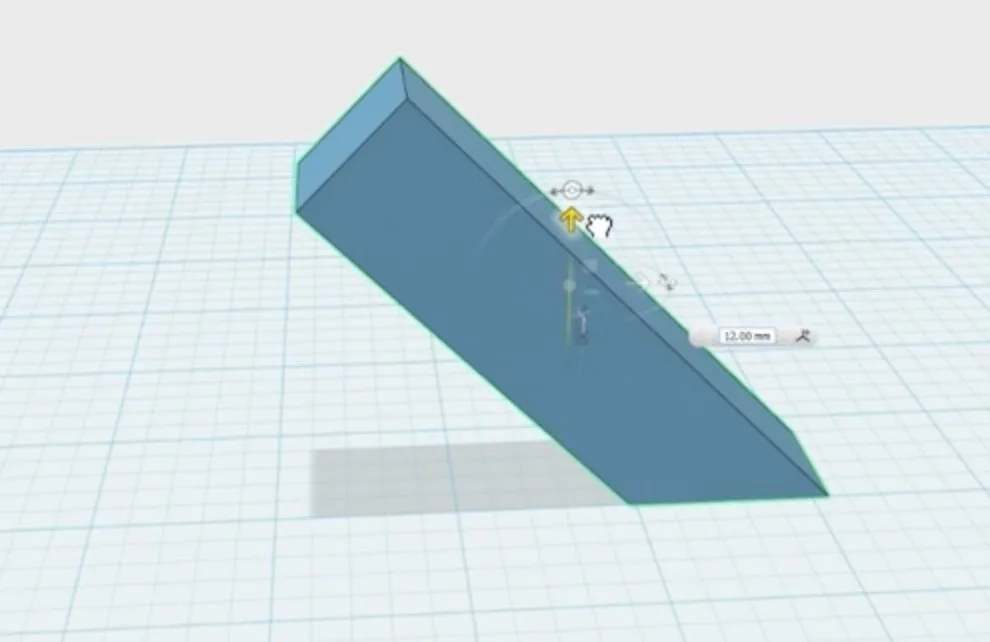
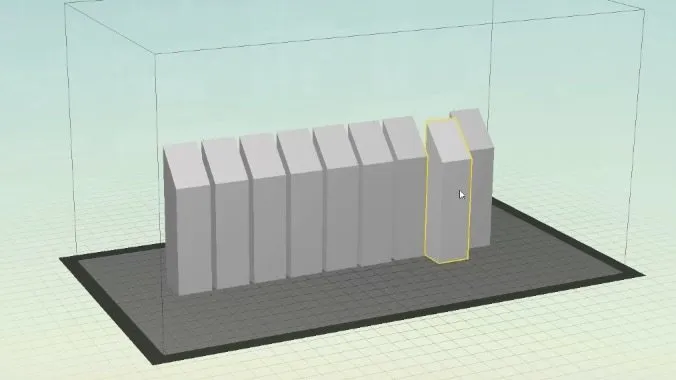

1. Design Your Projects To Print Without Support
This sounds harder than it is. Take a look at the basic shape I designed in the image below.
Most 3D printers can handle overhangs up to roughly 45 degrees without breaking a sweat. Keep every angle in your design below that threshold and you can skip support material entirely.
Good bed adhesion matters here, obviously. It also helps to make sure oblong objects have their center of mass sitting right over the point where they touch the bed.
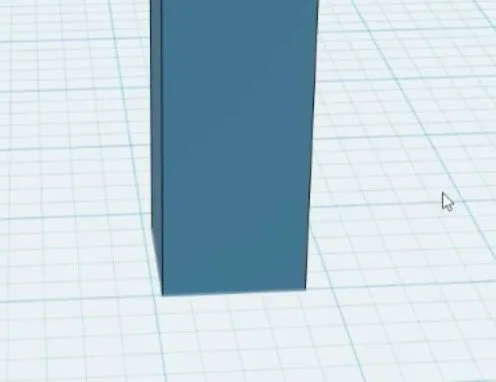
2. Don’t Print Long Edges
Don’t print objects along their longest edge. This got less problematic once PLA became widely available, since it curls less than ABS plastic.
But prints with a long flat edge touching the bed are still prone to peeling. Even PLA isn’t immune.
The fix is dead simple: rotate your model so the shorter edge contacts the bed instead. Just that one change makes the whole print dramatically more reliable.
3. Adhesion
Adhesion issues are probably the number one complaint in every 3D printing forum. People recommend glue sticks, hairspray, and a dozen other “hacks.”
Most of them overcomplicate the problem.
The actual fix is simpler than you’d expect.
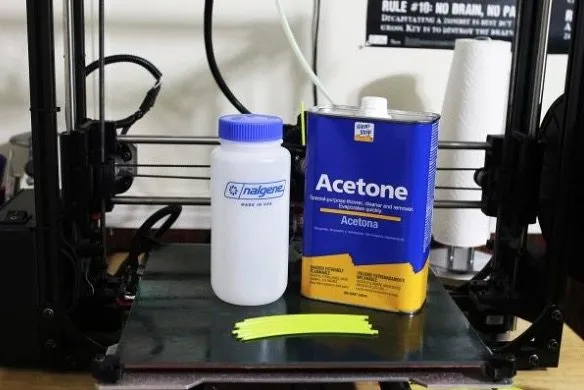
On the MakerBot 3D Printer, the bed slides right out, which makes this easier. PLA generally behaves well on its own, but ABS really grabs on to the bed surface.
Here’s my ABS trick: pick up some acetone from the drugstore. Splash a small amount on your print bed and press an old ABS print down onto it.
The bottom of that old print melts just enough to leave a thin coating of ABS plastic stuck to the bed.
Once it dries, your bed is perfectly prepped. New ABS prints will grab right on. Just don’t go crazy with it. Too much plastic will basically weld your parts to the bed, and you’ll be prying them off with a screwdriver.
Keep the layer thin and orient your object straight up and down. This method is a game changer for ABS.
For PLA, forget the tape. I know everyone swears by it, but trust me, you don’t need it.
Grab some 100 grit sandpaper (nothing too aggressive) and lightly scuff the build platform surface.
If you’re hesitant, try one corner first. Went a little overboard?
A finer grit sandpaper smooths it right back out.
That slight roughness gives PLA something to grip, and the improvement is dramatic. No tape. No sprays. No mess.
For bigger or more challenging prints, you might still want tape as a backup. But for day-to-day stuff, the sandpaper method wins every time.
4. Don’t Try To Print Too Many Of The Same Model During The Same Run
Super tempting to fill the entire bed and walk away. Don’t. One failed model can take out everything else on the platform. Once a piece breaks loose and starts sliding around, it knocks the others off balance.
You’ll come back to a mess of PLA and ABS everywhere, with every single model ruined.
It’s not just one lost print. It’s all of them. Plus a cleanup that somehow takes longer than the entire print job would have.
5. Think About The Design In All Steps Of The Printing Process
After a handful of prints, you realize designing isn’t just about the printing part. You’ve got to think about what happens after the print finishes, too.
Most printers handle a small overhang just fine. Here’s a pro tip: add a tiny lip near the bottom of your model. It gives you something to grab when prying the piece off the build plate.
Ever tried wedging a spatula under a completely flat-bottomed print? It’s miserable. That little lip saves you real frustration and takes two seconds to add in your design.
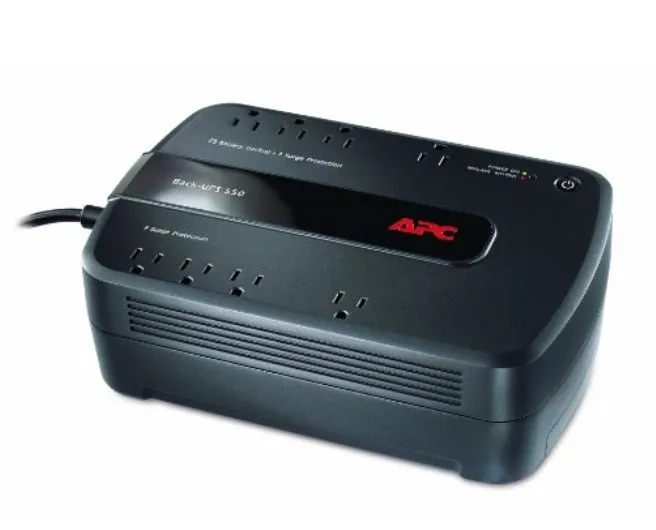
6. Use A Power Backup
I learned this one the hard way. A few minutes into a print, the power blinked off. Entire print, ruined. I was livid.
A UPS battery backup from Amazon fixes this completely.
Mine keeps the printer running for an hour or two, which is plenty to survive most outages.
No more sweating about a print that’s been running for hours while you’re in the other room. Smart investments like this are one of the many practical reasons to own a 3D printer at home.
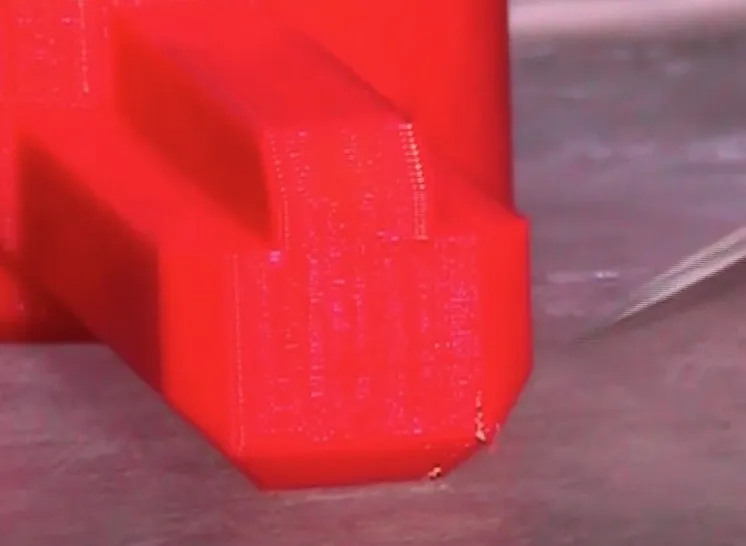
7. Learn From Failed Prints
Failed prints are inevitable. Doesn’t matter how good you are.
I still get them after years of doing this. It’s part of the hobby.
Be honest with yourself when something goes wrong. These machines are generally reliable, so when a print fails, resist the urge to blame the hardware. Look at what you did first.
I’ve got a failed ABS print from a while back that I ran on my Makerbot. Peeled right off the bed. The Makerbot isn’t really built for ABS.
You can still make it work, but I hadn’t prepped the bed properly. Should’ve used the acetone trick from step 3.
That failure was entirely my fault. After every bad print, step back and walk through your process. Find where it went wrong.
Treat each failure as a lesson instead of a reason to get frustrated. You’ll notice the failures getting less frequent over time. If you’re still in the early stages, our beginner’s guide to 3D printing covers the basics that prevent most first-timer mistakes.
8. Don’t Overthink Leveling
Bed leveling sounds intimidating but it’s honestly not that hard. Manufacturers love making it seem more complicated than it actually is.
All you’re really doing is making sure the nozzle sits the same distance from the bed at every point. Same gap everywhere. That’s it.
If the bed tilts even slightly, the low side leaves too much space for plastic to stick. The high side has the nozzle scraping the plate, which can damage both the bed and the nozzle.
That’s why leveling before each print matters. But you absolutely don’t need fancy tools.
Make sure the print head lightly touches the bed at three spots: both ends and the center. It shouldn’t be pressing down hard.
The business card trick is the simplest check I know. Slide a card under the nozzle. If it fits through with just a hint of drag, you’re dialed in.
Check all three spots. A tiny bit of friction on the card is fine, as long as it still moves.
Every printer does this a little differently. The MakerBot walks you to three points automatically. Other models might use a different method.
9. Ask Questions And Share Your Feedback With The Designers Out There
Speaking as someone who designs stuff: feedback is gold. It helps me understand how my designs actually work for other people. Most of the time, I have no clue what my work looks like from someone else’s point of view.
I know how it looks to me, but I’m biased. Something that feels simple in my head might be confusing to everyone else.
Thingiverse is perfect for this kind of exchange. Users post prints and get real feedback. AutoDesk has an active community too, and they even offer basic 3D software for free.
Designers genuinely want to hear from you. Nine times out of ten, they’re happy to answer questions and walk you through their thinking.
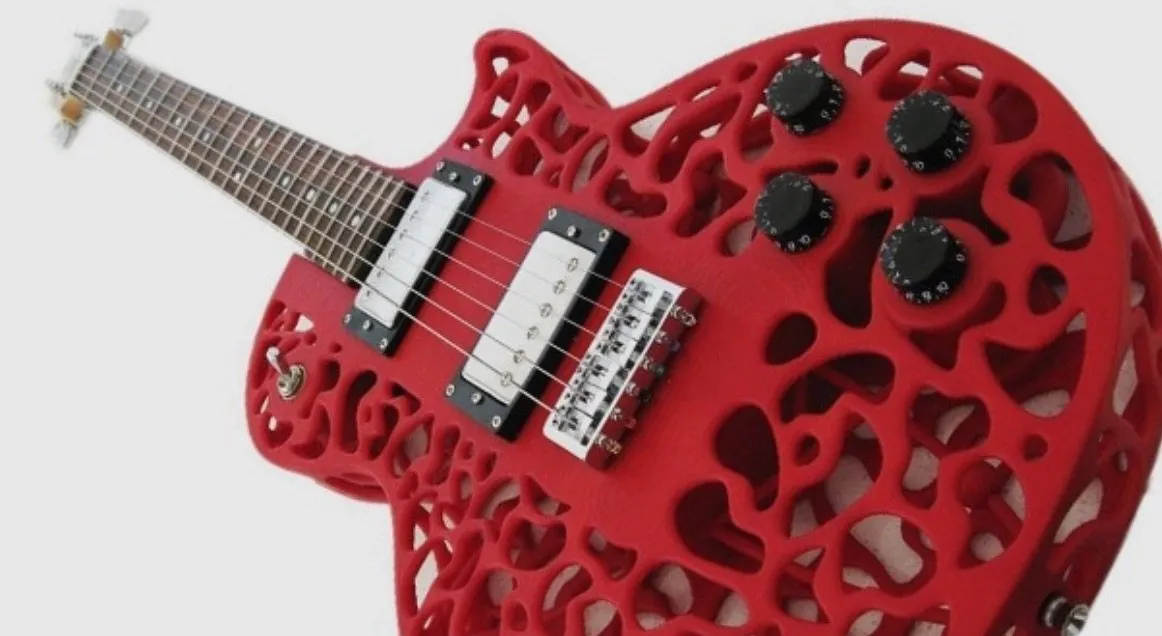
10. Think Outside Of The Box
3D printing gets really interesting once you stop thinking of it as a trinket machine. Yeah, you’ll download a bunch of stuff from Thingiverse when you first get started. Everyone does.
But this hobby goes so much deeper than printing other people’s files. The possibilities are wide open once you start thinking creatively.
Lately I’ve been using 3D printed parts as connectors between cheaper materials to build bigger projects. The concept is straightforward, and the results keep surprising me.
Stop limiting yourself to small standalone objects. Think about design combinations, mixed materials, and how separate pieces can work together. Picking the strongest filament for structural parts makes a huge difference when you’re building something that needs to hold weight. For inspiration on what’s out there, check out the 5 most amazing things people have printed with a 3D printer.
Using printed parts to connect things is way easier than you’d think. Start small. Get comfortable. Then go after the big ideas.


