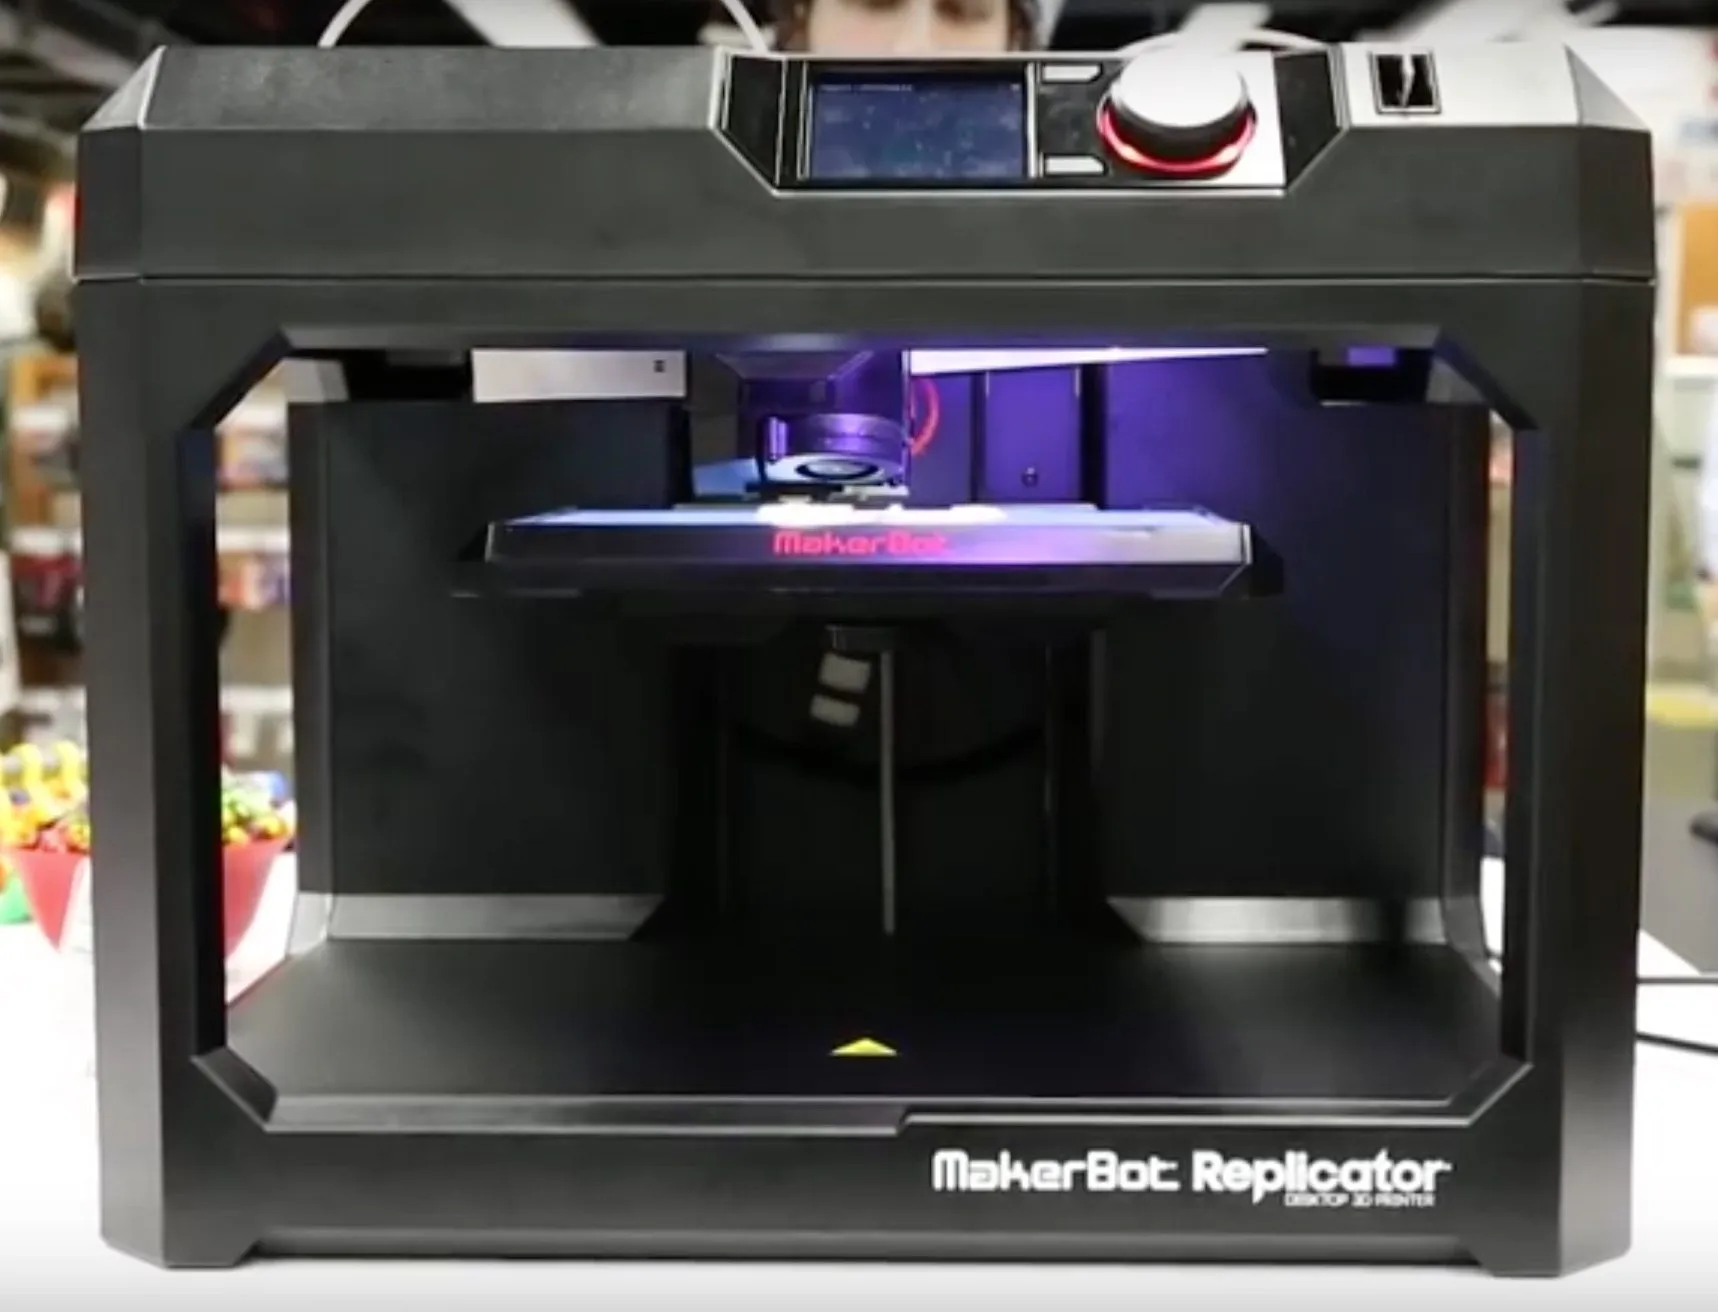
We’ll be using the Makerbot 5th Generation Replicator as our reference machine throughout this guide. We’ll walk through how 3D printing actually works, what you can make, and what matters most when picking your first printer.
Photo Gallery

Step 1: Understand How 3D Printing Works
Picture a hot glue gun. You push a solid stick of glue through a heated nozzle, it melts, and comes out the other end as a liquid.
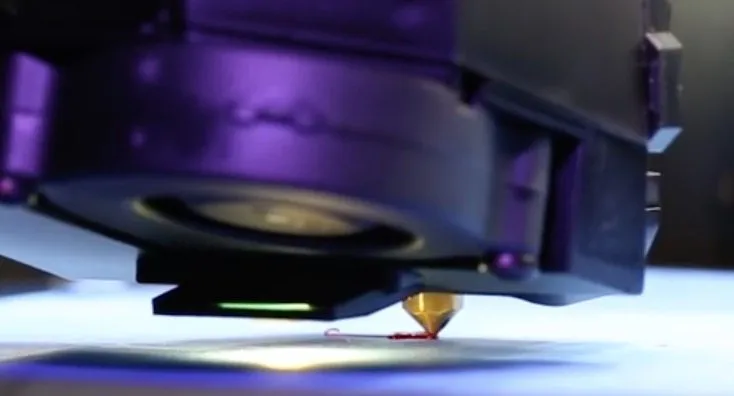
A 3D printer works on the exact same principle. You feed in a material called filament, the nozzle heats it up, and it comes out as a thin stream of melted plastic.
The difference is that instead of your hand guiding the nozzle, a motor does it with incredible precision. Software tells that motor exactly where to go.
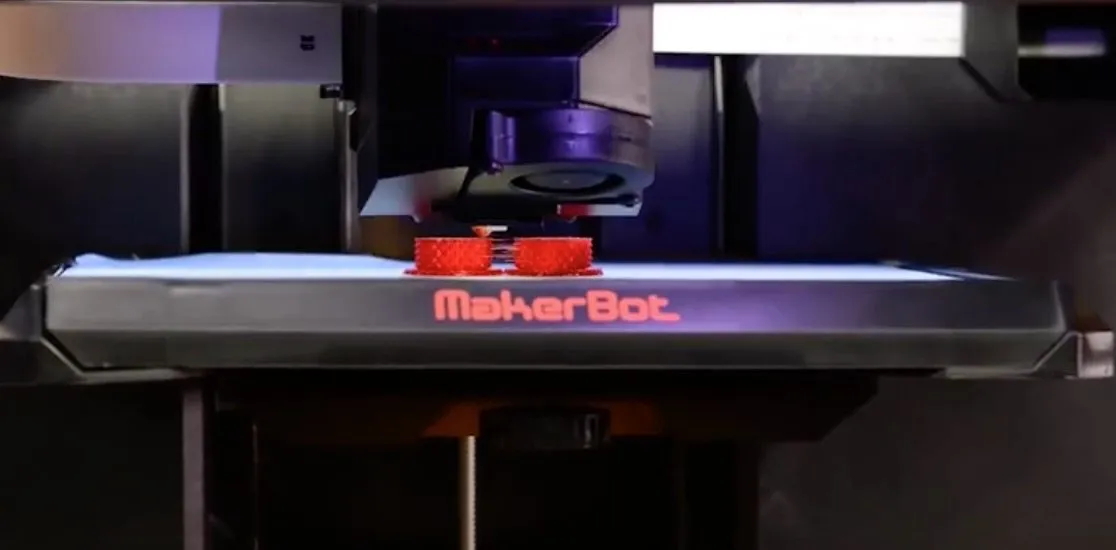
Here’s the process: you load a 3D design file into the printer. The software slices your design into layers thinner than a sheet of paper, and the printer draws each layer in melted filament, stacking them one on top of the other. Layer by layer, a real 3D object takes shape right in front of you.
Most desktop printers handle two colors these days, and a few can do three. The two most popular filaments are ABS (the same plastic Legos are made from) and PLA, a biodegradable plastic that comes from corn.
We used PLA for the bracelet and nut-and-bolt assembly shown later in this guide.
There are plenty of other materials out there too: glass, wood composites, nylon, flexible filaments. Not every printer can handle every material, but commercial-grade machines can even work with metals and other advanced materials. If you’re curious which ones hold up best under stress, our guide to the strongest 3D printer filaments breaks it all down.
Step 2: Discover What You Can Make
Manufacturers have been using 3D printers for decades to build prototypes. Instead of mailing designs back and forth between engineers and factories, burning through weeks and thousands of dollars, you can create a product and hold it in your hands the same afternoon.
Need to tweak something? Change it on the spot with almost zero wasted material.
Architecture and industrial design are the obvious use cases. But people have printed everything from prosthetic limbs to electric cars at this point, and our list of 5 jaw-dropping things made with a 3D printer shows just how far things have come. What surprised me is that schools are now some of the biggest buyers of 3D printers.
Students aren’t just staring at diagrams of pyramids or zoning out during lectures anymore. They’re building 3D models, labeling the parts, and physically picking them up to study. It’s a completely different way to learn.
At home, you can go practical or just have fun with it. Print a phone holder. Make a replacement part for something that broke around the house. Fix stuff instead of buying new. Some people even print cookie cutters, utensil holders, and other kitchen items, though you’ll want to make sure you’re using food safe filament for anything that touches what you eat.
Got an idea for a gadget? Prototype it yourself.
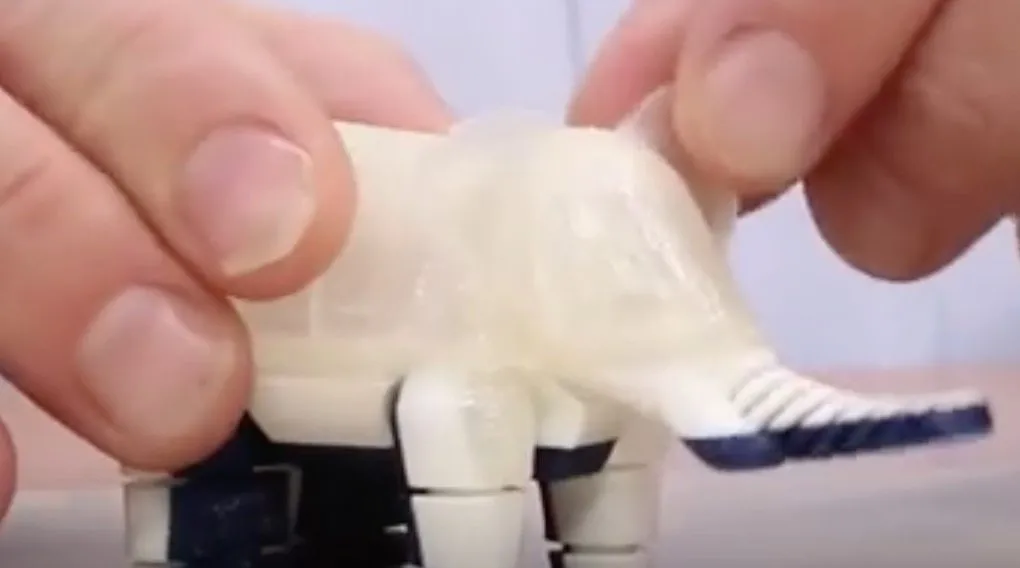
Or just make toys and jewelry for fun. That white elephant in the photos above? Single print, no assembly required.
Step 3: Learn About 3D Scanning
This is where it gets really cool. You can scan a real-world object and print an exact replica. Your kid’s first shoes. A custom wedding cake topper. Pretty much anything you can hold.
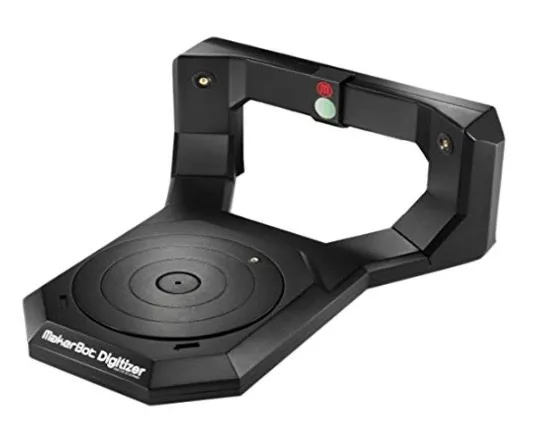
The MakerBot Digitizer 3D Scanner is one way to do it.
A handheld scanner can capture objects up to ten feet across in any direction. You’ll obviously need to scale things down before printing, but the detail these scanners capture is impressive.
For design software, you’ve got plenty of choices. Build your own models in CAD, sculpt something from scratch, clean up a scanned image, or skip the design work entirely and download from thousands of free and paid 3D files online.
There’s a solid mix of free and commercial tools for building, sculpting, prepping, and positioning your designs before they go to the printer.
Step 4: Understand Resolution
Resolution is worth understanding early on because it makes a massive difference in your finished prints. It refers to the thickness of each layer the printer puts down.
Thinner layers mean smoother, more detailed surfaces. Thicker layers print faster but leave visible lines you can see and feel.
It’s always a tradeoff. Printing at 50 microns lays down way more layers than 200 microns, which means roughly 4 times the wait. You’ve gotta decide what matters more: speed or detail.
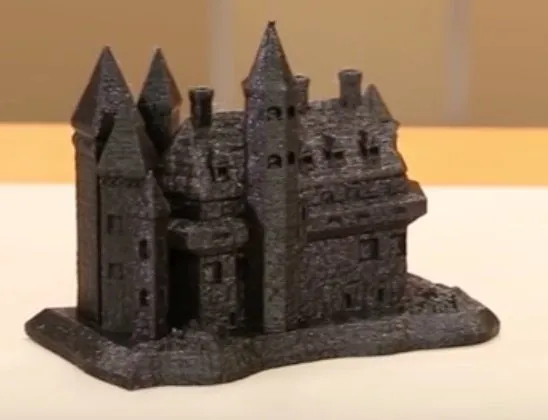
That castle in the photos was printed on the Makerbot 5th Generation Replicator at 100-micron resolution. Even at that mid-range setting, it took about 5 hours.
Once your design file is ready, prep the printer. Lay painter’s tape on the bed so you can remove the finished piece cleanly.
Power on the machine and feed filament into the extruder. Heating up takes 5 to 20 minutes depending on the printer and the temperature your filament needs.
Most printers handle calibration automatically, though some make you level things by hand. After that, you’re good to go.
Load up your design and watch the printer turn a digital file into something you can actually hold.
Step 5: Prepare and Send Your Print File
Transfer your file to the printer through USB, or just pop in a flash drive or SD card. A handful of models support WiFi, though that’s still pretty rare.
Then you sit back and watch. It’s honestly mesmerizing to see the layers go down one by one. The 5th Generation Makerbot Replicator even has a built-in camera that records the entire print, which is great for showing people what you’ve been up to.
Expect a learning curve. Your first few prints probably won’t be perfect, and that’s normal. But it gets easier quickly, and before long the whole process feels routine. If you’re still on the fence about whether to buy one, our breakdown of 7 reasons to own a 3D printer at home covers the practical benefits.
Don’t stress about filament costs either. The stuff is dirt cheap.
Once your print is done, you can sand it smooth, glue multiple pieces together for bigger projects, or paint and drill it for custom finishes. That’s where the real fun starts.
Step 6: Choose Your 3D Printer
When you’re ready to buy, it really comes down to two things:
- How big do I want my prints to be?
- What material am I going to use?
The first question is pretty self-explanatory. For the second, most beginners are choosing between ABS and PLA plastic.
ABS is tough, slightly flexible, and great for functional parts. The downside is it gives off fumes while printing, so you’ll want a well-ventilated room or an enclosed printer.
PLA doesn’t have that smell problem, though it’s a bit more brittle and melts at a lower temperature. We used PLA for most of the demo prints in this guide.
Here are some machines we’d recommend depending on where you’re starting:
- For hobbyists or total beginners, the MakerBot Replicator Mini is a great pick. Pre-assembled, fits on a desk, and prints at a solid 200-micron resolution.
- Ready to step it up? The MakerBot Replicator 2X gives you higher resolution for more detailed projects.
- Need a big build area? The Makerbot Replicator Z18 lets you go up to a foot on X and Y, and a foot and a half on Z. It’s a beast.
- On a tight budget, a 3D printing pen is a cheap way to get your feet wet. It’s completely hand-controlled though, so steady hands help.
- The CubeX Trio 3D Printer can run 3 prints at once, which is a pretty unique feature at this price range.
Conclusion
3D printers aren’t just for factories and engineering labs anymore. They’re in living rooms, classrooms, and home offices all over the place.
If you want to skip the rookie mistakes, check out our essential 3D printing tips and tricks before your first print. And if the first few don’t come out great, don’t sweat it.
You’ll pick it up faster than you think.


