 review
 FlashForge Creator Pro Review: Half the Price, Same Quality?
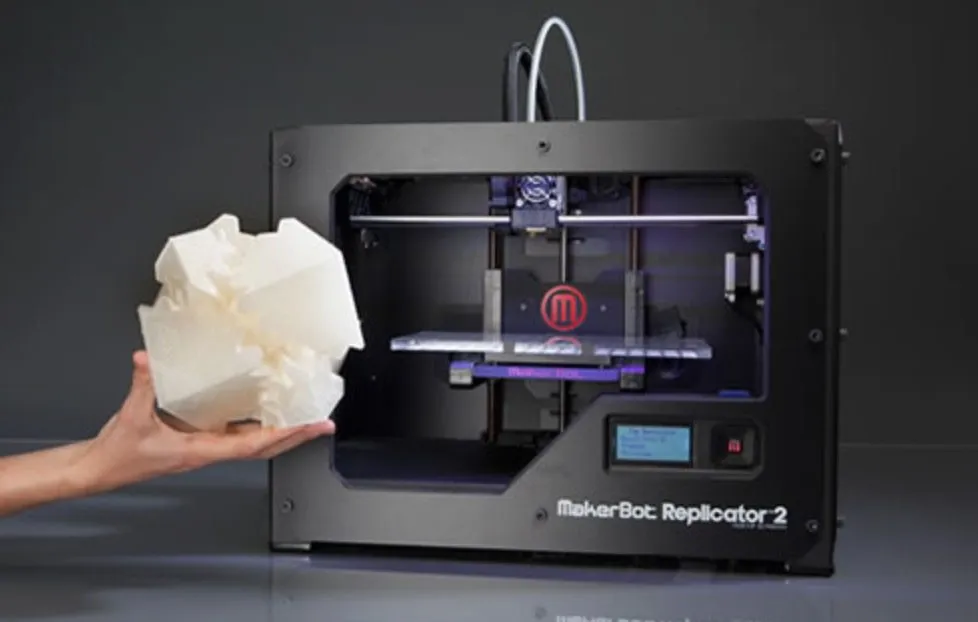
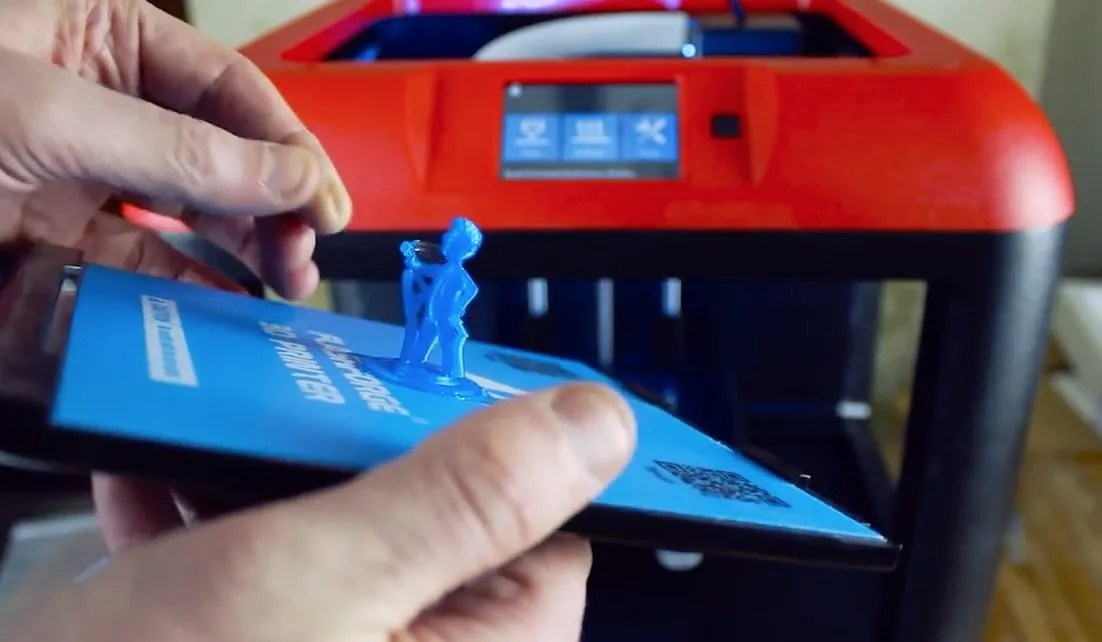
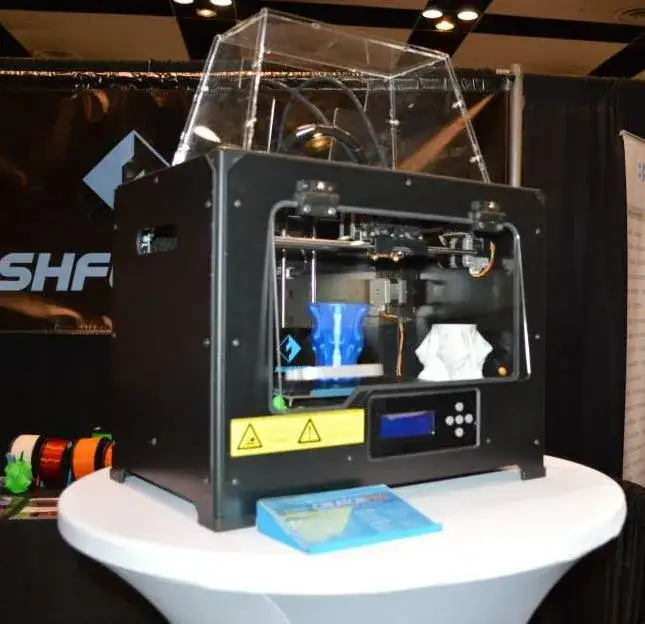
It's basically a MakerBot Replicator clone at half the price. But is the FlashForge Creator Pro actually as good? We tested it to find out.
Hands-on printer reviews where I actually use the machine for weeks before writing about it. No spec-sheet summaries here.
We may earn a small commission through links on this page, at no extra cost to you. As an Amazon Associate, we earn from qualifying purchases. Ratings reflect our own editorial evaluation.
I've lost count of how many 3D printers I've unboxed, put together, dialed in, and run through the wringer over the years. And after all that time with my hands on these machines, the thing that separates a great printer from one that'll drive you crazy is build quality.
A rigid frame means your prints stay consistent, vibration stays low, and the machine holds calibration for months even under heavy use. The MakerGear M2 is a textbook case of what a solid steel frame does for print consistency.
Print resolution matters, sure. But not nearly as much as the marketing departments want you to believe. Pretty much any FDM printer on the market today can do 100-micron layers without struggling.
Where printers actually separate themselves is consistency at that resolution, print after print, without you standing over it the whole time. I've watched $300 machines match $1,200 printers on a single test piece, then completely fall apart after a week of real use.
Speed is always the first thing people ask me about. I get it. Nobody wants to sit around for 9 hours waiting for a phone case.
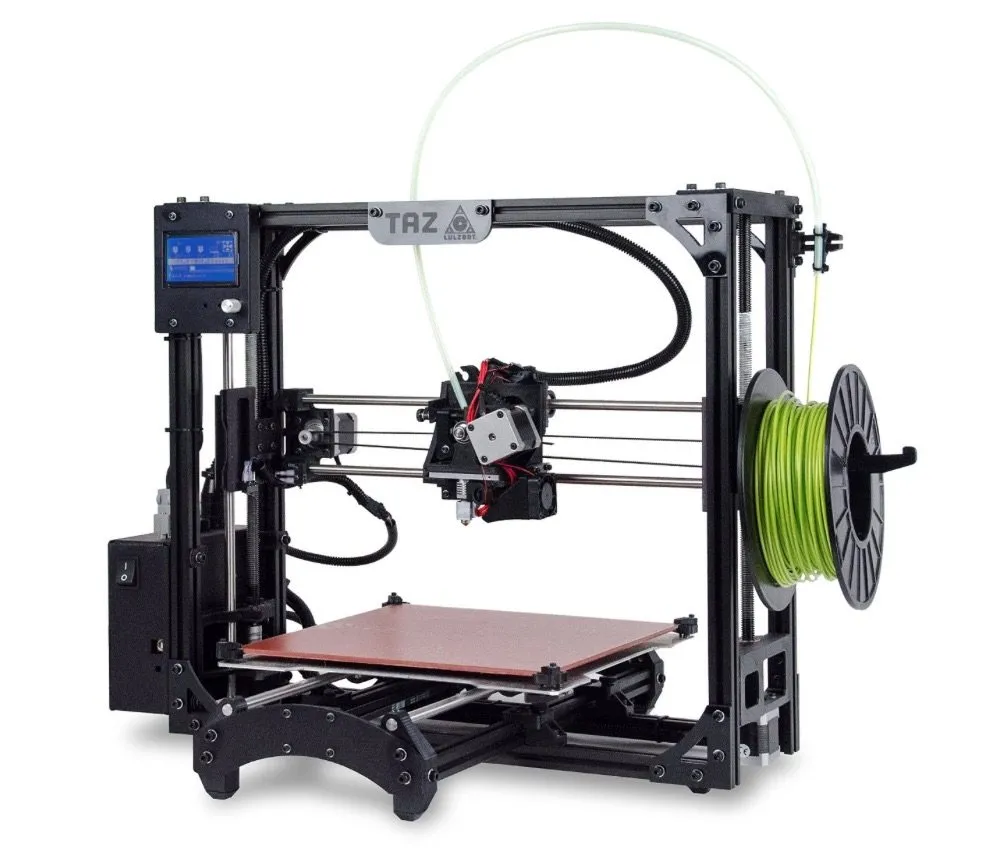
The LulzBot TAZ 5 cranked through our standard test model in about half the time of most competitors, which honestly caught me off guard. Speed without quality is pointless though, so we always evaluate both at the same time.
Material compatibility is where it starts getting fun. Budget printers can handle PLA without any trouble, but throw ABS, PETG, or anything unusual at them and things go sideways fast.
Printing nylon, polycarbonate, or flexible filaments means you'll need a heated bed, an enclosed frame, and a hot end that reaches past 250 degrees Celsius. That eliminates a lot of options pretty quickly.
Before getting into the individual reviews, it's worth understanding the three main printer types we put through testing. Each technology brings its own strengths and compromises that affect everything from print quality to how pleasant it is to use day to day.
This table gives you a fast look at how the three technologies compare on the stuff that actually matters.
| Feature | FDM (Filament) | SLA (Resin) | Delta |
|---|---|---|---|
| Technology | Melts plastic filament layer by layer | UV light cures liquid resin | FDM with 3-arm parallel motion |
| Typical Resolution | 50 to 300 microns | 25 to 100 microns | 50 to 200 microns |
| Print Speed | Moderate | Slow to moderate | Fast (less moving mass) |
| Build Volume | Small to very large | Small to medium | Medium (tall and cylindrical) |
| Material Cost | $15 to $50 per kg | $30 to $80 per liter | $15 to $50 per kg |
| Post-Processing | Minimal (remove supports) | Wash and cure required | Minimal (remove supports) |
| Best For | General prototyping, functional parts | Miniatures, jewelry, dental | Tall objects, speed printing |
| Beginner Friendly | Yes (most models) | No (resin handling required) | Moderate (calibration needed) |
| Noise Level | Moderate to loud | Very quiet | Moderate |
| Maintenance | Nozzle cleans, belt tension | Resin tank replacement, screen wear | Belt tension, rod lubrication |
FDM printers dominate our reviews because that's what most people end up buying. They're versatile, they won't break the bank, and filament is simple to store and swap out.
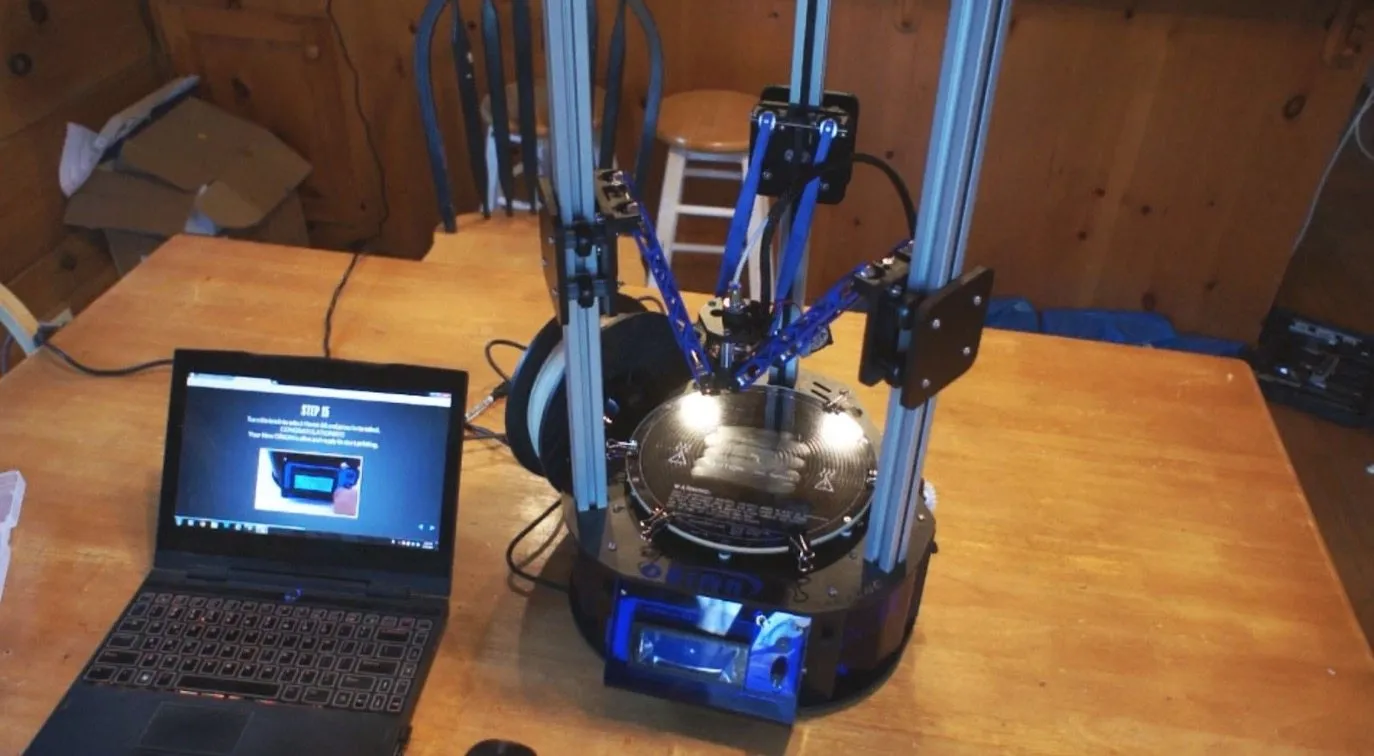
SLA printers produce the sharpest detail we've seen from anything we've tested, but dealing with resin and the cleanup process isn't everyone's cup of tea. Delta printers like the Orion Delta are wild machines that swap a standard square bed for raw speed and impressive height.
Every printer that lands on our doorstep gets put through the exact same process. I crack open the box, follow the manufacturer's setup instructions word for word, and write down every step along the way.
If setup takes three days and basically requires a mechanical engineering degree, that ends up in the review. If I'm printing within an hour of slicing open the box, that goes in there too.
Our go-to test print is a detailed 4.5-inch model packed with overhangs, bridges, fine text, and curved surfaces. We print it at several quality settings and time every single one.
Then we get up close under magnification, checking for layer consistency, stringing, and surface finish. Every printer runs through this test at least three times so we can see how repeatable the results are.
One print doesn't really tell you much though. We spend a minimum of two weeks with every printer before writing anything.
Some printers, like the MakerGear M2, stuck around on our bench for over two years because the long-term reliability story was too important to skip. Most of our reviews reflect at least 20 to 30 hours of actual printing.
We test the software too, along with how fast customer support responds and whether replacement parts are actually available. A printer is only as useful as the ecosystem backing it up.
Every printer gets an overall score out of 10. This isn't some number we made up on the spot. It's calculated from five individual category scores, each rated out of 10, weighted equally.
Here's what each score range looks like in the real world.
We save this score for printers that genuinely blew us away across every metric. Outstanding print quality, weeks of reliable operation, and barely any issues right out of the box.
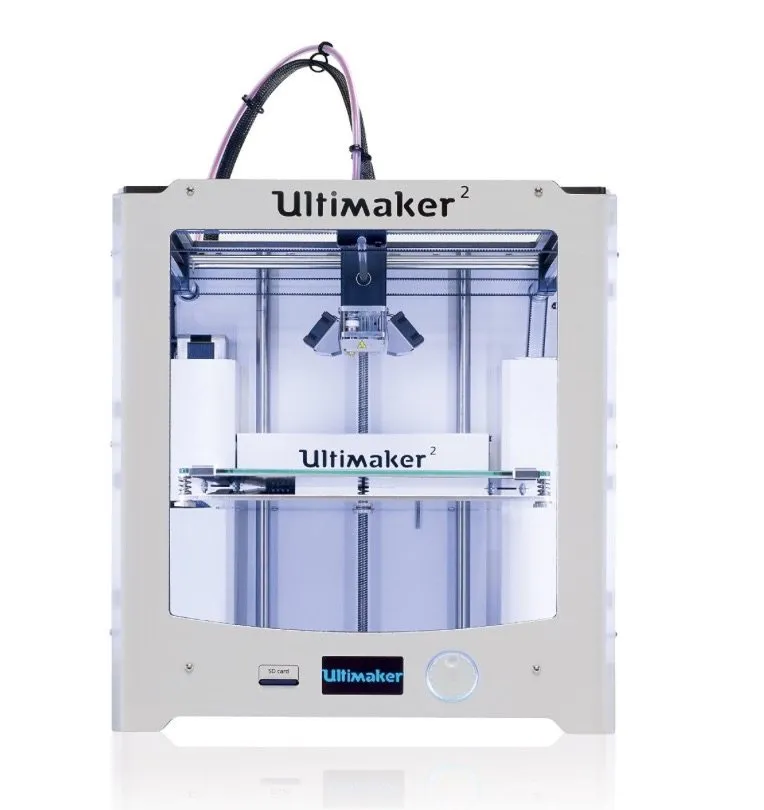
Hardly any printers reach this level. The Ultimaker 2 is one of those rare machines that came within striking distance of a perfect 10 in nearly every category we measure.
This is where the workhorses land. These printers handle most things well with maybe one or two spots where they come up short.
If a printer scores here, it's one I'd happily recommend to a friend. The FlashForge Creator Pro is a great example: it scored well consistently without any single area pulling it down.
Printers here have obvious strengths but real weaknesses too. They might produce gorgeous prints but break down constantly. Or they're built like tanks but the output looks mediocre.
I'll always spell out exactly what dragged the score down so you can figure out whether those issues matter for what you're doing.
A score under 5 means something is fundamentally broken. Maybe the hardware keeps failing, the software is a mess, or the company doesn't bother answering support tickets.
Writing negative reviews isn't my favorite part of this job. But I'd rather tell the truth than watch someone burn hundreds of dollars on a machine that'll end up gathering dust.
We grade on five categories: print quality, ease of use, build quality and reliability, software experience, and value for money. Each one counts equally toward the final number.
Print quality covers resolution, consistency, and how the printer handles tricky geometry. Ease of use looks at setup time, daily operation, and how much fiddling you need to do for decent results.
Most of our reviews center on FDM (Fused Deposition Modeling) printers since that's what the vast majority of people are buying and using. These machines melt plastic filament and build objects one layer at a time.
They run anywhere from $200 kits to $2,000+ professional units, and we've tested across that whole range.
We cover SLA (Stereolithography) printers too, for folks who need incredibly fine detail work like jewelry, dental models, or miniatures. SLA works by curing liquid resin with UV light, and the level of detail you can get is honestly stunning.
The downside is messier cleanup and pricier materials. For most hobbyists, FDM is still the smarter starting point.
Delta printers hold a special place for me personally. They run on three arms instead of a traditional XY gantry, which lets them be surprisingly quick and print impressively tall.
The Orion Delta was one of the coolest looking machines we've had in the lab, and that circular print bed turned out to be genuinely useful for vase-mode prints and cylindrical objects.
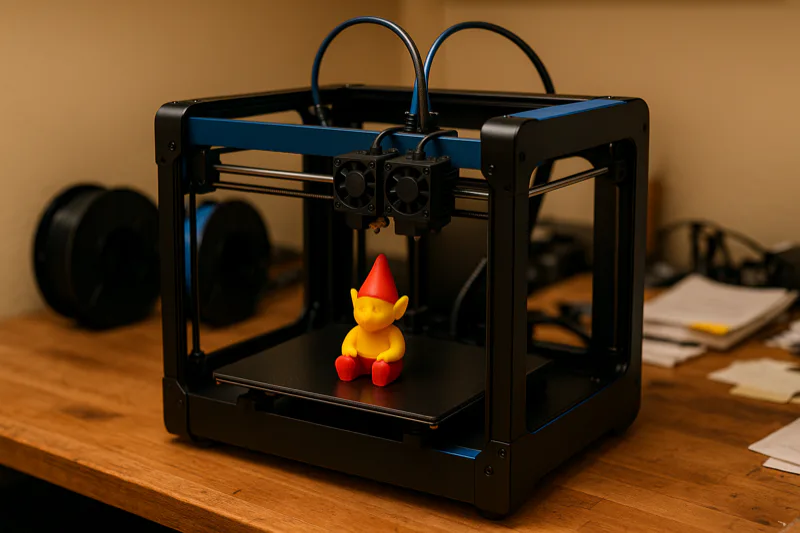
Dual extruder printers let you run two materials at once. That opens up multi-color prints and dissolvable support structures. The QIDI Tech I is a solid pick if you want dual extrusion without emptying your wallet.
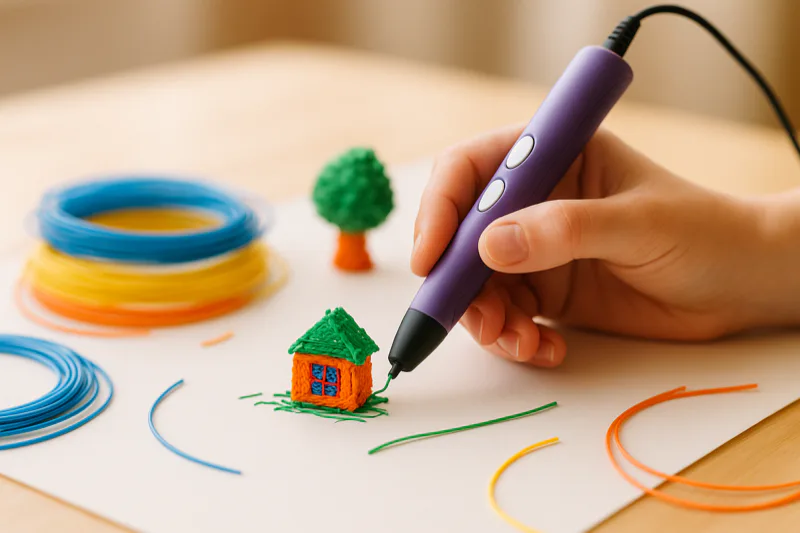
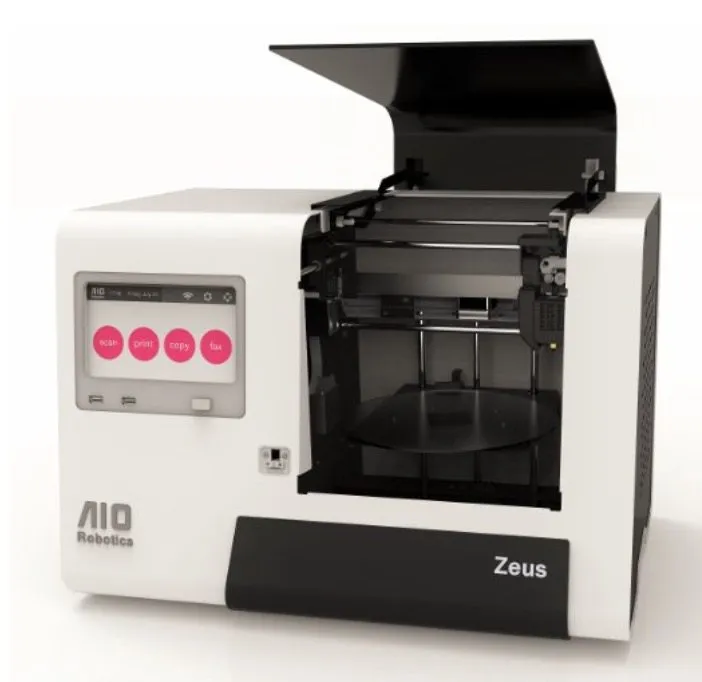
We've tested enclosed printers, open-frame kits, all-in-one machines like the AIO Robotics Zeus, and even 3D printing pens like the Samto Stereoscopic Pen.
We don't pick favorites when it comes to brands. Every printer goes through identical testing, identical scrutiny, and gets the same honest take at the end. Here's what years of hands-on testing have taught us about each one.
FlashForge keeps delivering excellent value no matter which model you grab from their lineup. There's a reason they've gotten so popular: their printers just work.
The Creator Pro is a dual-extruder workhorse that seriously outperforms its price tag. That enclosed metal frame stops ABS prints from warping, and the heated build plate gets up to temperature fast.
Their Creator X takes the same basic approach and tightens everything up with better build quality and a redesigned extruder. It's the natural next step if you already love the Creator Pro.
If you're brand new to this, the FlashForge Finder is hands down one of the simplest printers we've ever used. Touchscreen, WiFi, and we had clean prints rolling off it within minutes of opening the box. It's the printer I point first-timers to more than anything else.
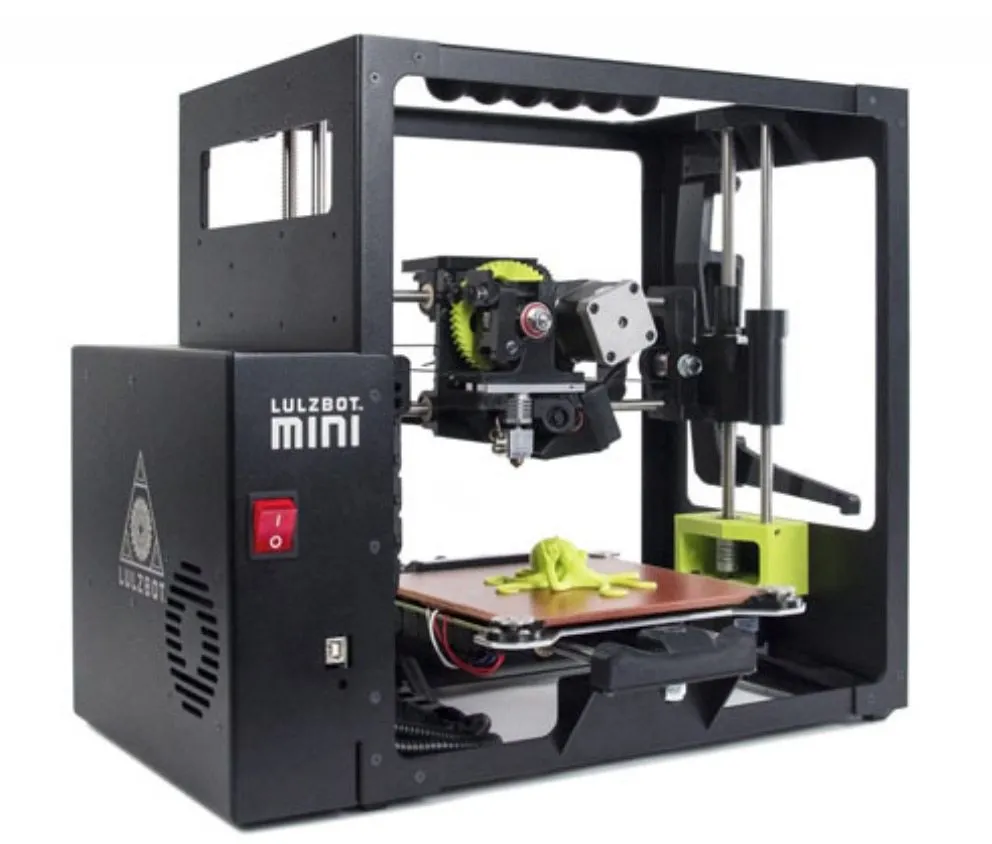
LulzBot makes open-source machines built to go the distance. Their dedication to open hardware and software means you're never stuck buying proprietary filament or hunting down special parts.
The TAZ 5 is an absolute unit with one of the biggest build volumes in its class. It chewed through everything we fed it, from basic PLA to bendy NinjaFlex, without missing a beat.
Their LulzBot Mini crams a lot of that same capability into a smaller, cheaper package. The auto-leveling on the Mini is among the best we've tested. It uses electrical contact with the nozzle tip to probe each corner of the bed.
Ultimaker goes all in on premium engineering, and you feel it the second you pull one from the box. These are gorgeous machines that feel like proper professional tools.
The Ultimaker 2 scored higher in our reviews than just about anything else we've tested. Print quality was fantastic at every resolution, the Bowden extruder ran butter-smooth, and the machine stayed calibrated for months without a single adjustment.
If you're a professional or a dedicated hobbyist chasing the best FDM print quality available, Ultimaker is the bar that everyone else is trying to clear.
MakerGear builds absolute tanks. The M2 lived on our test bench for over two years, and it was still churning out perfect prints the day we finally pulled it from active service.
What puts MakerGear in its own lane is the mechanical design. The M2's all-metal frame, precision linear rails, and direct-drive extruder create a platform that honestly feels like it belongs in an industrial setting, not sitting on a hobby desk.
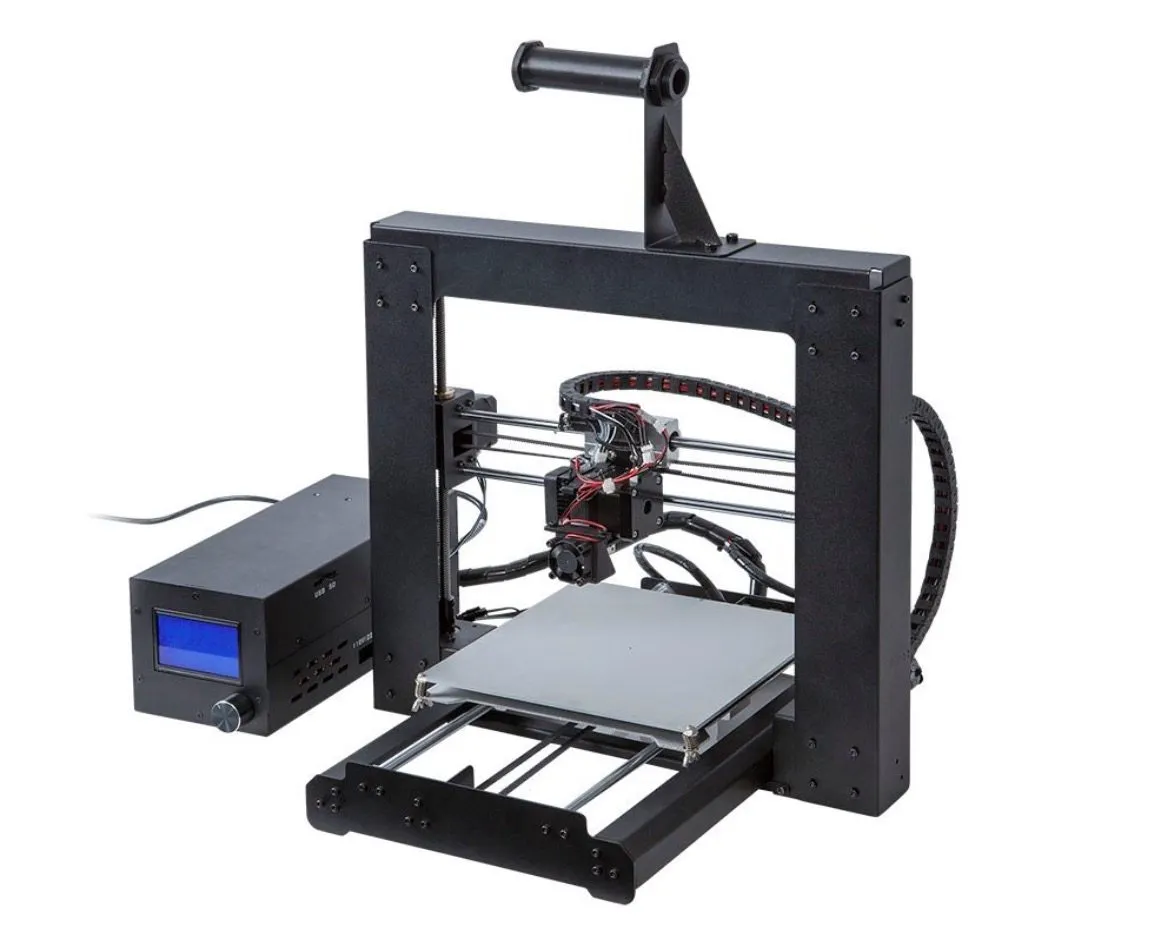
Monoprice carved out a reputation by shipping surprisingly good printers at rock-bottom prices. The Maker Select is flat out one of the best values in 3D printing right now.
For under $400, you're getting a heated bed, solid build volume, and print quality that goes toe to toe with machines at double the price. It's not flawless, but the value is really hard to beat.
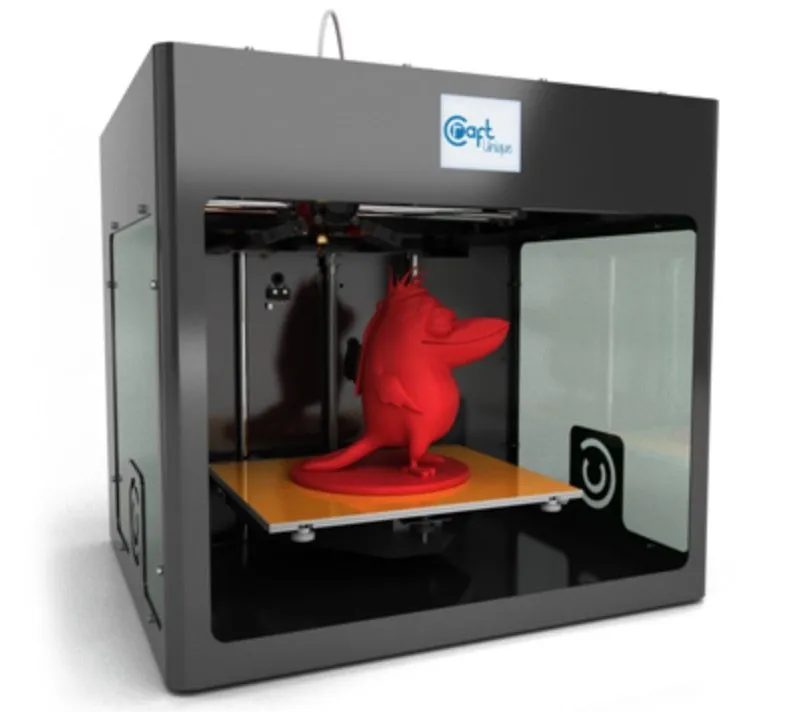
CraftBot is a Hungarian company that deserves way more attention than it gets. The CraftBot caught us off guard with its beefy metal construction and a generous build volume north of 10,000 cubic centimeters.
Their software is clean and their support team actually responds. It's a mid-range machine pumping out enthusiast-level results.
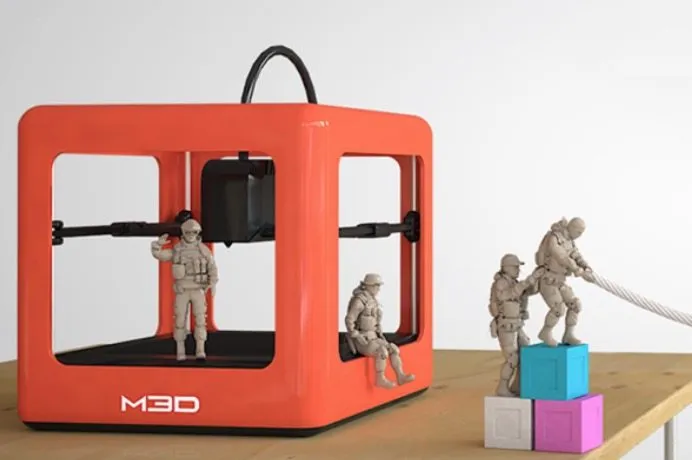
M3D came out of one of the biggest Kickstarter campaigns 3D printing has ever seen. The M3D Micro is small, cute, and legitimately capable when you stick to smaller prints.
It won't replace a proper workhorse for big projects. But as a first printer or a side machine for cranking out small parts, it fills a gap that almost nobody else bothers with.
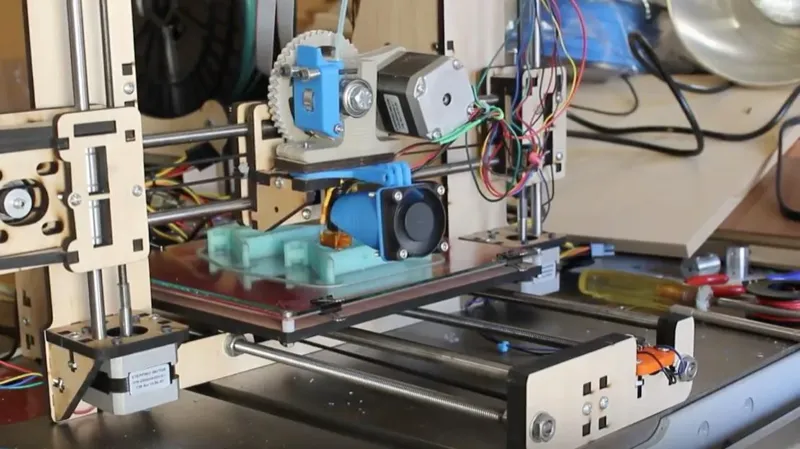
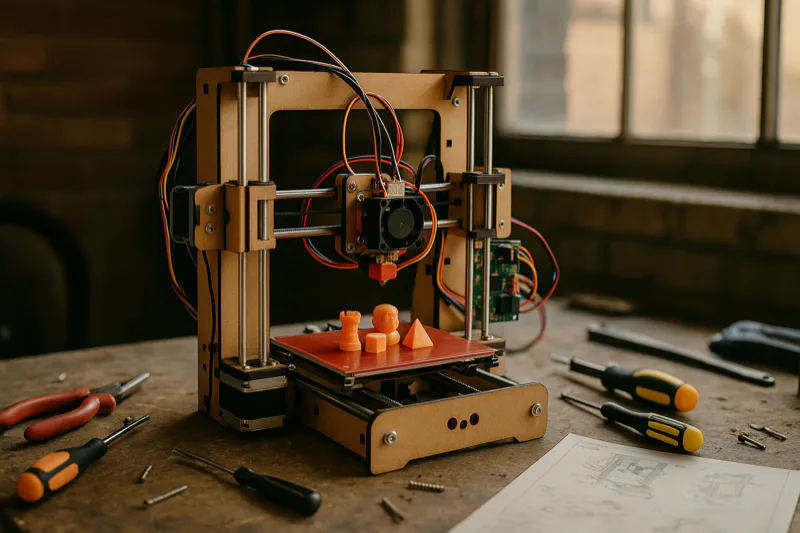
HICTOP sells budget Prusa-style kits that pack a surprising amount of learning into the build process. The HICTOP Prusa I3 needs to be fully assembled from scratch, but putting it together teaches you basically everything about how FDM printers work under the hood.
Once it's built and calibrated, print quality is genuinely impressive for what you paid. The experience isn't the most polished, but there's no better learning tool out there at this price.
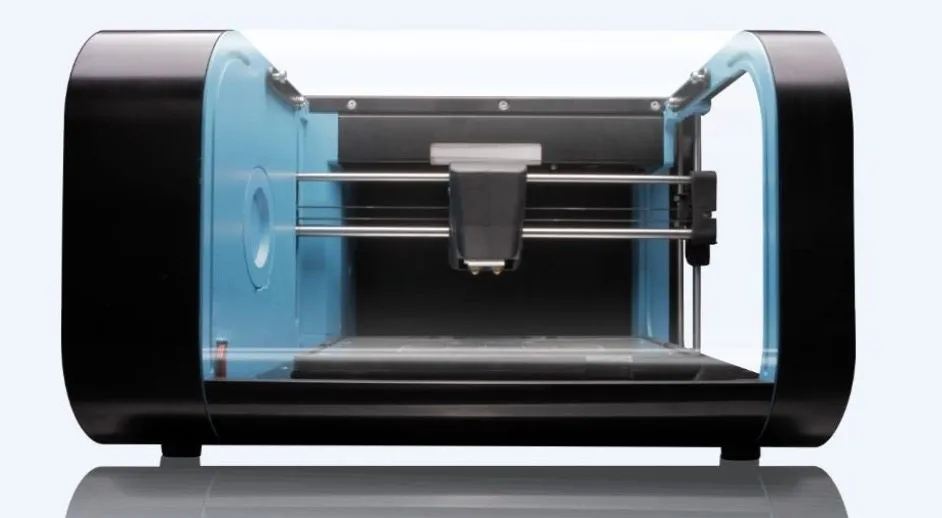
CEL designed the Robox RBX01 with enclosed, safe operation as the top priority. The lockable build chamber makes it a natural fit for classrooms and shared workspaces.
Automatic bed calibration and a filament recognition system strip away most of the guesswork. It's a really well thought out machine for places where reliability and safety come before raw output.
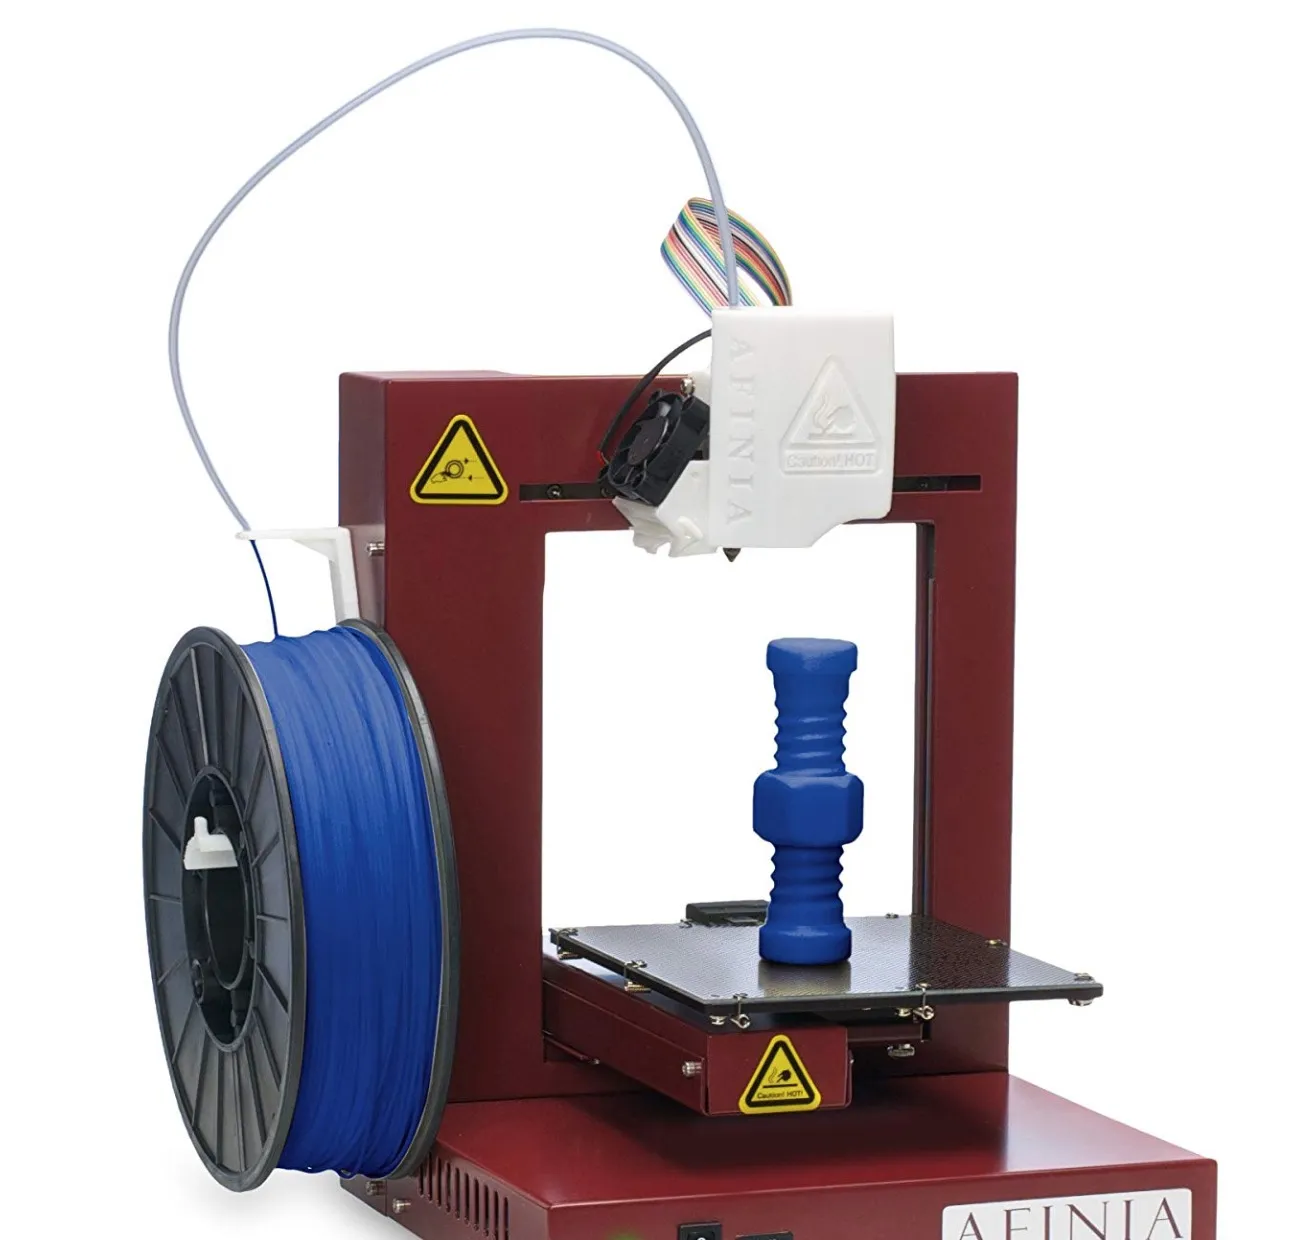
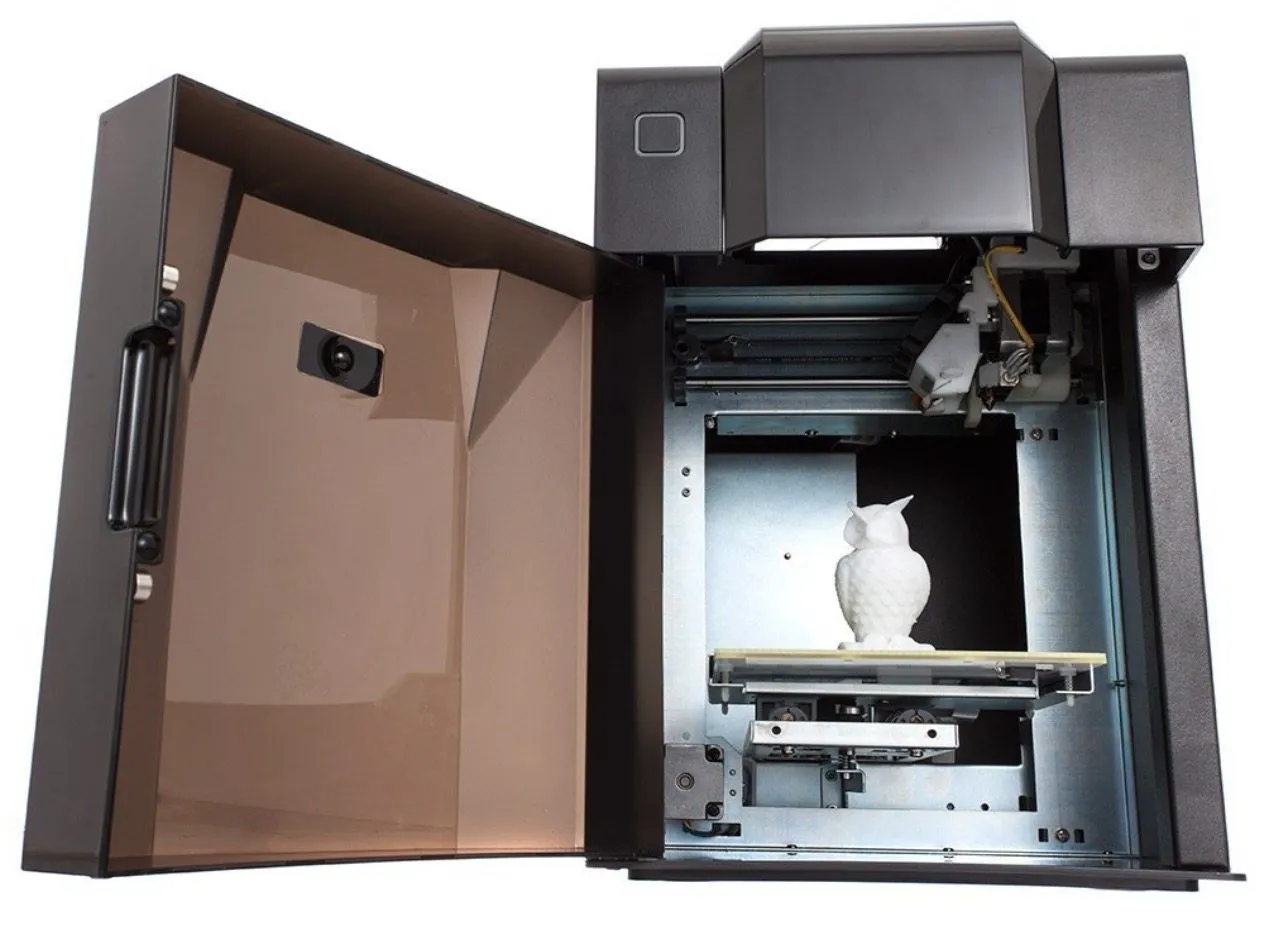
The UP Mini is one of the friendliest printers we've ever tested. It shows up fully assembled, and the plug-and-play experience honestly lives up to what the marketing promises.
Print quality holds its own for the category, though the proprietary software and filament setup can feel restrictive if you're the type who wants full control over every setting.
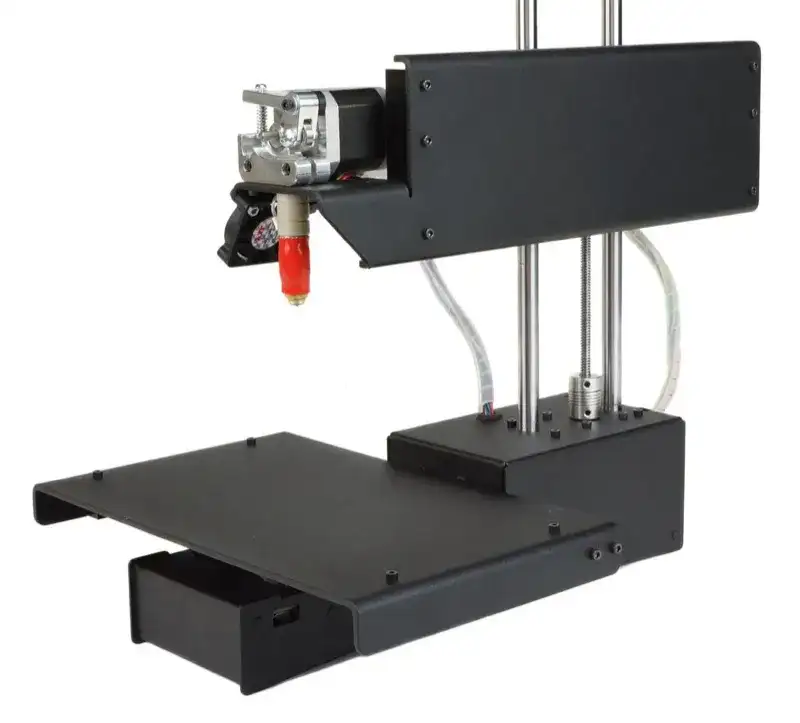
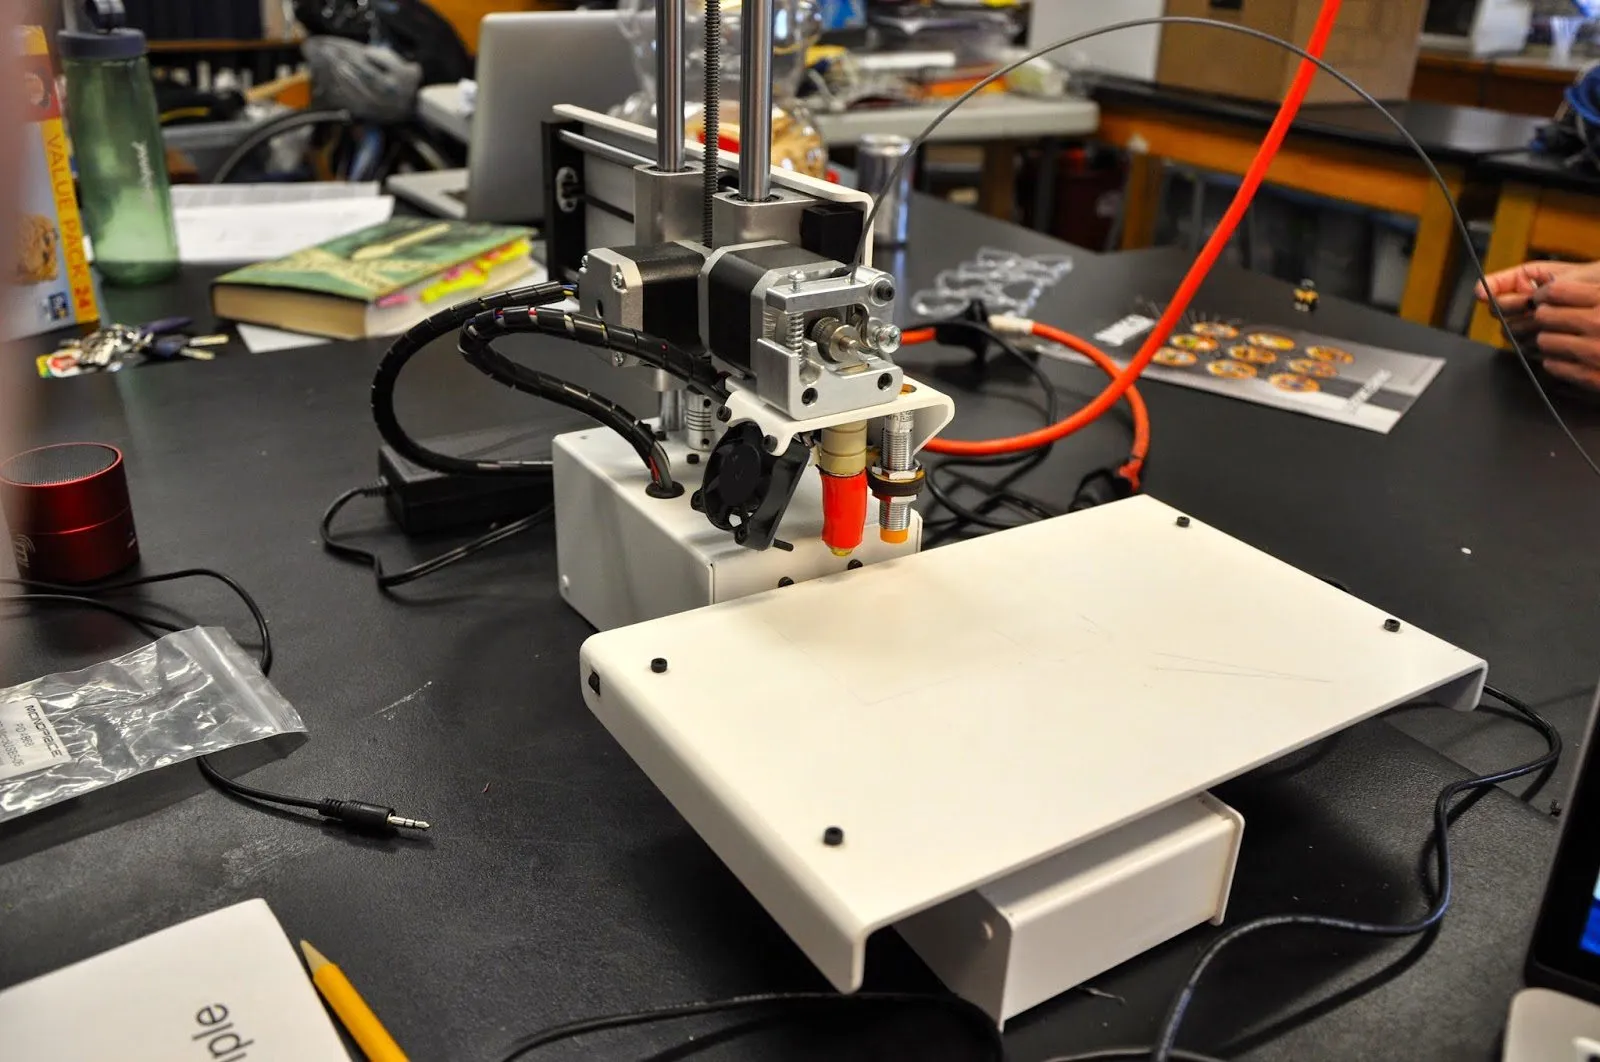
Printrbot built a loyal following with affordable, American-made printers that delivered more than you'd expect. The Printrbot Play is compact and capable, great for small desks and tight budgets.
The Simple Metal nailed the balance between price and performance with all-metal construction and an auto-leveling probe. It showed that a solidly built printer doesn't have to cost a fortune.
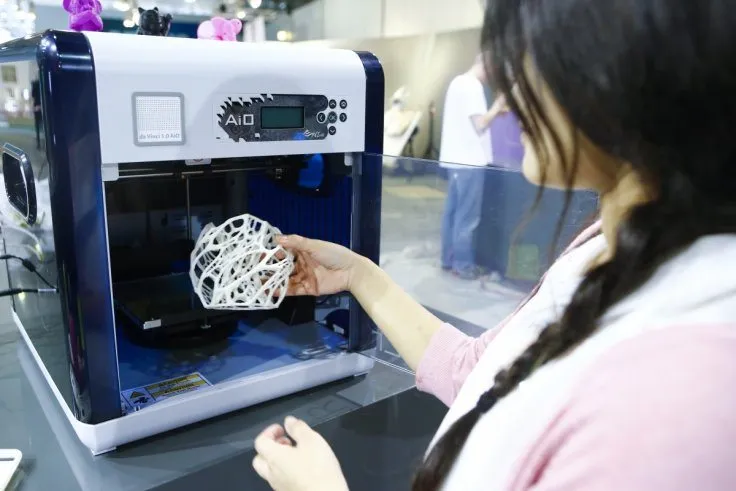
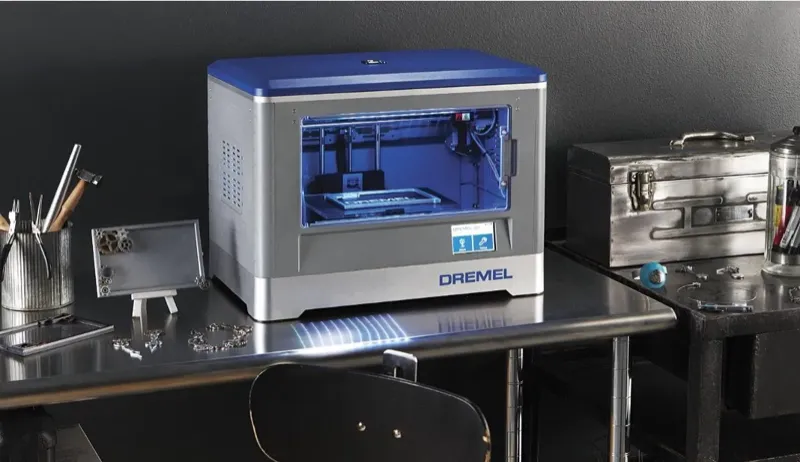
We've also put printers from MakerBot, 3D Systems, Dremel, Robo 3D, XYZprinting, Afinia, and others through our testing process. The Dremel Idea Builder brought a name everyone trusts into 3D printing, and the build quality was about what you'd expect from Dremel.
The XYZprinting da Vinci 1.0 tried to make 3D printing feel as simple as regular paper printing, with mixed but genuinely interesting results. And the Robo 3D R1 Plus packed in a large build volume at a price that undercut a lot of the competition.
I write these for actual people spending their own money on a real purchase. That means beginners who've never laid eyes on a 3D printer in person, hobbyists scouting their next upgrade, professionals sizing up machines for their shops, and teachers trying to get 3D printing into their classrooms.
If you're just starting out, I'll always be upfront about whether a printer needs technical chops or if you can genuinely pull it out of the box and start printing.
The FlashForge Finder is the go-to I keep coming back to for anyone who's never touched a 3D printer. Touchscreen, WiFi, clean prints in minutes flat.
For teachers and educators, safety features like enclosed build chambers and automatic calibration carry a lot of weight. The CEL Robox RBX01 was built with classrooms in mind, and that lockable enclosure is something I really wish other manufacturers would pick up on.
If you're a professional looking at printers for production work, I zero in on duty cycle, part-to-part consistency, and total cost of ownership across years of operation. That stuff isn't sexy, but it saves you real money.
This is where most people jump in, and truth be told, you can land a surprisingly capable machine here. The Monoprice Maker Select and M3D Micro both sit in this range and put out prints that would've run you $1,000+ just a few years back.
PLA printing should work well at this tier, but ABS can be a gamble without an enclosed frame. Expect to do some assembly and calibration work.
That's actually a positive in my book. Building the HICTOP Prusa I3 from the ground up taught me more about 3D printing mechanics than any video tutorial I've watched.
This is where things really start clicking. Printers in this bracket tend to show up fully assembled or close to it, come with heated beds, and reliably handle multiple filament types.
Build quality takes a clear step up over the budget tier. The UP Mini shows what this price range can do: plug in, load filament, and you're printing with zero assembly or calibration hassle.
At this price point, you're getting metal frames, bigger build volumes, and the ability to print with engineering-grade materials. Print quality gets reliably excellent, and breakdowns become much rarer.
The CraftBot lands right here with its 10,000 cubic centimeters of build volume and tank-like metal construction. If you've outgrown your starter printer and you know this hobby is sticking, this tier is where I'd steer you.
This is where machines like the Ultimaker 2 and LulzBot TAZ 5 live, delivering near-perfect prints with minimal hand-holding.
You're paying for precision engineering, wide material compatibility, and support teams that actually show up when something breaks. For professionals, educators running full labs, or serious hobbyists, this tier gives you the fewest headaches per dollar spent.
People ask me sometimes what our testing setup actually looks like, so here's the full picture. We run all our tests in a climate-controlled room held between 68 and 72 degrees Fahrenheit all year round.
Temperature swings are the enemy of consistent 3D prints. ABS is particularly touchy about drafts, so controlling the room temperature lets us isolate the printer's performance from everything else going on.
Every printer goes on a heavy, level workbench with anti-vibration pads underneath it. Vibration is one of the sneakiest causes of print defects like ghosting and ringing. Damping out external vibrations means that any problems in the finished print belong to the printer itself, not the table.
We stick to the same three filament brands across all FDM tests so that material quality never becomes a variable. Our test filaments are a mid-range PLA, a standard ABS, and a PETG. When a printer supports exotic materials, we test those separately and note exactly which brands we used.
For measuring and inspecting, we rely on digital calipers accurate to 0.01mm and a USB microscope for detailed layer analysis. Every print gets measured against the original model to calculate dimensional accuracy.
We also track power consumption during testing with a Kill-A-Watt meter. It's not a spec that grabs headlines, but knowing one printer draws 350 watts while another pulls 150 watts matters a lot if you're running prints 10 hours a day.
All our photos are taken under the same studio lighting, so when you compare print quality shots between different reviews, you're actually looking at an apples-to-apples comparison. Every photo on the site was shot under identical conditions.
I've talked to thousands of people on the verge of buying their first 3D printer, and most of them hadn't considered some pretty important questions. Run through this list before you hand over any money.
Sounds basic, right? It changes everything though. Miniatures and figurines might point you toward SLA. Functional parts and prototypes are FDM territory.
If you don't really know yet, a solid mid-range FDM printer gives you the most room to explore and experiment.
Kit printers cost less but you'll spend hours building and calibrating them. If that sounds like a good time, go for it. If it sounds miserable, pay more for a fully assembled unit.
The gap between a kit and a plug-and-play machine can be the difference between printing on day one versus day five.
3D printers need a stable, level surface in a room with decent airflow. FDM printers get moderately loud, especially during fast movements. If you're putting it in a bedroom or shared office, noise should rank high on your decision list.
ABS printing specifically needs good ventilation since it gives off fumes that some people find bothersome. Enclosed printers with filtration help but don't fully solve the issue.
The printer is only part of the equation. Set aside at least $50 to $100 for your first round of filament. You'll also want a scraper, isopropyl alcohol, blue painter's tape (or a glass bed), and maybe an enclosure if ABS is on your radar.
Replacement nozzles, Bowden tubes, and build surfaces are ongoing expenses too. Account for those upfront so you don't get blindsided six months later.
PLA runs on basically every printer out there. ABS calls for a heated bed and preferably an enclosure. PETG needs moderate temperatures and the right bed surface.
Flexible stuff like TPU requires a direct-drive extruder, which knocks out a lot of Bowden-style machines. Nylon and polycarbonate demand all-metal hot ends capable of sustaining 270 degrees Celsius or more.
Some printers force you into proprietary slicers that limit what you can tweak. Others play nice with open-source slicers like Cura or PrusaSlicer, giving you hundreds of settings to adjust.
A simplified proprietary slicer can actually be a relief when you're starting out. But as your skills grow, you'll want that open-source flexibility.
Look at how long the warranty lasts, what it actually covers, and whether the company has a track record of honoring it. Dig through forum posts from people who already own the printer.
A printer from a company that ghosts you when you email support is a terrible buy, no matter how good the hardware looks on paper.
The biggest mistake I see over and over is buying purely on specs. A printer advertising 50-micron resolution on the spec sheet might actually produce worse output than one rated at 100 microns.
Real-world results depend on frame rigidity, firmware tuning, and thermal management. Spec sheets don't capture any of that. That's exactly why hands-on reviews exist.
Second most common mistake: not taking the slicer software seriously enough. Your slicer controls everything from print speed to how supports get generated, and a lousy slicer will make even a great printer a pain to use.
Always check what software comes with a printer before you buy. If the company locks you into their proprietary slicer and it stinks, you're stuck.
Third, people completely ignore the filament question. They pick up a printer, grab the absolute cheapest spool they can find, then scratch their heads when their prints look awful.
Good filament makes a huge difference. I've watched the same printer produce show-worthy pieces with quality filament and absolute junk with cheap no-name rolls.
Fourth, don't sleep on noise levels. Some printers are genuinely loud, particularly older ones with stepper drivers that whine during fast moves. If your printer is going somewhere people live or work, check noise in reviews or videos before you commit.
Last thing: don't grab the cheapest printer available just because the price looks attractive. I'd much rather someone save up a few extra months and land something in the $400 to $600 range than blow $150 on a machine that'll be shoved in a closet after two weeks of aggravation.
If you're just getting into 3D printing, the terminology can feel like drinking from a firehose. Here's a plain-English rundown of the words you'll come across most in our reviews.
FDM (Fused Deposition Modeling): The most common consumer 3D printing technology. A spool of plastic filament gets pushed through a heated nozzle that melts it and lays it down layer by layer to form a 3D object. You'll sometimes see it called FFF (Fused Filament Fabrication) too.
SLA (Stereolithography): Uses a UV laser or LED screen to harden liquid photopolymer resin one layer at a time. It produces way finer detail than FDM but you've got to deal with post-processing (washing and UV curing). Best suited for miniatures, jewelry, and dental models.
Delta: A style of FDM printer that uses three vertical rails with arms attached to the print head rather than a standard XY gantry. Deltas move the head really fast because there's so little mass to accelerate, and they usually offer tall, cylindrical build volumes.
Layer Height: How thick each individual layer of material is. Measured in microns (1 micron = 0.001mm). Lower numbers give finer detail but take longer to print. Most FDM printers run between 50 and 300 microns. At 100 microns, you're in high-quality territory for FDM.
Build Volume: The biggest object a printer can produce, described as length x width x height (typically in millimeters). Bigger isn't automatically better though, since large prints eat up a lot of time and material.
Nozzle Diameter: The width of the opening where melted filament exits the print head. The standard is 0.4mm. Go smaller (0.2mm) and you get sharper detail at slower speeds. Go bigger (0.6mm, 0.8mm) and you print faster but sacrifice some detail.
Print Speed: How fast the print head moves while printing, measured in millimeters per second (mm/s). Cranking up the speed doesn't always help since it can tank print quality. Most printers hit a sweet spot between 40 and 100 mm/s.
Bed Adhesion: How well the first layer of your print grips the build platform. Bad bed adhesion is the number one reason prints fail. Fixes include heated beds, blue tape, glue stick, PEI sheets, and glass beds.
Heated Bed: A build platform that heats up to specific temperatures. You need one for ABS (which wants around 100 to 110 degrees Celsius bed temp) and it helps with PLA and PETG too. Some budget printers skip this feature to hit a lower price.
Auto-Leveling: A system that checks the gap between the nozzle and build surface at multiple points, then compensates for any unevenness on its own. Saves a ton of time compared to manually leveling with paper and thumb screws.
Build Plate: The actual surface your prints sit on. Options include glass, aluminum, PEI-coated spring steel, and other materials. Different surfaces grip different filaments in different ways.
Direct Drive: An extruder setup where the motor pushing the filament sits right on top of the print head. Works better with flexible filaments and gives you tighter retraction control, but it does add mass to the moving parts.
Bowden: An extruder setup where the motor stays on the frame and feeds filament through a long PTFE tube to the hot end. Takes weight off the print head so it can move faster, but flexible filaments can give it trouble because of the long travel path.
Hot End: The heated piece at the bottom of the extruder where filament gets melted. All-metal hot ends handle higher temperatures (necessary for nylon, polycarbonate) while PTFE-lined ones top out around 240 degrees Celsius.
Dual Extruder: A printer running two print heads so it can lay down two different materials or colors at the same time. Handy for dissolvable supports (like PVA) or multi-color work.
Stringing: Those thin whiskers of plastic left dangling between parts of a print where the nozzle crossed open space. It happens because filament oozes out during travel moves. Tweaking retraction settings in your slicer usually clears it up.
Warping: When the edges or corners of a print peel up and away from the build plate. Happens most with ABS due to uneven cooling and thermal contraction. An enclosed chamber and a heated bed are your best defenses.
Overhangs: Sections of a print that jut out horizontally past the layer underneath. Most printers manage overhangs up to roughly 45 degrees without needing supports. Go steeper and things start sagging.
Bridging: Laying down a horizontal stretch of filament between two supported points with empty air underneath. A printer with good bridging capability spans those gaps cleanly without drooping. How well the cooling fan performs is the key factor here.
Ghosting/Ringing: Ripples or shadow-like echoes visible on print surfaces, typically right after sharp corners. Vibrations in the frame or print head cause this. Heavier, stiffer frames and dialing back print speed both help reduce it.
Slicer: The software that takes a 3D model (usually an STL file) and turns it into layer-by-layer instructions (G-code) the printer follows. Cura, PrusaSlicer, and Simplify3D are the popular ones. Your slicer dictates print speed, layer height, infill, supports, and dozens of other variables.
Infill: The internal structure inside a printed part. Rather than printing completely solid, most objects use a grid or pattern inside to conserve material and time. Infill percentage goes from 0% (hollow) to 100% (completely solid). For most prints, 15 to 20% gets the job done.
G-code: The instructions that tell the printer precisely where to move, at what speed, and how much filament to push. Your slicer generates it from your 3D model. You don't normally need to touch G-code by hand, but having a basic understanding of it helps when troubleshooting.
Supports: Temporary scaffolding printed beneath overhanging sections of a model, removed once the print finishes. They use extra filament and leave marks where they were attached, so orienting your model to minimize supports is always the move.
Every review below has detailed specs, real print photos, and our straight-up verdict after weeks of hands-on testing. Whether your budget is $200 or $2,000, you'll find something in our lineup that fits what you need.
Still not sure where to begin? For beginners, I always come back to the FlashForge Finder because the setup is about as painless as it gets. For enthusiasts ready to invest, the Ultimaker 2 is still the one to beat.
And if you're just hunting for the best value at whatever price you can swing, work through the brand breakdowns above and find the point where your budget lines up with what you want to accomplish. Happy printing.
review It's basically a MakerBot Replicator clone at half the price. But is the FlashForge Creator Pro actually as good? We tested it to find out.
 review
 Full step-by-step assembly guide, WiFi setup, calibration walkthrough, and print results. Everything you need to know about the Printrbot Simple Metal.
 review
 After 200+ prints on the Dremel Idea Builder, I can tell you exactly what it does well and where it falls short. No fluff.
 review
 I built this printer from scratch over 3 days. It taught me more about 3D printing than any other machine I've owned. Here's the full story.
 review
 We built this Printrbot from a kit and the hardware quality blew us away. Here's how the assembly went and whether the prints match the build quality.
 review
 A budget 3D printer kit that you build yourself. The ThreeUp V2 is cheap, educational, and surprisingly capable once you get past the learning curve.