I’ve tested a lot of budget 3D printers, and the Q3D ThreeUp Version 2 3D Printer stands out as one of the strongest entry-level picks available right now. Nothing else at this price comes close.
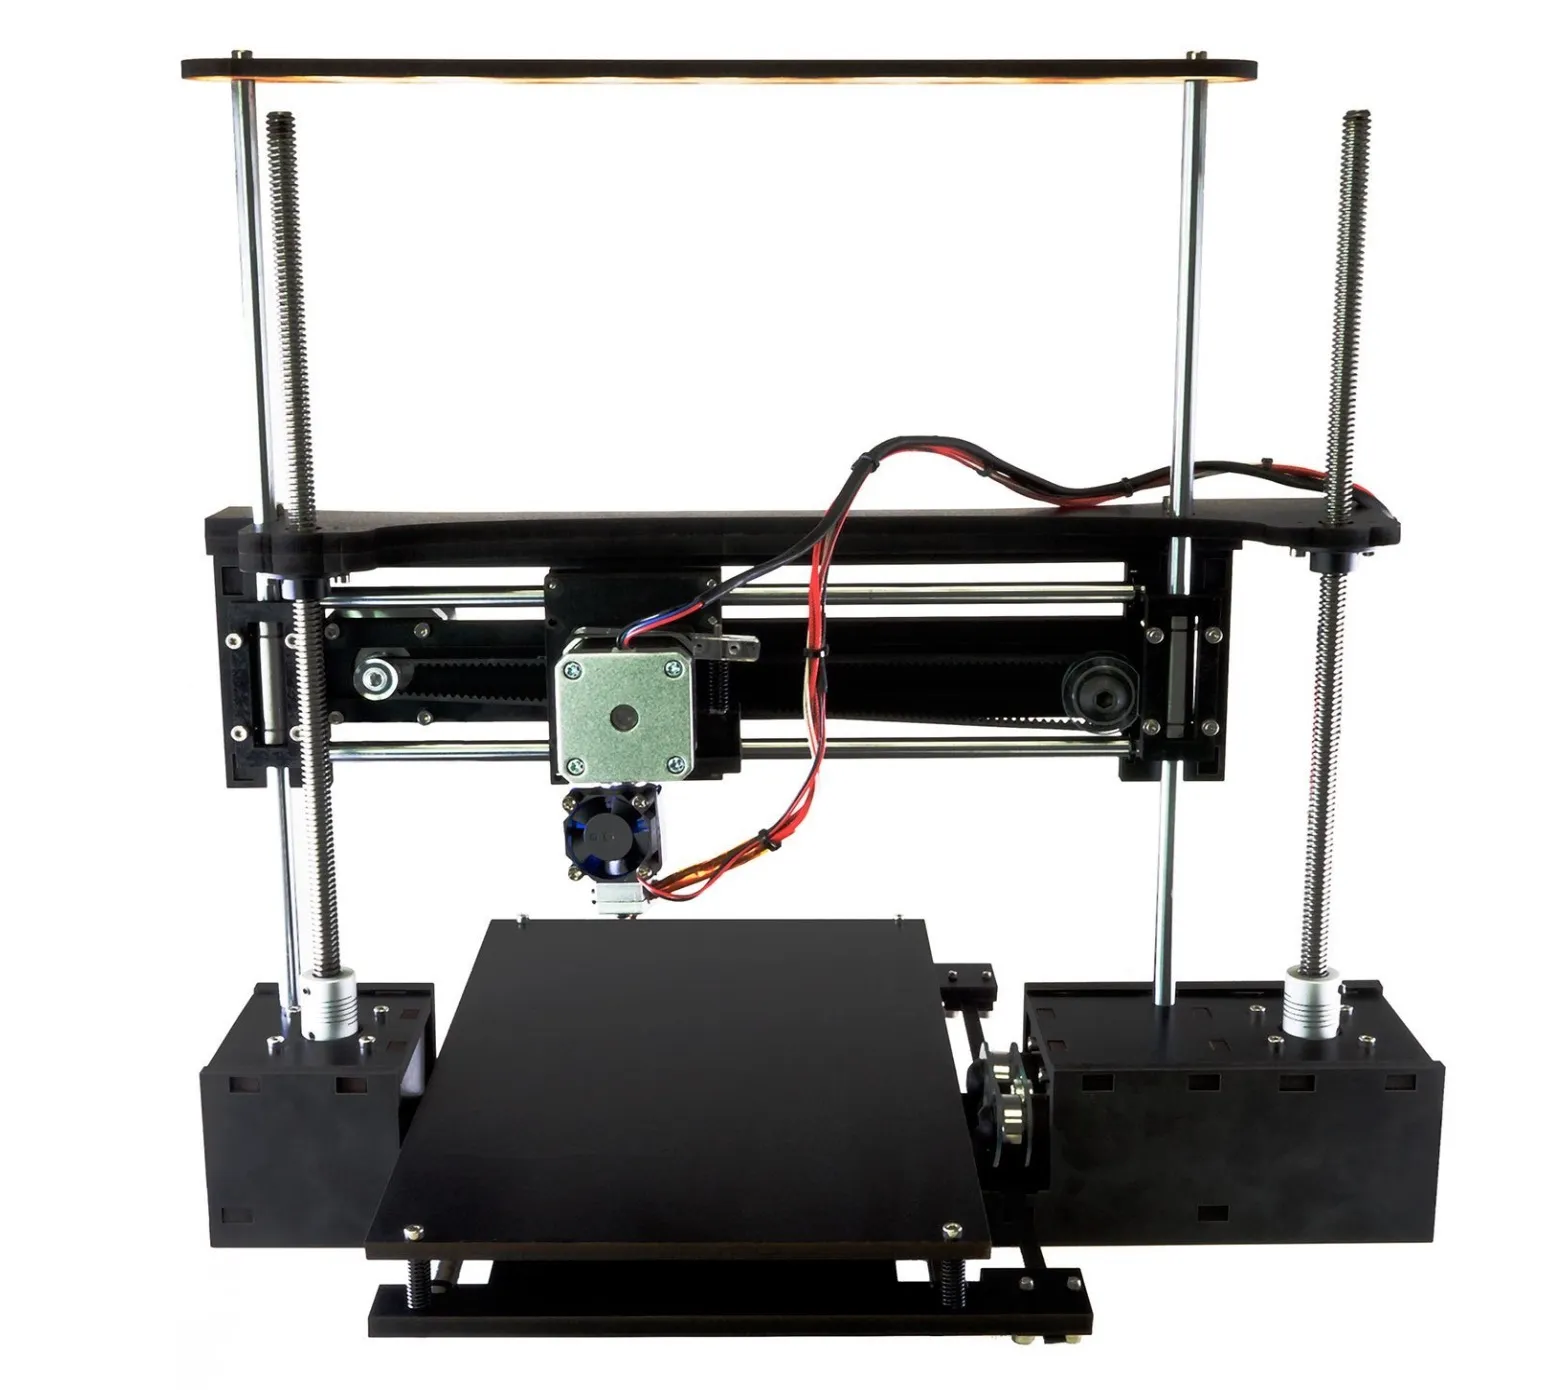
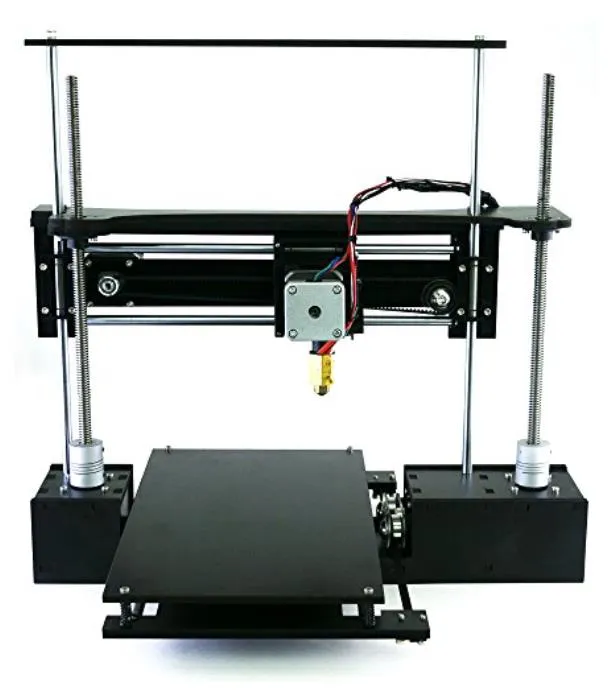
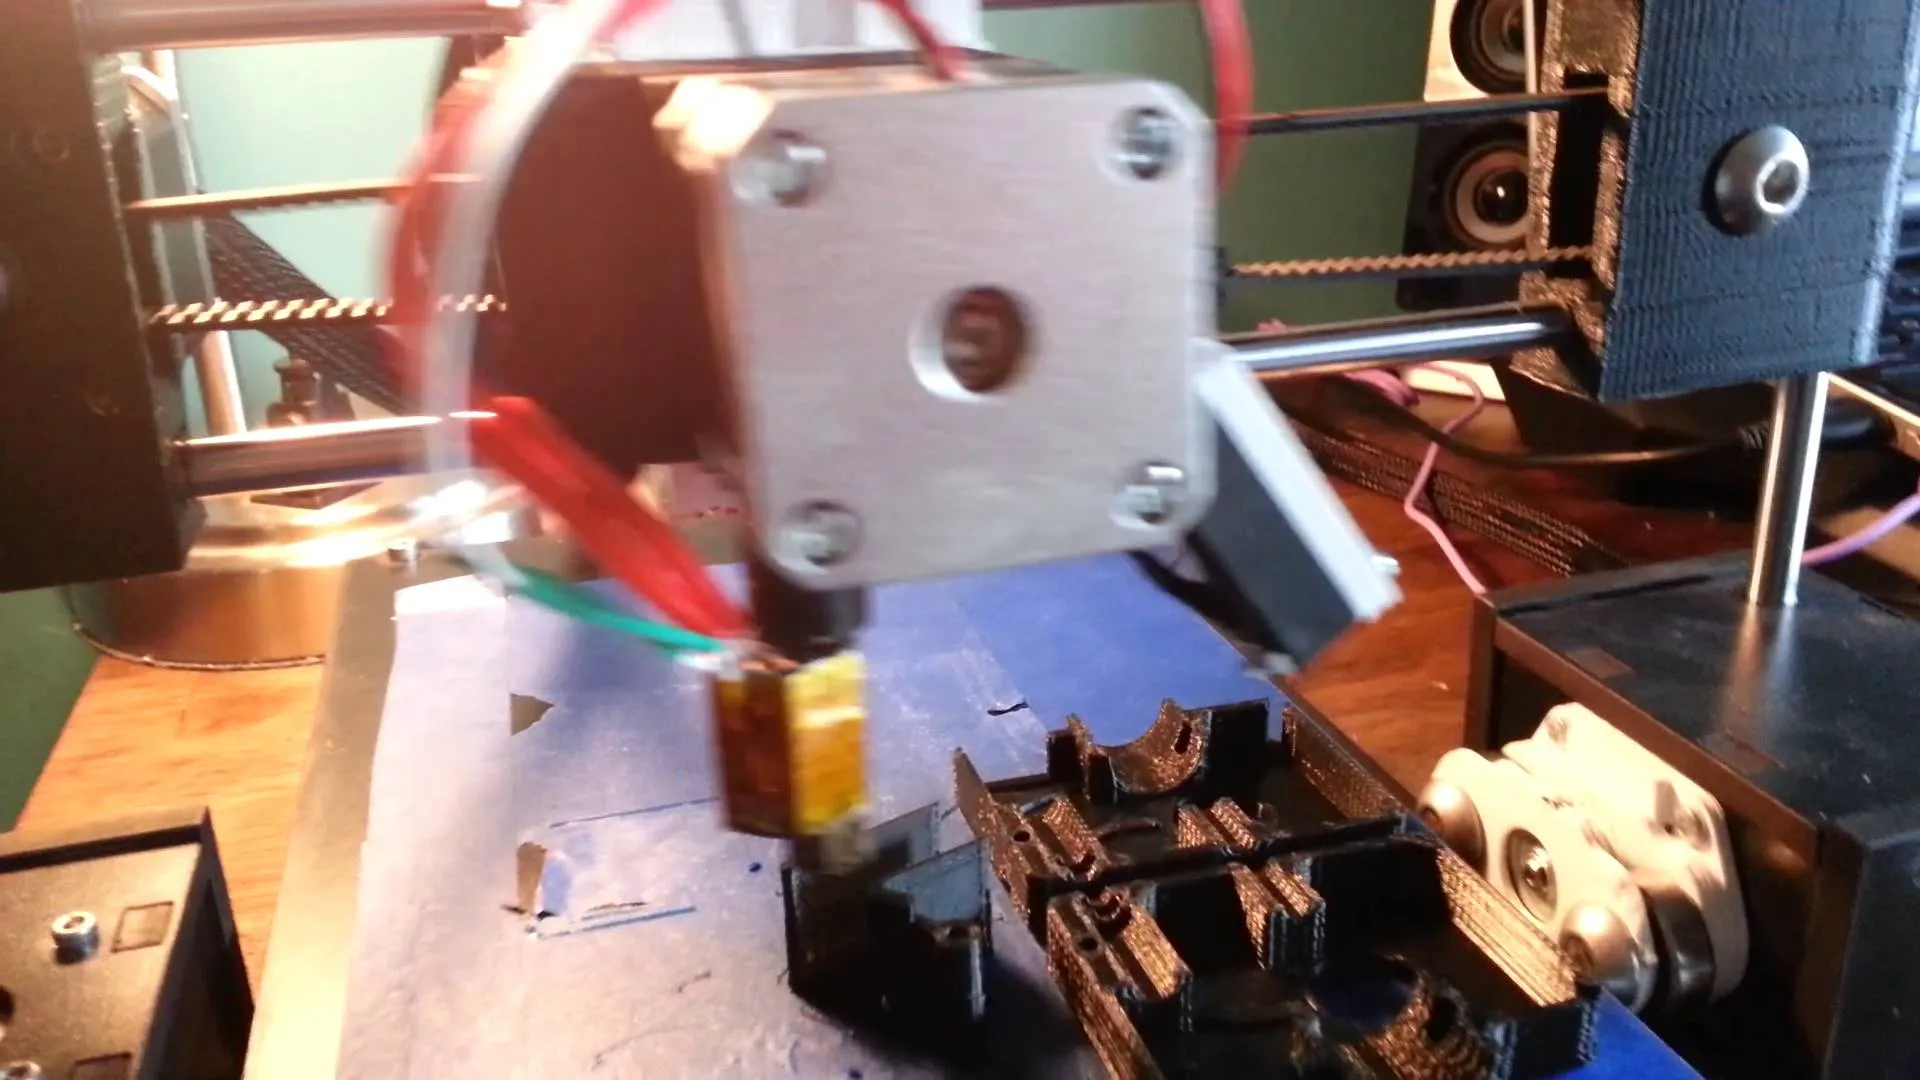
The dual synchronized z-axis motors with proper screws and lock nuts keep everything stable, even when you’re pushing faster print speeds. Q3D also beefed up the X gantry for version two, and honestly, the jump in print quality from the original is noticeable right away.
Overview
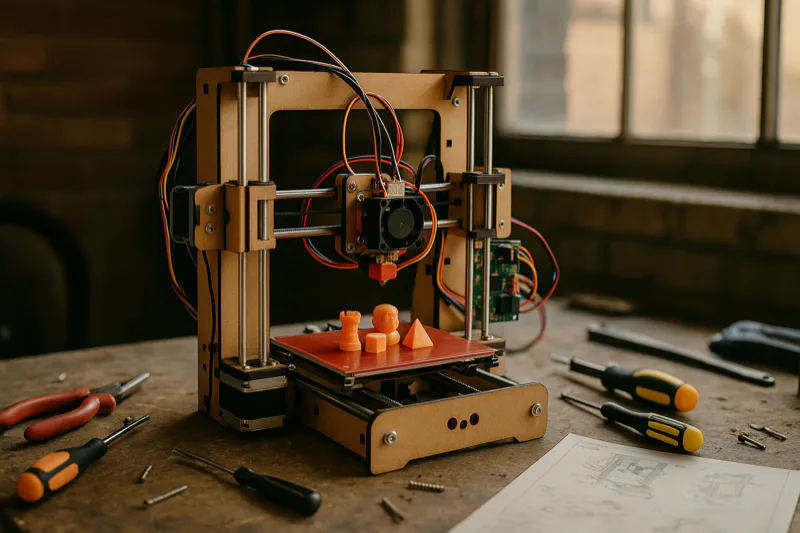
Q3D ThreeUp Version 2 3D Printer Kit
A budget kit with the biggest build area you'll find at this price. Handles PLA and ABS, and print quality holds its own against machines costing way more.
Pros
- Largest build area among entry-level printers
- Excellent print quality for the price
- Fun and educational assembly process
Cons
- MDC frame has limited lifetime with frequent tweaking
- Slight sag noticeable on the printer over time
At 175 x 175 x 210 mm, you’re looking at the biggest build area on any entry-level printer I’ve come across. That extra space matters more than you’d think once you start printing larger models.
Q3D threw in linear brackets with better rigidity this time around, which nearly eliminates the sag issue and shaves time off builds. You can feel the improvement the first time you calibrate it. Way less fiddly than the original. If you want calibration handled for you automatically, printers with auto-leveling like the Printrbot Metal Simple Kit take that hassle off your plate entirely.
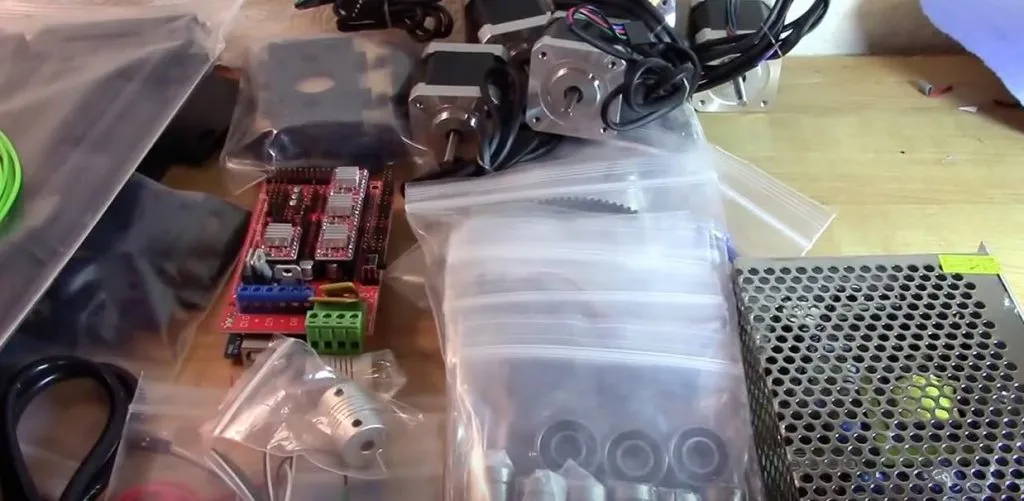
They also swapped in replaceable stepper drivers and upgraded the electronics, so it handles faster print speeds without choking. Setup and customization are more straightforward now too. The instructions actually walk you through things clearly.
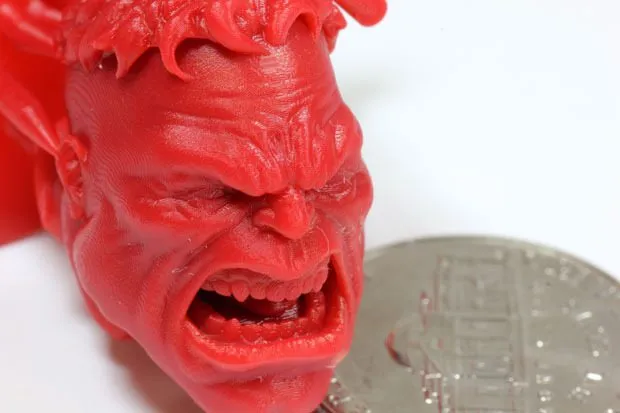
The thing that surprised me most? Fine detail accuracy took a real leap forward, and the v1 nut is self-lubricating now. That annoying squeaking from the original? Gone.
Photo Gallery

Key Specifications
| Spec | Detail |
|---|---|
| Build Volume | 175 x 175 x 210 mm |
| Z-Axis | Dual synchronized motors |
| Filament Type | PLA, ABS, Nylon |
| Heated Bed | Yes, silicone rubber heater |
| Power Supply | Upgraded for heated bed |
| Frame | MDC coated in melamine |
| Price Range | Budget entry-level |
A Great Introduction
If you’re just dipping your toes into 3D printing or looking for something to mess around with before committing to a bigger investment, the Q3D ThreeUp Version 2 3D Printer is a genuinely solid starting point.
In terms of speed, it hangs right there with the MakerBot and costs a fraction of the price. Takes up less desk space too.
Fair warning: new users will probably wrestle with the extruder a bit at first. The Monoprice Maker Select has a similar learning curve when it comes to initial calibration. What worked for us was bumping the flow rate up to about 102%, which made a night-and-day difference in print quality.
That issue probably comes down to slightly undersized filament. We ran some tests with Hatchbox filament and got almost identical results to the 10-foot sample Q3D includes in the kit. Way cheaper per roll.
Block off at least 4 hours on a Saturday for assembly. Calibration tacks on another hour, and I wouldn’t skip that part.
That extra time up front is what separates sloppy, uneven prints from clean ones.
The instructions are well written and guide you through the build without much guesswork. The bundled software isn’t going to win any design awards, but it gets the job done. Honestly, most printers in this range ship with similar stuff.
People swear by Simplify 3D, but at what it costs, there’s no reason to buy it right away.
The Details
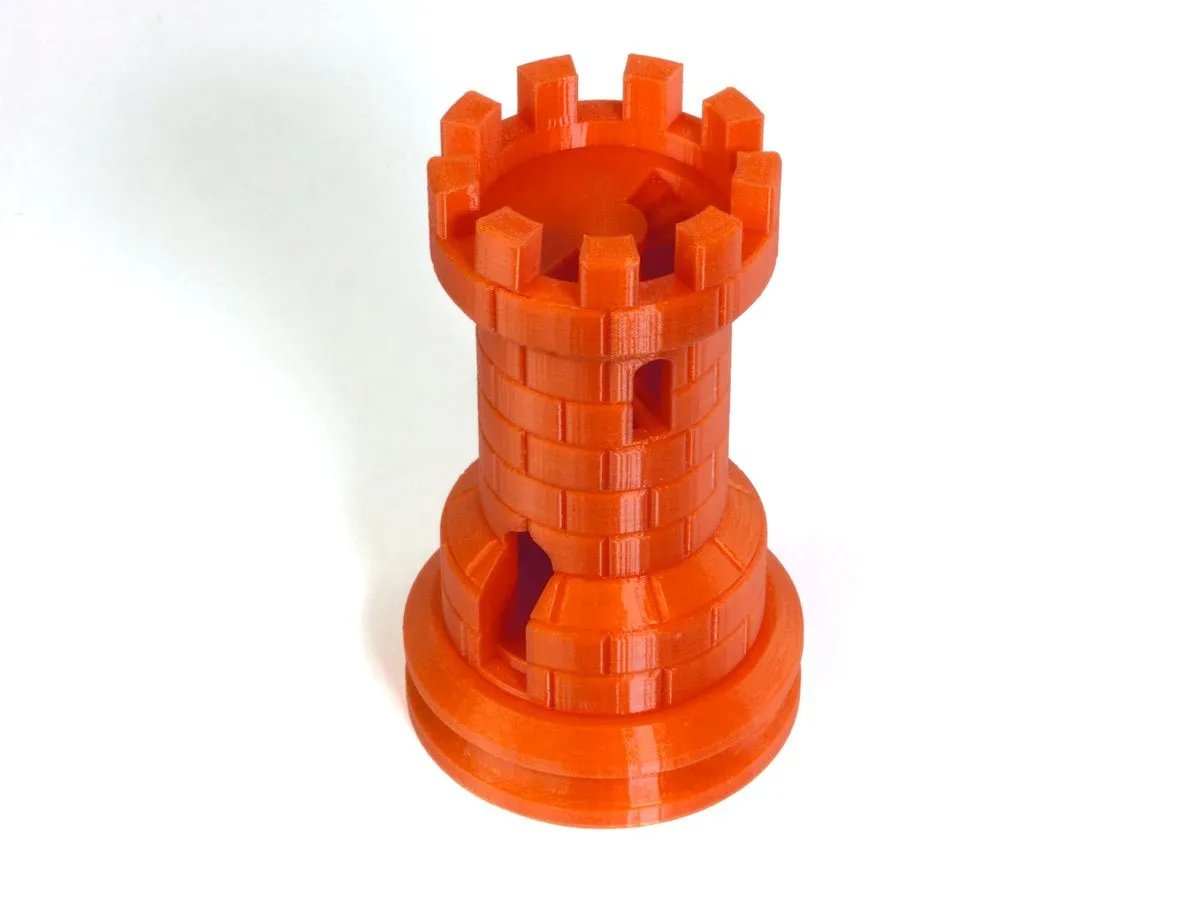
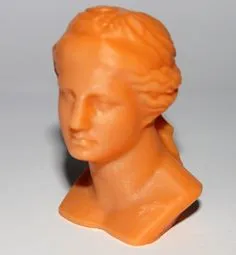
Version 2 changed quite a bit from the original, so let me walk through the big updates. This is still one of the cheapest printers out there that actually delivers decent print quality with real detail in the finished product.
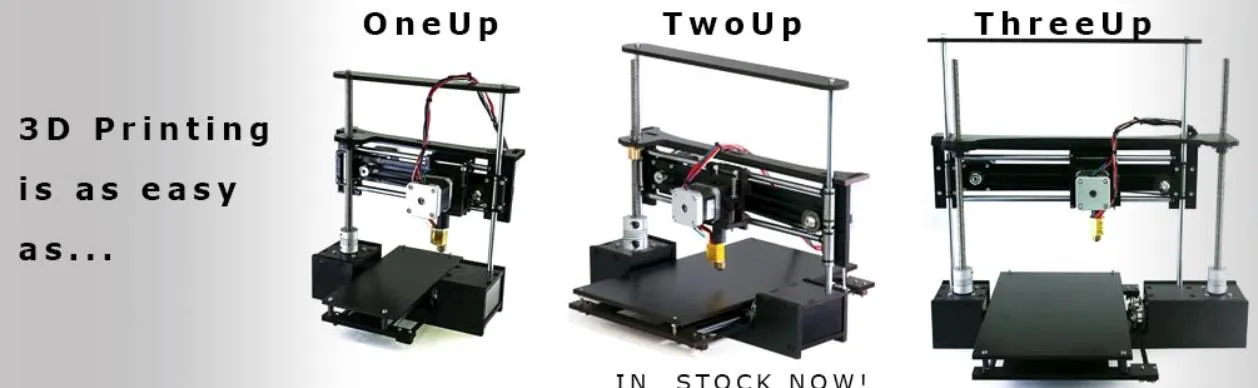
One step below the ThreeUp in the lineup is the TwoUp. It gives you 75mm more on both the X and Y axes but tops out at 125mm on the Z. If budget is your main concern, the TwoUp isn’t a bad pick.
That said, if you’re serious about sticking with 3D printing and don’t want to outgrow your machine in six months, just go straight for the ThreeUp.
The V2 comes with a beefier power supply because the bed now runs a silicone rubber heater with different electronic connectors. What that means in practice is you can print ABS and Nylon without nearly as much warping during cooldown. The TEVO Nereus handles a similarly wide range of filaments, including HIPS and wood, at a comparable price point.
You’ll notice the upgraded setup the moment you start putting it together. There’s a reason most reviewers say building your first printer yourself is actually a good thing. It teaches you how all the pieces work together. The HICTOP Prusa I3 is another popular starter kit that people gravitate toward for exactly that reason.
Once you understand what’s happening under the hood, calibration becomes way less intimidating. And your prints get better because of that knowledge.
I know some people cringe at the thought of building their own printer. Our testers actually thought it was one of the best parts of the whole experience. There’s something satisfying about printing on a machine you assembled with your own hands.
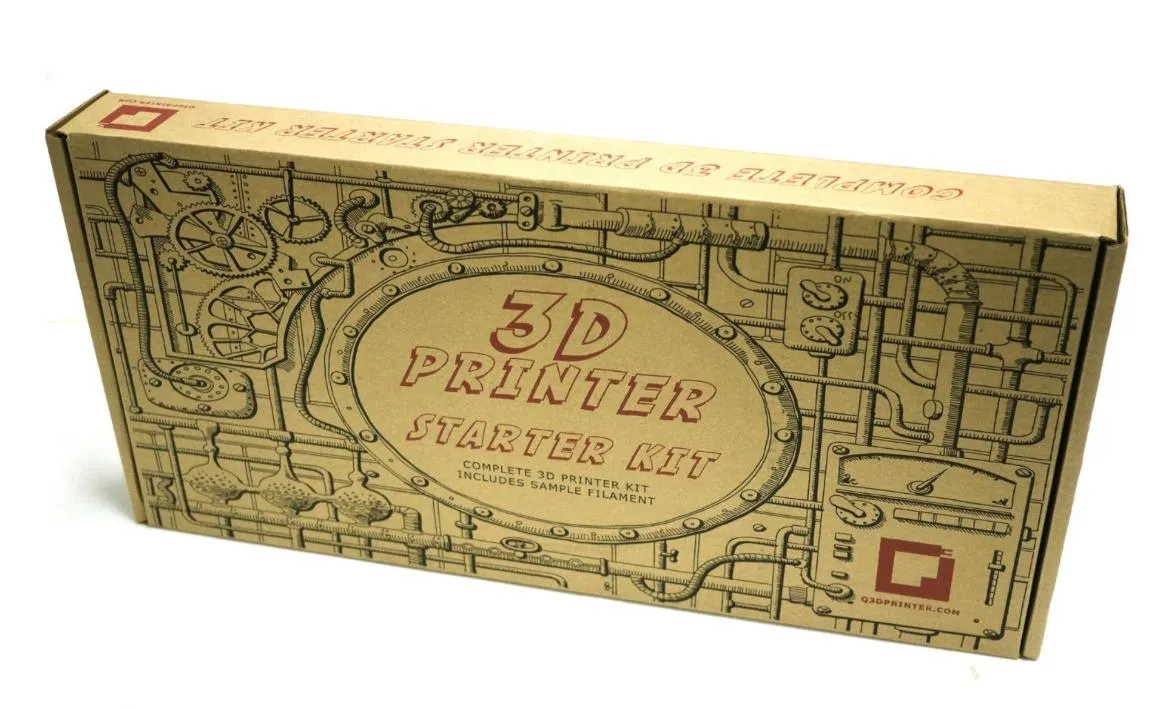
The kit ships with a reliable extruder, instructions, tape, and a manual clearly aimed at complete beginners.
Beyond the heated bed and the upgrades I’ve already covered, the OneUp, TwoUp, and ThreeUp all share the same core printer underneath. That’s reassuring since we ran into very few problems with the earlier models.
Other Notes
The frame is MDC coated in melamine. Just know that it won’t hold up forever if you’re constantly taking things apart and readjusting. That material has its limits.
That’s exactly why I’d recommend doing a thorough, careful build the first time. The parts you get at this price point are surprisingly well made, and they deserve that initial attention.
We went through over 2 pounds of tape during testing and didn’t run into a single problem. There is a slight sag that creeps in over time, but it won’t hurt your print quality as long as everything stays snug, your motors are calibrated, and the bed is level.
Here’s something I wish someone had told me earlier. Once you’ve got the printer dialed in and running well, print yourself some replacement parts and upgrades right away. This is an entry-level machine, and certain components will wear down eventually. If you want something built to last without worrying about spare parts, the MakerGear M2 is made from welded steel and designed to run for years.
The heated bed doesn’t cut into the build area at all, which was a pleasant surprise. I also found that taping the screws in place improves print quality, cuts down on noise, and helps prevent tilting.
Keep your print speeds conservative until you’ve made some upgrades. Running it hard right out of the box is asking for trouble.
One more thing worth mentioning: when you’re leveling the bed, measure the actual thickness of your paper. Use that number to zero out your Z-axis for the first layer height. Small detail, big difference.
The learning curve is steep here, but honestly, that’s the case with most printers at this price.
Treat the machine well, follow these tips, and it’ll reward you with clean prints for a long time. You’ll save a pile of money compared to the competition too.
Frequently Asked Questions
Set aside a minimum of 4 hours on a weekend for assembly. Calibration may take an additional hour. Instructions are well-put together and make assembly straightforward.
The ThreeUp V2 supports both PLA and ABS filament. The heated bed with silicone rubber heater reduces warping when printing with ABS and Nylon materials.
The ThreeUp V2 has speed comparable to the MakerBot for a fraction of the price, while taking up less desk space.
Final Thoughts
If you’re new to 3D printing, the Q3D ThreeUp Version 2 3D Printer Kit gets a strong recommendation from me. More experienced users will likely want additional features and a more robust frame.
But for someone just starting out? Good luck finding another printer with a build area this big that doesn’t run into the thousands.
Print quality punches well above what you’d expect at this price, it handles PLA and ABS without issue, and the learning curve is manageable. The Printrbot Play is another budget-friendly option that performs better than it has any right to. Normally when you buy cheap, everything about the product screams cheap.
The ThreeUp doesn’t play by those rules.


