Let’s dig into the Afinia H480 3D Printer. If you haven’t messed around with 3D printing yet, it’s essentially desktop manufacturing — turn a digital file into a physical object without leaving your house.
I first saw the Afinia at a 3D printing demo. It caught the crowd’s attention, and in formal testing it placed mid-field in the Make Tests — respectable, but not headline-grabbing.
I wanted to see for myself what it could do.
Afinia sent me a unit for a few weeks so I could put it through the wringer and form my own opinions.
Overview

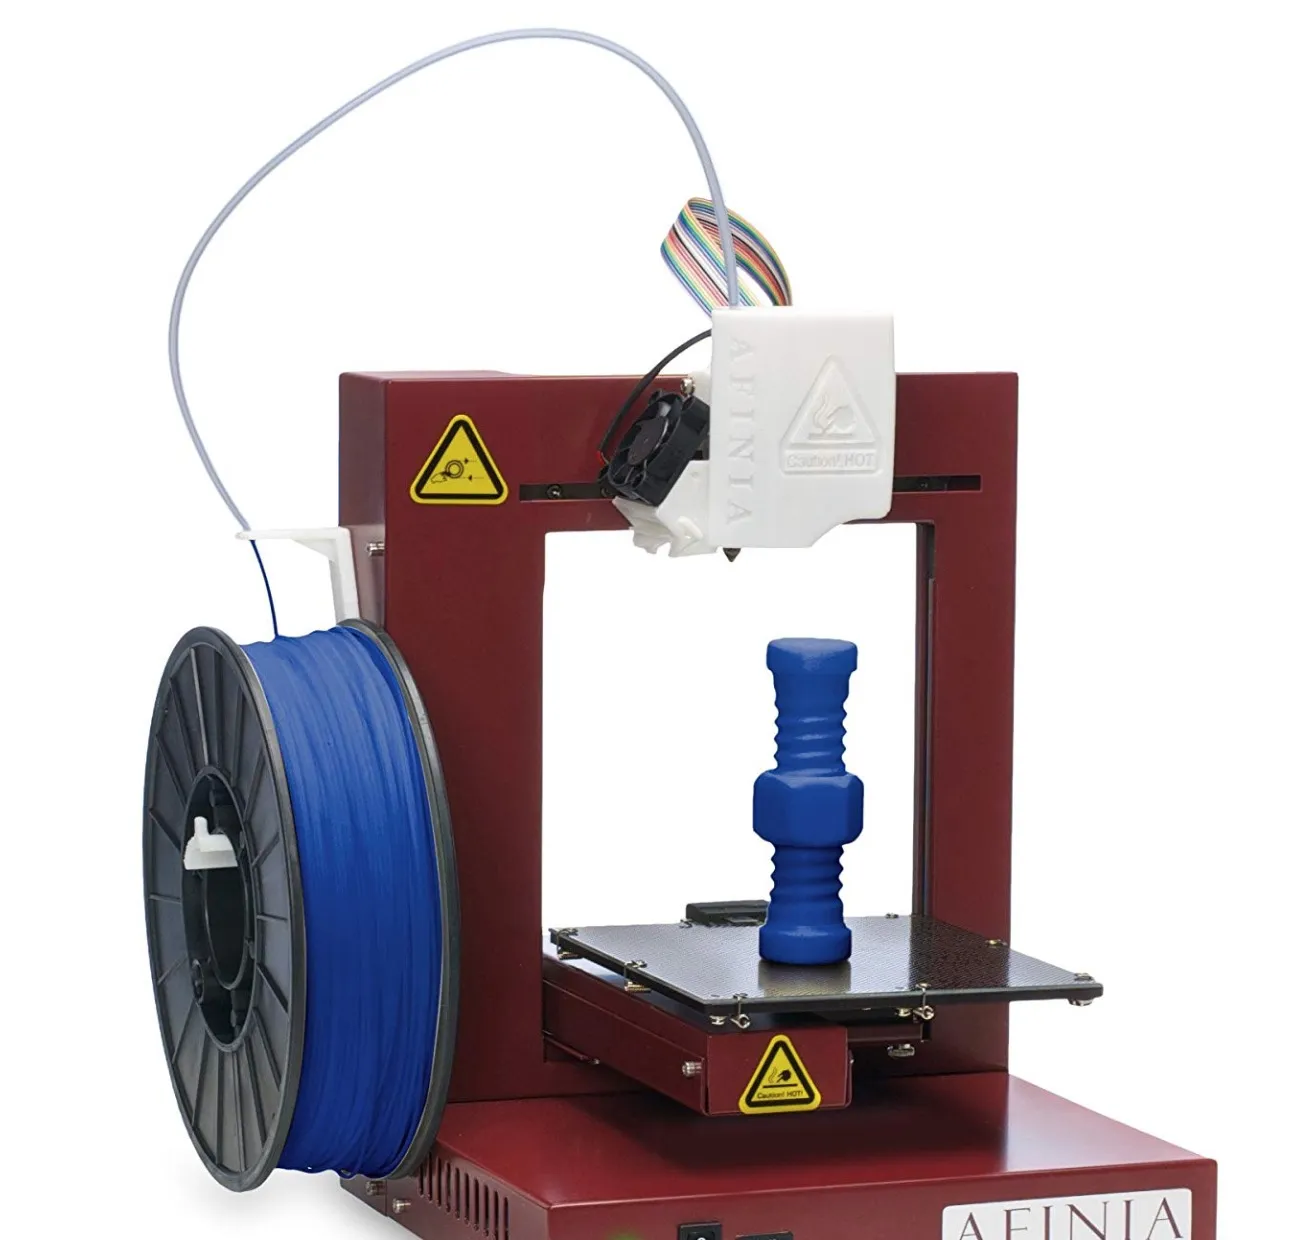
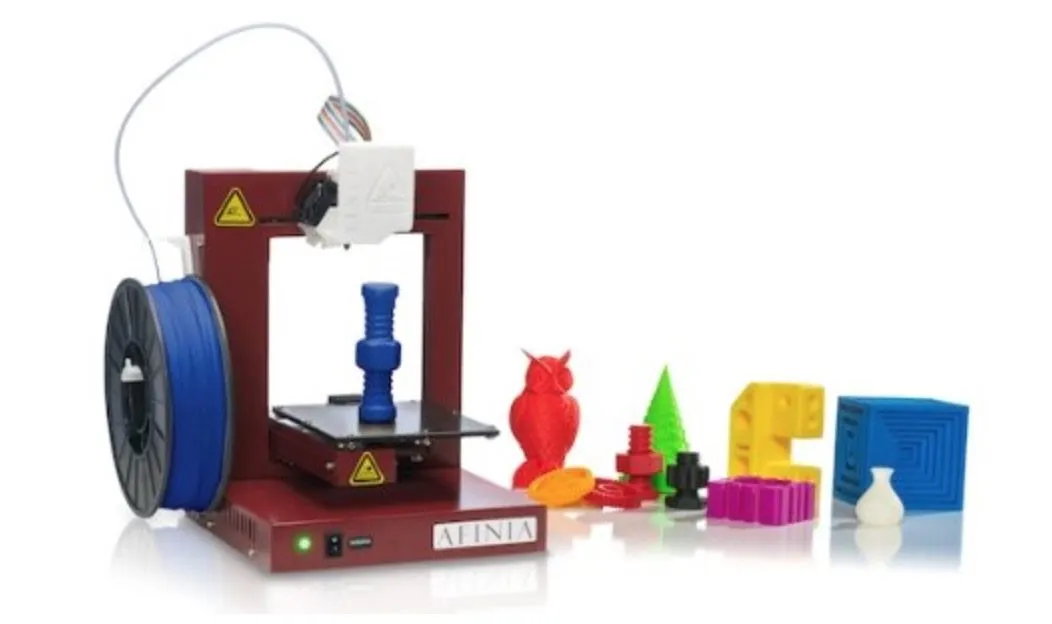
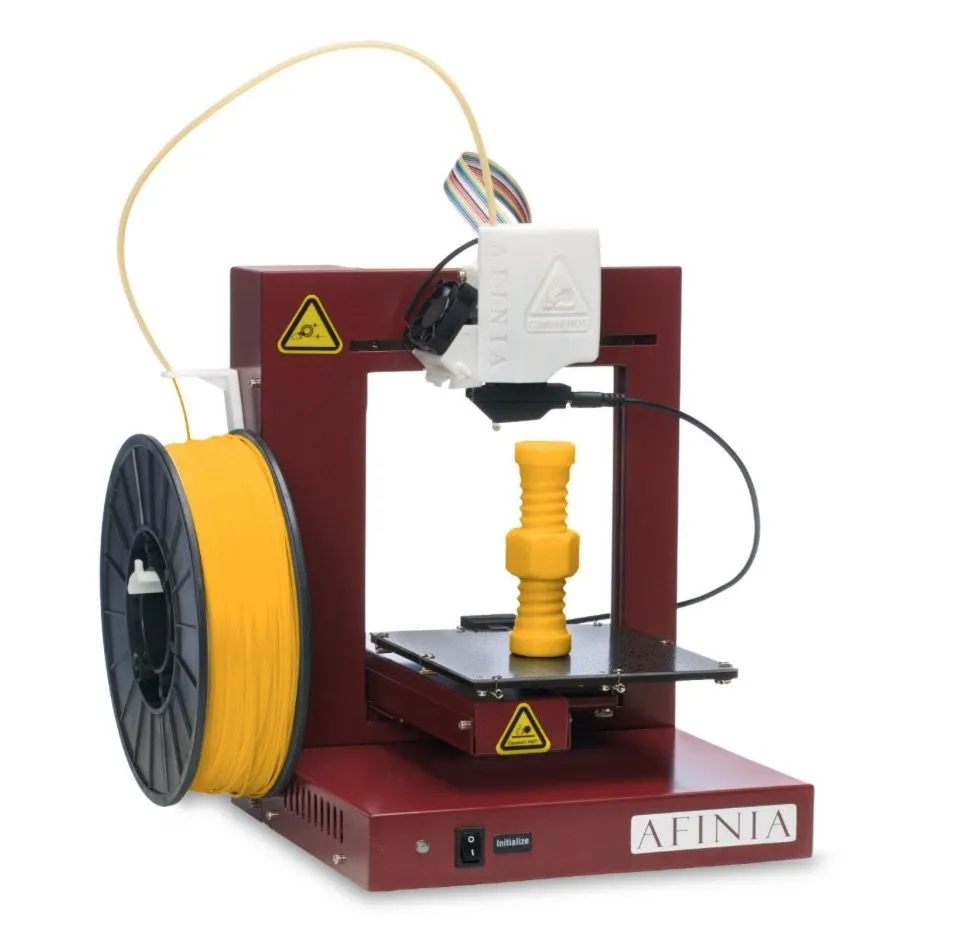
Afinia H480 3D Printer
A compact little machine that's perfect if you're just getting into 3D printing. Auto-calibration, heated bed, and a direct drive extruder all packed into an 11-pound frame.
Pros
- Automatic calibration makes setup easy for beginners
- Compact and portable at just 11 pounds
- Comes with comprehensive tool kit
Cons
- Limited advanced user controls
- Spring clips can become loose during printing
Photo Gallery


Key Specifications
| Spec | Detail |
|---|---|
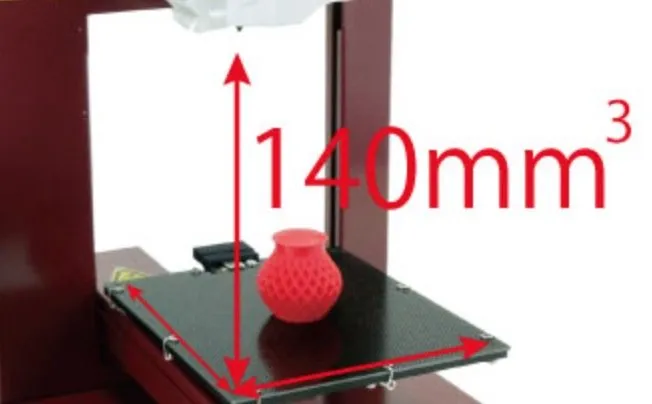
| Build Volume | 24 x 26 x 35 cm |
| Layer Resolution | 0.2 mm (normal) |
| Filament Type | PLA, ABS (1.75mm) |
| Connectivity | USB |
| Weight | 11 pounds (4.9 kg) |
| Heated Bed | Yes, automatic leveling |
| Price Range | Budget-friendly |
The Afinia Vs. The UP!
If the Afinia H480 looks suspiciously like the UP Plus 2 to you, there’s a reason. After some digging, I found out they’re made by the exact same company.
UP! is a Beijing-based brand, and Afinia is their US partner. Customer service for both machines runs through Afinia’s team stateside.
From what I’ve experienced firsthand, they take support and warranty claims seriously. That goes a long way.
The Specs
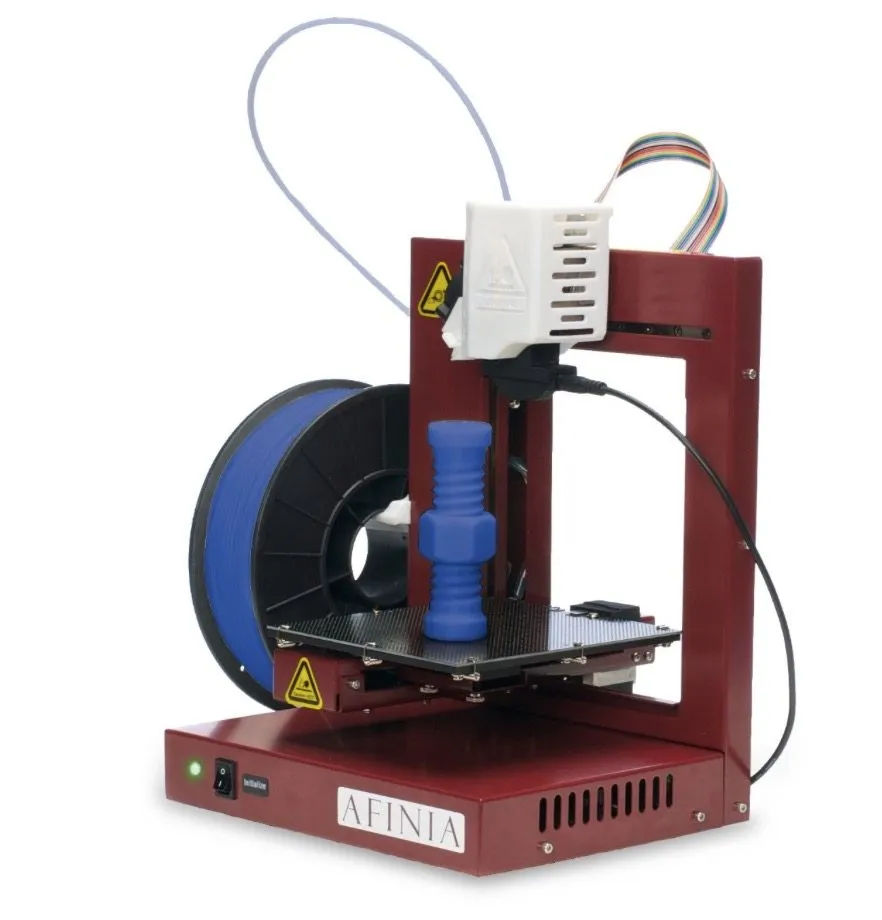
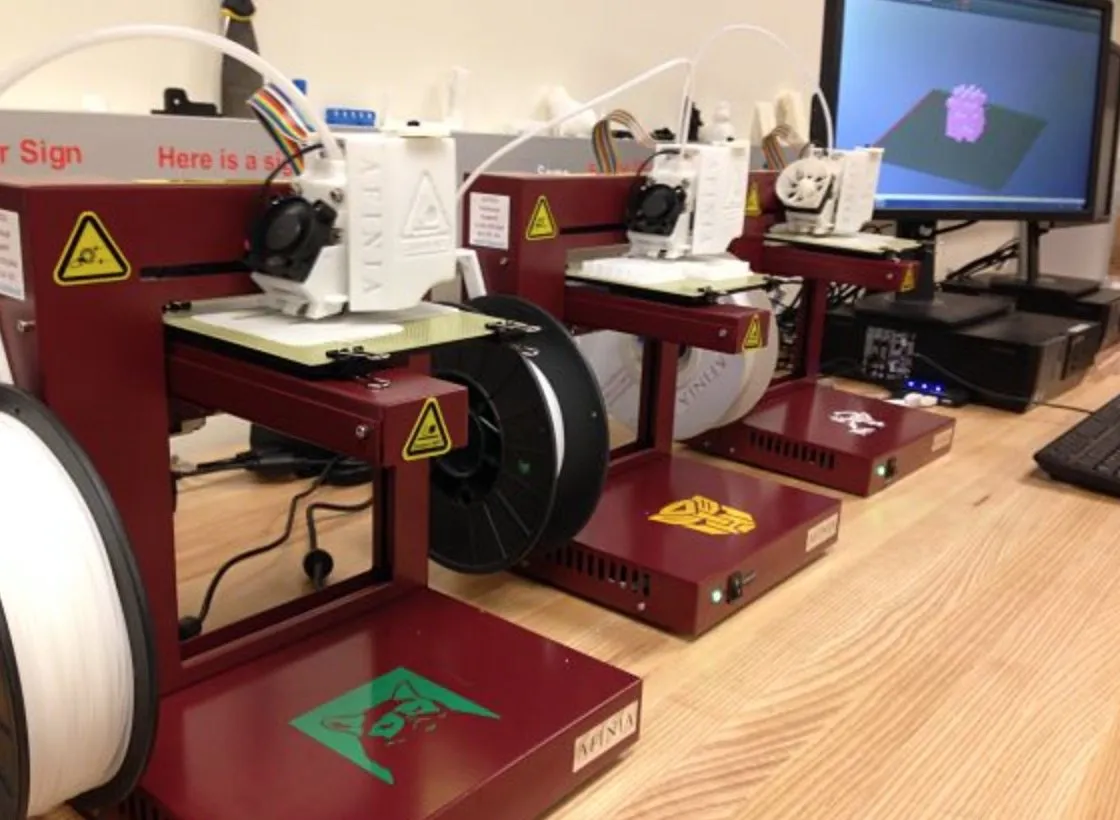
The H480 is compact, built on a steel frame, and doesn’t hog desk space. Despite the small footprint, it feels genuinely sturdy.
The direct drive extruder paired with a heated build platform is a combo I really appreciate. Auto-leveling is a nice cherry on top. The CEL Robox is one of the few other printers I’ve used that also auto-calibrates before every single print.
It handles PLA and ABS at 1.75mm. The open frame moves the print bed for 3D positioning.
While running, the bed travels along the y- and z-axes while the print head covers the x-axis. The compact size and low-maintenance nature are two things I kept coming back to during testing.
Connectivity is USB only. No SD slot, no onboard controls — a bit disappointing.
That said, the Afinia packs 2GB of internal flash memory, so it can handle print files without staying tethered the entire time. The whole unit comes in at 24 x 26 x 35 cm and just 11 pounds. It’ll fit on basically any desk.
It originally launched at a premium price, but the street price has settled into budget-friendly territory. That puts it head-to-head with budget picks like the HICTOP Prusa I3.
The Setup
The Afinia H480 3D Printer showed up well-packed with plenty of padding around it. Good sign right off the bat — nothing rattling around in there.
The user manual was sitting on top when I cracked the box open. I thumbed through it before touching anything else and was pleasantly surprised by how thorough the instructions were.
Inside you get the printer, the manual, one spool of white ABS filament, a power supply, three perforated boards, and three BuildTak sheets. Then there’s a little tool box that I wasn’t expecting at all.
Snippers, tweezers, a spatula, utility knife, and safety gloves. Afinia clearly thought about both the “don’t burn yourself” side and the practical reality of prying prints off the bed.
Setup ran me about 60 to 70 minutes, and I was intentionally taking my time, reading every instruction before doing anything. You start by mounting the filament spool holder onto the side of the printer.
Then you thread filament through the guide tube, feed it into the extruder, hook up the power supply, and plug in the USB cable.
Toss in the installation CD and follow the software prompts. I ran it on Windows 7 without a single hiccup.
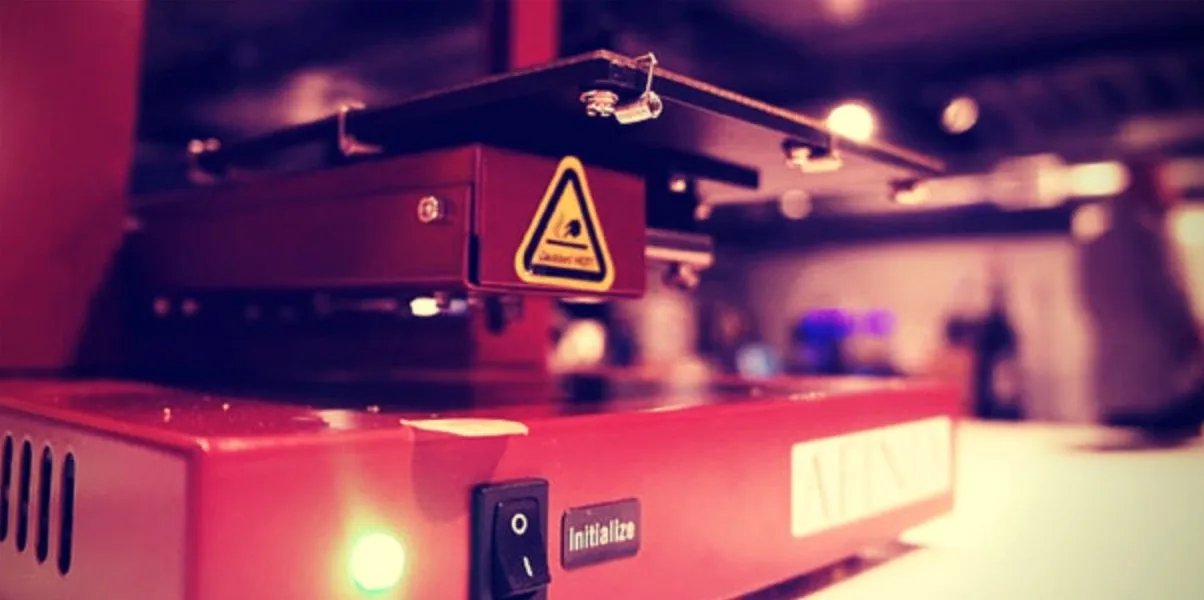
Before that first print, the machine runs itself through a calibration routine. You kick it off from the initialization switch on the front panel or from within the software.
There’s a mild beeping as the build platform and print head find their zero points. Once it finishes, everything glides back to the starting position.
When it comes to prepping the build platform, you’ve got a few options:
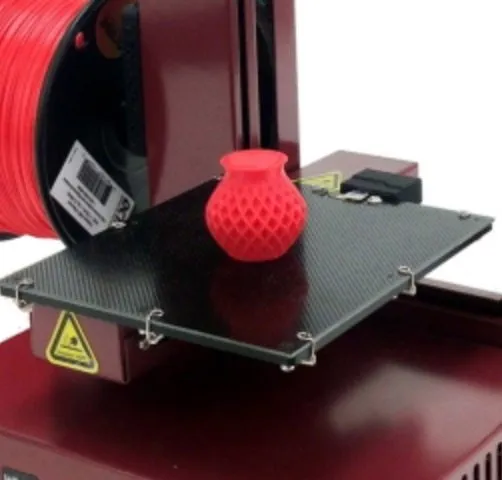
- FR-4 Board - This is a perforated glass epoxy laminate sheet. The advantage is that the first layer of melted filament pushes into those perforations and creates a strong mechanical bond. Your layers won’t lift during printing, giving you a firm, sturdy result. The FR-4 board attaches to the print bed with 8 spring clips - just line up the board and snap them into place.
- BuildTak - This is a thin, durable plastic sheet that works great as a printing surface, especially when your prints stick too hard to the bed. The Afinia comes with 3 pre-cut BuildTak sheets sized for the bed, though if you order more online you’ll usually have to trim them yourself. To install, just peel off the backing and position the sheet on the board. Smooth it down with a flat surface or the included spatula.
- Borofloat Glass - This is an alternative surface option, but you’ll need to buy the borofloat glass separately.
Leveling and Calibration
The Afinia handles its own calibration on the first run, but you’ll occasionally need to tweak things — same as any 3D printer on the market. What separates the Afinia is the depth of its leveling and calibration options.
These are worth learning. During the first calibration, there are a few hands-on adjustments.
Start with the three thumbscrews underneath the bed. Turn them until all four corners sit equidistant from the nozzle.
If prints come out slightly warped or uneven in thickness, the platform level is probably a hair off. You can fix it automatically or manually — totally your call.
For automatic level calibration, attach the platform probe onto the bottom of the extruder motor and connect it via data cable to the back of the Afinia H480 3D Printer. The probe measures nine calibration points on the platform to map out height differences, then adjusts everything to the proper level.
Once the platform is secure and level, you’ll need to set the distance between the print bed and the nozzle. This can be done automatically or manually depending on your preference.
For automatic calibration, connect the data cable to the nozzle sensor on the back of the printer. The extruder lowers the platform until the nozzle touches the sensor, and that height gets registered as the default.
One drawback: automatic nozzle height only works with the FR-4 board. If you’re using BuildTak or blue tape, you’ll need to set it manually since you’re adding thickness to the print surface.
That manual process is simple though. Center the print head and lift the bed until there’s roughly a millimeter of gap from the nozzle.
Here’s what really impressed me: you can fine-tune the bed height in .1 mm increments through the software without touching any screws. It makes both automatic and manual calibration feel effortless.
Placing The Filament
Before printing, you’ll need to load filament into the extruder. I’d recommend heating it up first, then feeding the strand in through the top of the print head.
The motor grabs it and starts pulling slowly. One thing to remember: whenever you load new filament, tell the software about it.
There’s a command in the Afinia 3D software where you pick ABS or PLA and enter the spool weight. It tracks your usage and gives you a heads-up if there’s not enough material left to finish the current print.
This has genuinely saved me from wasting filament on more than one occasion. Once that’s sorted, you’re good to go on your first print.
Afinia 3D Program
The Afinia 3D Printer ships with its own software, so you don’t need to buy or download anything extra. There’s plenty of third-party freeware out there, but the bundled software guarantees everything plays nice together. It handles slicing and generating machine code in one package.
Afinia put real effort into the interface. It’s clean, easy to navigate, and the core functions (loading, unloading, rotating, placing models) are all right where you’d expect them.
You can tweak print bed height, position, quality, and support settings too.
Everything comes pre-dialed for beginners, so you can start printing without knowing what’s happening behind the scenes. Controls are intuitive and the learning curve is basically flat.
As you get more comfortable, start nudging individual settings to see what they change. Fair warning: small adjustments don’t always produce visible results. If you want granular slicer control, the CraftBot comes with CraftWare, which gives you over 50 adjustable parameters.
If you’ve used other slicers before, the Afinia software might feel limiting. The print time estimates in preview mode aren’t accurate, and you can’t see where supports will land until after the print.
You also can’t manually disable supports, which got under my skin. Your only option is to print the model and see where the software decided to place them.
The First Prints
A few practice prints is all it takes to get a feel for how the Afinia H480 works. There’s a small LED light on the front that tells you the printer’s status.
It switches between red and green. Green means you’re good to print. Red means something might be wrong.
The manual has a list of states with their corresponding colors to help you troubleshoot. It’s a basic feature, but it’s genuinely nice to know at a glance whether everything is running smoothly.
The printer also communicates through beeping sounds at different stages:
- First beep - Your print file has been fully streamed to the printer. Once you hear this, you can actually unplug the USB cable and let it keep going cordless. Handy if you need that USB port for something else.
- Second beep - The extruder is heated up and ready to start.
- Third beep - This is actually 3 beeps in a row, signaling the printer is about to begin.
- Fourth beep - 5 beeps in a row, meaning your print is finished and the bed has fully lowered.
Simple as it sounds, the beeps combined with the LED light keep you informed at all times. I haven’t seen this on other printers, which is surprising given how easy it would be to implement. Even well-designed machines like the Dremel Idea Builder skip this kind of audio feedback.
The 5-beep finish alert is especially handy if you’re in another room. The sound carries well through walls.
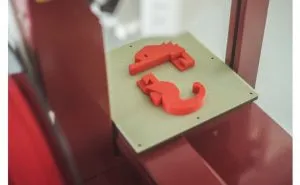
I started out using a perforated board as my print surface. I got tired of it pretty quickly since you’re forced to add rafts for support, then peel them off after every print.
It’s not hard work, just annoying. An extra step that shouldn’t be necessary.
The better alternative is BuildTak. The FR-4 board with BuildTak laid on top makes an excellent printing surface for both PLA and ABS.
If you go this route, install BuildTak on the FR-4 board, not the Borofloat glass. I learned this from experience. Since the FR-4 board is perforated, BuildTak goes on easily with no trapped air bubbles.
That gives you a flat, consistent print surface nearly 100% of the time.
The Print Quality
Print quality is one of the most important things to look for in any 3D printer, and the Afinia holds up well. I ran all my tests at “normal” quality with 0.2 mm layer resolution.
Each model was scored on a scale from 1 to 10, with 10 being the best.
Dimensional Accuracy
This test measures backlash. I printed a 6-disc model stacked on top of each other, with each disc smaller than the one below it.
The print looked nice, but there was up to 0.3 millimeters of deviation. That earns it a 5 out of 10.
Bridging Performance
Bridging performance tests how well the printer handles unsupported spans. I measured five different distances on my model, ranging from 20 millimeters up to 60 millimeters.
The Afinia H480 did decently, but gaps started showing up at the 30 millimeter bridge. Things got worse at 50 and 60 millimeters. I’d give bridging performance a 7 out of 10. The LulzBot TAZ 5 handles bridging more cleanly, though it costs significantly more.
Other Observations
The Afinia H480 3D Printer has a neat feature called Pause At. It automatically stops the printer at specific heights so you can swap in different colored filament.
You set the height in the print menu beforehand. When the printer reaches that point, the print head moves away from the model.
Then you insert the new color filament, hit resume, and the printer continues with the new color. When it finishes that section, it pauses again for another swap if you’ve set one up.
One tip: extrude a small bit of filament before hitting resume. The print head cools down while paused, and jumping straight back into printing can cause issues with the first few layers.
Also, don’t let stray filament strands attach to your model during the swap. Cover the print with a spatula or flat surface while using tweezers to pull away any loose strands.
Using ABS To Print
We recommend PLA for most testing, and that’s what we typically use to evaluate a new printer. But since the Afinia is advertised for both PLA and ABS, I ran several ABS tests as well.
Switching to ABS requires a settings change in the maintenance menu. This adjusts the temperature for both the build platform and the nozzle.
During my first ABS prints, the filament kept popping out of the spool holder even though the spool was heavy. I fixed this by swapping to an external spool holder that I’d actually printed earlier on the Afinia itself.
Beyond that hiccup, ABS print quality came out nearly as good as PLA. Just know that bed adhesion can be trickier with ABS. If ABS is your primary material, the FlashForge Creator X with its enclosed build area handles it more reliably.
If you’re using a clean perforated board with BuildTak, you shouldn’t have much trouble. One tip: make sure the nozzle-to-bed distance is about .1 mm when using BuildTak with ABS. That gets you clean adhesion and solid print quality.
Conclusion
The Afinia H480 3D Printer squeezes solid print quality and some surprisingly thoughtful features into a small, affordable package. The heated bed and automatic nozzle calibration take most of the guesswork away for newcomers.
Print quality has its weak spots — bridging being the most noticeable — but overall you get genuinely good results straight out of the box. Beginners won’t struggle here because the calibration is pre-tuned with them in mind.
The software-based height calibration is a unique touch that’s actually useful for exploring the printer’s capabilities. Throw in a one-year warranty and responsive customer support, and you’ve got a safety net if anything goes south.
The flip side is that this is fundamentally a simple machine. If you’re an experienced user looking to push boundaries, you’ll bump into the limitations pretty fast.
It was designed for beginners, and that’s exactly who should buy it. There’s no direct control over bed temp or extruder positioning. The M3D Micro is another beginner-friendly pick if you want something even smaller.
One thing I noticed: the eight spring clips holding the build surface can wiggle loose mid-print. It’s easy enough to snap them back after each job, but I wish they’d gone with magnetic clips instead.
Afinia clearly set out to build the best beginner printer they could at a fair price, and that’s what they delivered.
If you’re new to this and don’t want to wrestle with technical settings, the H480 is an excellent place to start. Power users should look elsewhere, but for the price and the automation you get, it’s hard to find a better on-ramp into 3D printing.


