
I’ll be honest — the wait for delivery was driving me a little crazy. But once the AIO Robotics Zeus All-In-One 3D Printer showed up, every day of anticipation was justified.
AIO Robotics went big when they launched this through Kickstarter back in October. What separates the Zeus from the sea of crowdfunded printers is how polished it feels — both in features and build quality.
From the moment you crack the box, you can tell somebody cared about this thing. It’s manufactured by one of Taiwan’s biggest 3D printing companies, a factory with decades of production experience behind major brands.
Even the packaging impressed me. Two accessory boxes held the smoked glass turntable, glue stick, and USB WiFi adapter, while the power supply had its own dedicated compartment.
Everything was organized so carefully that I felt confident about the setup before I’d even touched the machine. I lifted the Zeus out and got right to it.
You notice the design choices immediately. On the bottom, two molded indentations serve as handles so you can carry it without worrying about dropping the thing.
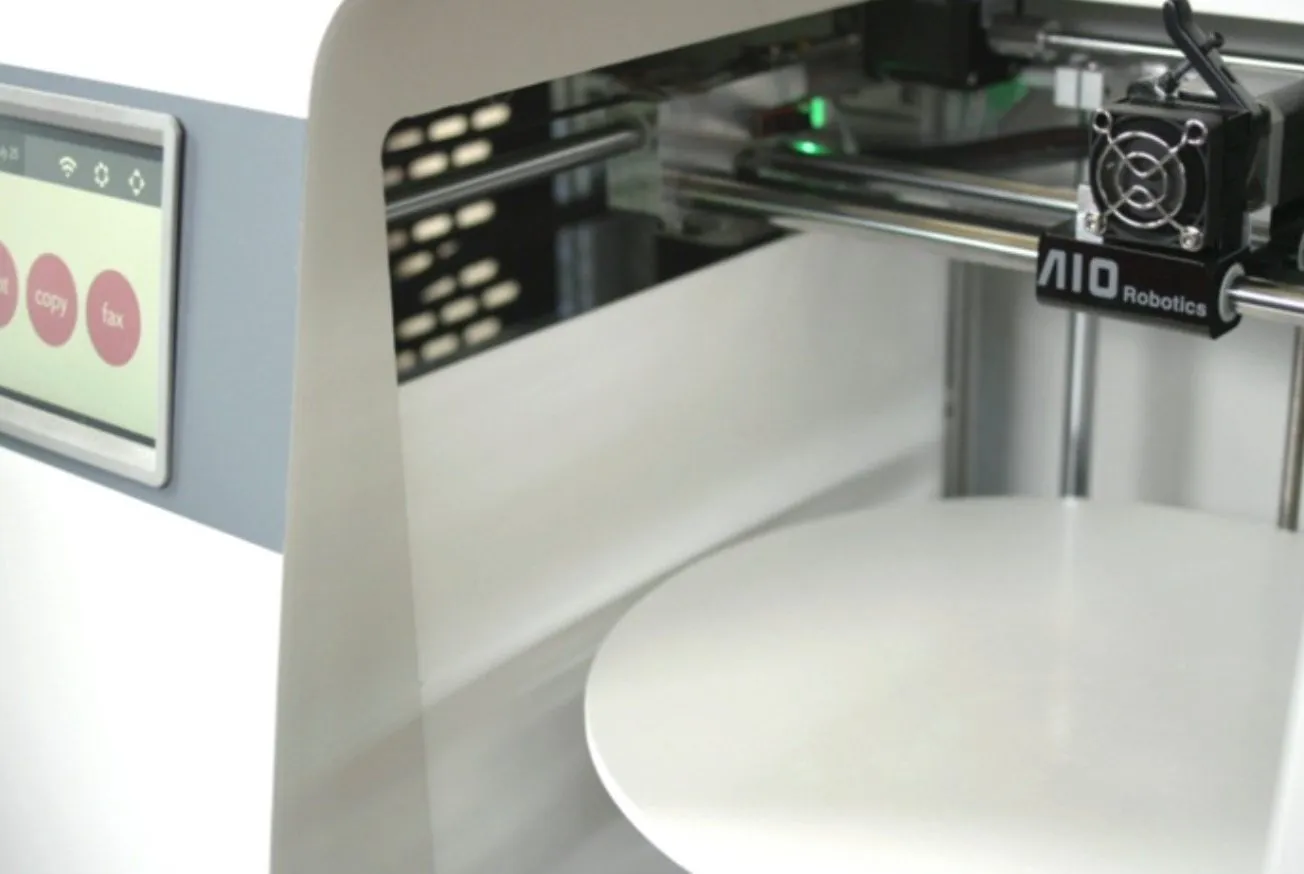
The white body paired with the black smoked hood looks genuinely sharp. And that hood isn’t just for aesthetics — it keeps dust out and creates a sealed, temperature-controlled printing environment.
It won’t turn heads like some flashier designs, but the Zeus is a clean, thoughtfully engineered piece of equipment. The 3D Systems Cube goes for a similar sleek enclosed look, though it doesn’t have a built-in scanner.
Overview

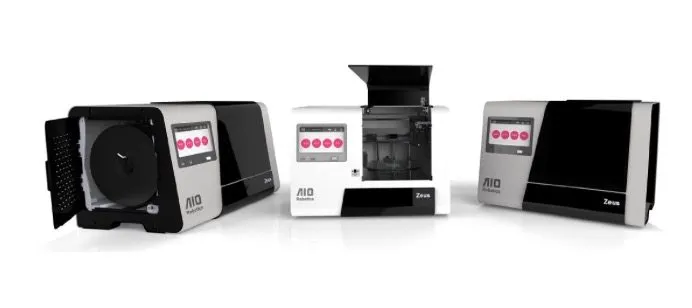
AIO Robotics Zeus All-In-One 3D Printer
A printer and scanner rolled into one machine. The touchscreen, WiFi, and web interface mean you can run this thing completely standalone -- no computer required.
Pros
- All-in-one printer and scanner combo
- Responsive touchscreen and web interface
- Excellent print quality with crisp edges
Cons
- Comes with a premium price tag
- Prints can stick to the glass bed on first uses
Photo Gallery

Key Specifications
| Spec | Detail |
|---|---|
| Build Volume | 150 x 150 x 150 mm |
| Print Speed | Up to 100 mm/s |
| Filament Type | PLA (1.75 mm) |
| Connectivity | WiFi, USB, Ethernet |
| Scanner | Built-in turntable scanner |
| Price Range | Premium |
Importing the Filament
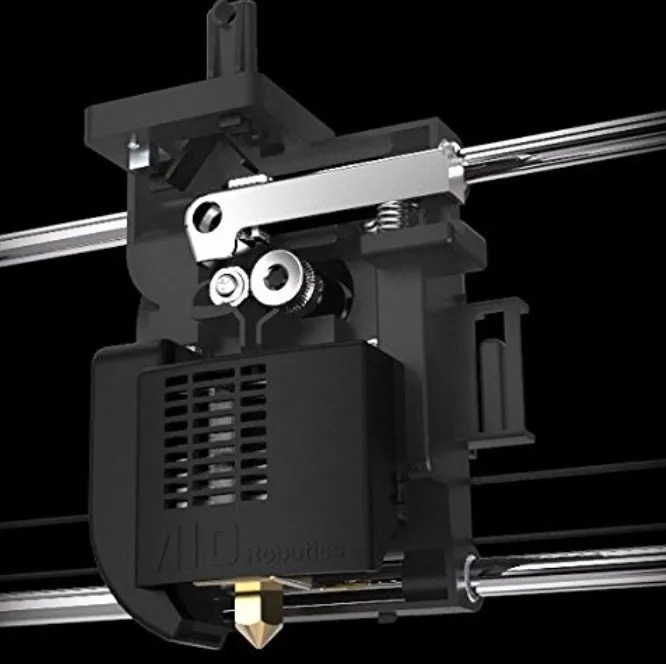
AIO teamed up with Voltivo to nail down the filament specs for the Zeus. Open the hood and you’ll find a free spool of ExcelFil White PLA at 1.75mm.
The sample spool won’t last you very long, but it’s plenty for your first few test prints. Loading filament was simpler than I expected.
You thread it carefully into the PTFE tube running down to the build chamber. Once the strand sits on top of the extruder, hit the release button on the right side.
That primes the extruder so filament flows properly once everything heats up. If you hit any snags during setup, AIO put together a startup video that walks you through the whole thing.
The First Power Up
After watching the startup video, I plugged the WiFi dongle into one of the two USB ports. WiFi on a 3D printer is still surprisingly rare, so it’s a real selling point for the Zeus. The FlashForge Finder is one of the few budget options that also offers wireless.
Both USB ports are right below the touchscreen on the front. Around back there’s the power connection, an ethernet port, and a master power switch.
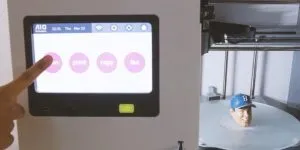
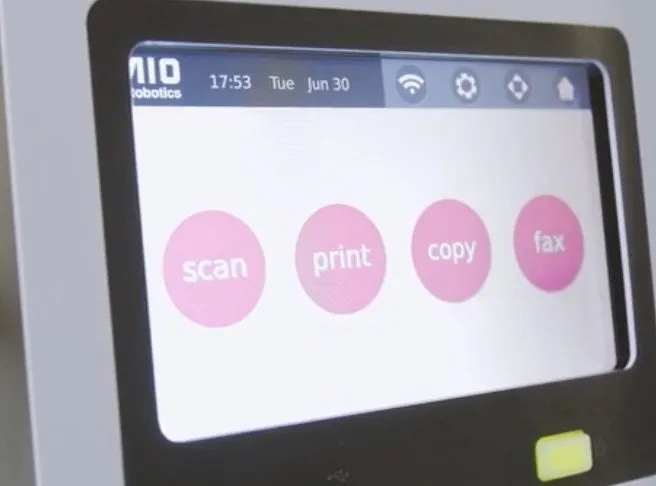
Boot-up took about 40 seconds, and then the start screen appeared with four options: scan, copy, print, and fax. To connect WiFi, you just pick your network on the touchscreen and punch in your password.
I went ahead and calibrated the scanner first. Lay the calibration mat on the turntable, tap “Calibrate” in the settings, and let it do its thing.
A few minutes later, I was ready to start printing.
Software
I accessed the printer on port 8080 to upload STL files through the web interface. This turned out to be the quickest way to get designs loaded.
You can also just pop in a USB flash drive and have the Zeus read STL files straight off it.
The web interface really grew on me. It’s responsive, straightforward to navigate, and works well on mobile devices.
Nothing fancy visually, but it doesn’t need to be. The usability is dialed in. The CraftBot’s CraftWare software takes a different route with color-coded G-code visualization, which is worth checking out if you prefer more visual feedback.
A cosmetic refresh to the interface wouldn’t hurt in a future update, but it’s hardly a deal-breaker. I’d personally love to see AIO open-source some of this software down the line so the community can contribute to the Zeus ecosystem.
For the curious: it’s running Ubuntu on an ARM board under the hood. The touchscreen responded instantly to every press — zero lag, no stuttering.
Heavier operations like slicing introduced a minor delay, but nothing that actually slowed me down.
My First Print
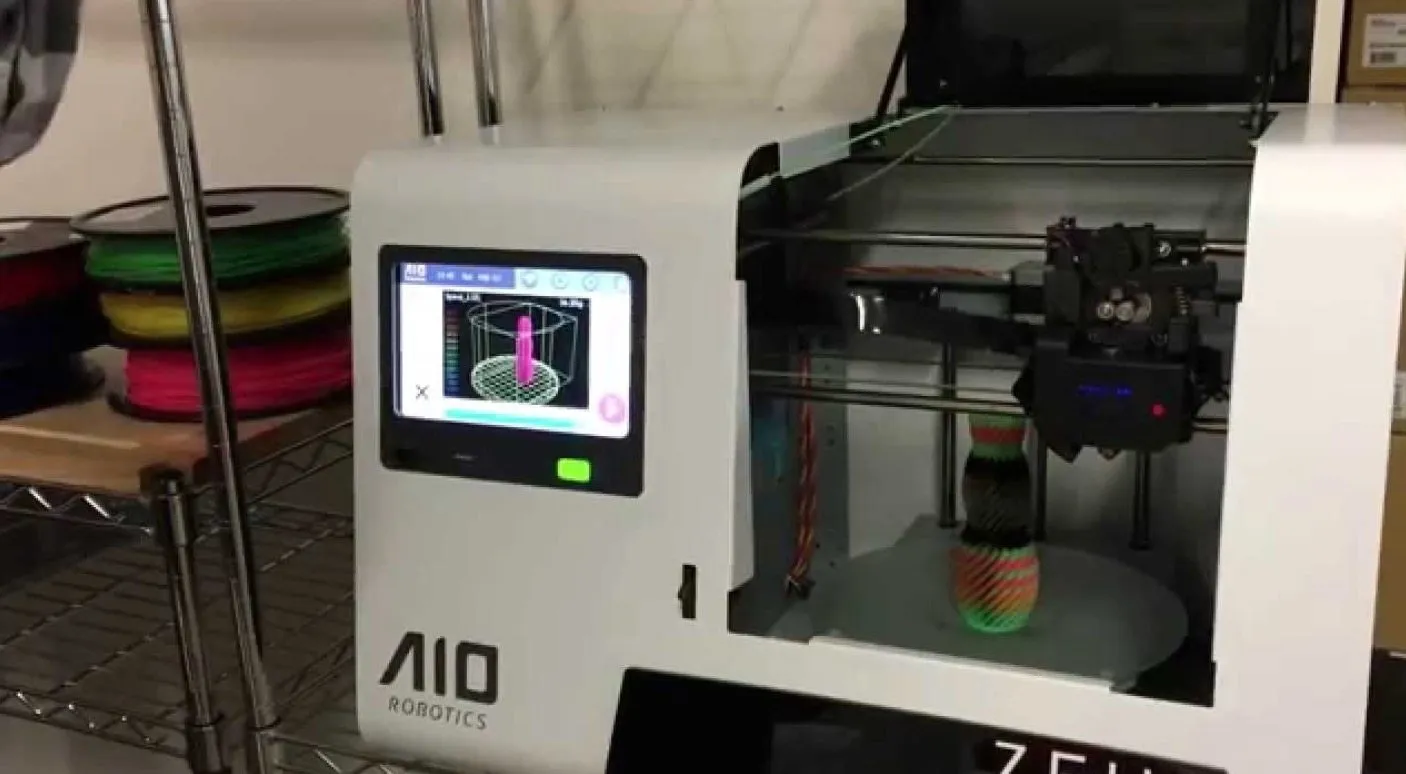
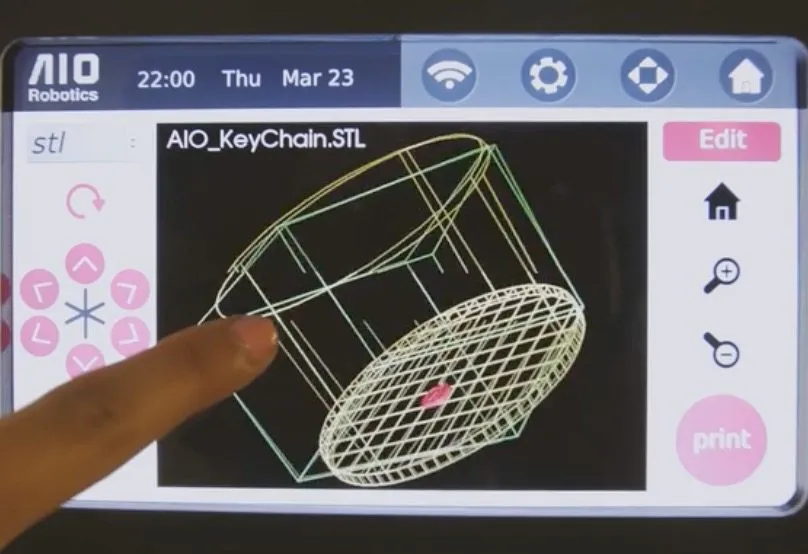
I was genuinely eager to see what the first print would look like from the AIO Robotics Zeus All-In-One 3D Printer. Navigate to the print section on the touchscreen and a model selection window appears.
You choose your model from there — either one of AIO’s pre-loaded demos or your own STL file. My advice: run one of the demos first to make sure everything’s working before you try your own files.
That way if something goes wrong, you’ll know the problem isn’t your model. And here’s the best part: you don’t need a computer at all. The touchscreen and USB port make this a completely standalone machine.
For my first print, I uploaded a model through the web browser and tapped “Slice,” which pulled up the profile options.
The slicing wizard gives you just two settings to worry about. Honestly, some people will prefer that — you won’t drown in menus the way most slicers make you. I went with 0.2mm layers and 30% infill, the same combo I use when benchmarking printers like the MakerBot Replicator 2.
Hit start and the printer jumped straight into generating GCODE, which was fun to watch happen in real time. The model sliced without issues, and the ARM processor had plenty of muscle for more complex geometry too.
Props to AIO for including everything in the box. A UHU glue stick for the print bed keeps your model from fusing to the glass too aggressively.
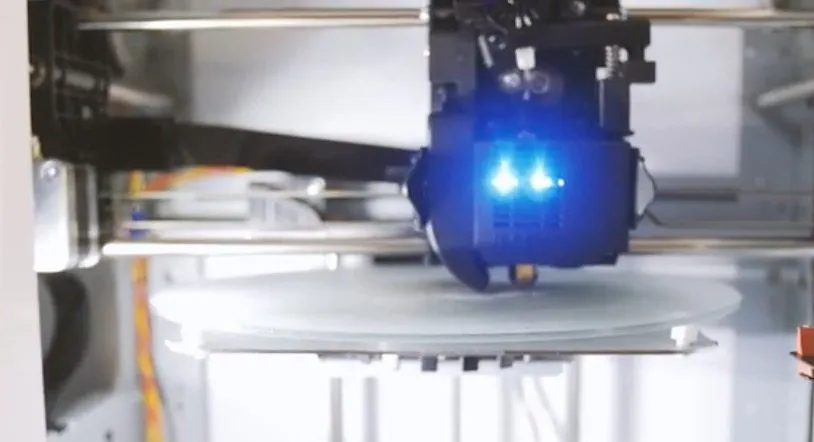
Check out our best practices guide for tips on dialing in your results. The printer doesn’t heat up until you actually press “Print,” and it reaches temperature in roughly a minute.
From there, the extruder and bed run through calibration. A microswitch on the extruder measures the gap to the build plate and corrects the height automatically.
Once warm, there’s a head-cleaning routine — something you almost never see on other printers. That rubber-looking piece on the right front side takes care of it.
I wish they’d stuck a little tray underneath to catch stray filament during cleaning. Minor gripe though. You just peel the extra off the rubber pad and toss it.
Fair warning: your first few prints will probably stick to the plate like they’re glued there permanently. No matter how you prep the bed, expect aggressive adhesion until the surface has broken in over several prints.
With other machines I’ve tested, like the Ultimaker and the Da Vinci, prints released from the heated bed much more easily. The Zeus makes up for it in other areas though. The factory calibration is so precise you barely need to adjust a thing, and once a print starts, you can walk away knowing it’ll finish without babysitting.
Print Quality
On speed, I’d give the Zeus about a 7.5 out of 10. It prints at roughly 100mm/s, which is solid for a non-Bowden extruder setup.
The noise surprised me a bit — that extruder really hustles — but it’s still quieter than a lot of printers I’ve tested. The LulzBot Mini puts out comparable volume while running. If you’re printing in a shared space, just know this isn’t a silent machine.
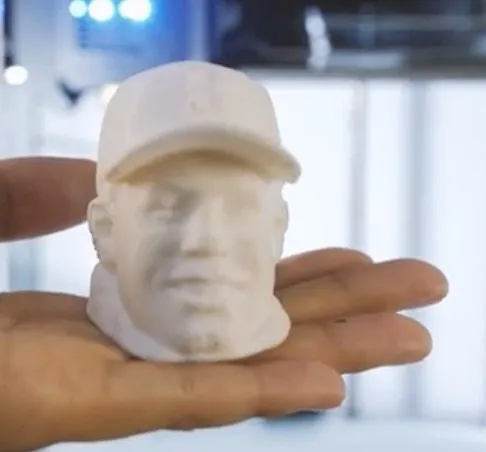
Our first completed print was a small tag, and it came out looking great. Smooth surfaces, a clean outline of our logo, company name crisp and fully legible.
With most printers, I’m reaching for sandpaper or picking off stray strands of filament afterward. Not with the Zeus. The edges came out sharp and well defined, which frankly surprised me at this price tier.
When you’re spending this much, the print quality has to earn its keep. And it does — especially once you factor in that built-in scanner bundled with the package. For a similar price tag minus the scanner, the LulzBot TAZ 5 gives you faster speeds and a bigger build volume.
Frequently Asked Questions
It does, and it's a good one. It works similarly to the MakerBot Digitizer (which typically sells as a standalone unit) and uses a smoked glass turntable for scanning objects.
Totally. Between the touchscreen and USB flash drive support, you don't need a computer at all. There's also a web interface over WiFi if you prefer controlling things from a browser.
It takes 1.75mm PLA filament. A free spool of ExcelFil White PLA from Voltivo comes in the box so you can start printing right away.
Final Thoughts
The AIO Robotics Zeus All-In-One 3D Printer comes with a premium price tag, and I won’t pretend that’s pocket change. But you’re getting real value for that money.
Across the board, first impressions have been strong. That built-in scanner is a massive bonus on its own — it’s comparable to the MakerBot Digitizer, which normally sells as a standalone unit at a significant premium. When you factor that in, the Zeus’s price tag suddenly makes a lot more sense.
If you need a machine that prints well and also scans, this is the clear choice.


