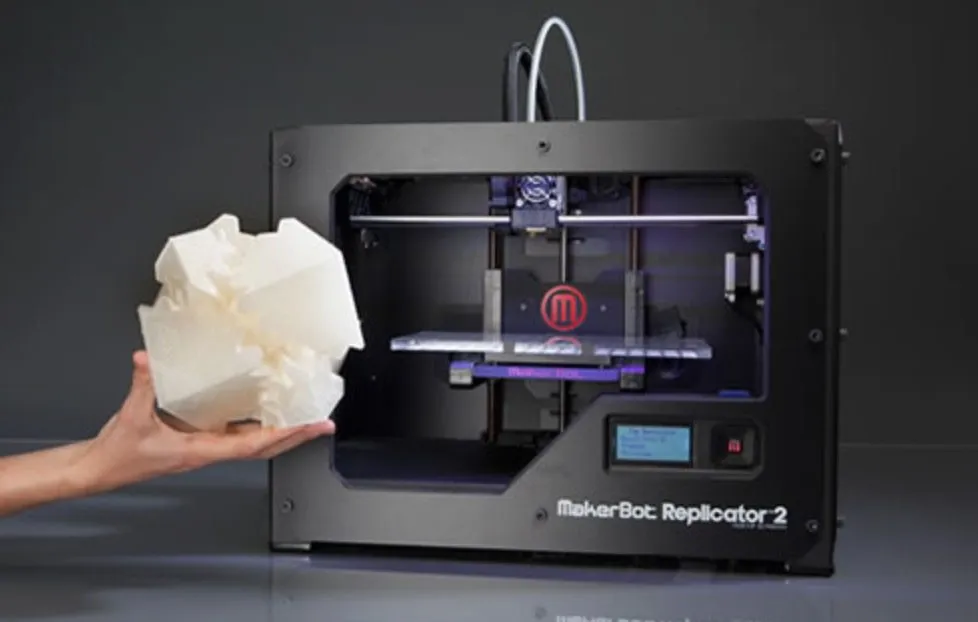
I’d had my eye on the MakerBot Replicator 2 4th Generation Desktop 3D Printer for a while. Everything I read pointed to it being a solid machine.
What kept me on the fence was the price, the ongoing maintenance costs, and a few negative reviews I’d stumbled across. The overall consensus was positive, but those bad experiences stuck in my head.
Eventually I just bought it. Couldn’t stand the back and forth anymore.
It showed up a few days later, and I knew almost immediately that I’d made the right call.
By the time I wrote this review, I’d been printing on it for about a week. Solid experience all around.
Quick note: this is the 4th Generation model. For most people, it’s the sweet spot. You get great prints and a generous build area without paying the hefty premium for the 5th Gen. The FlashForge Creator Pro is based on the same open MakerBot design and comes in even cheaper.
The Unpacking

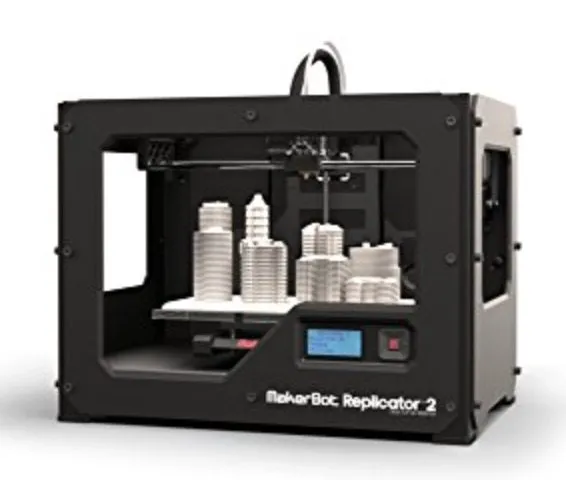
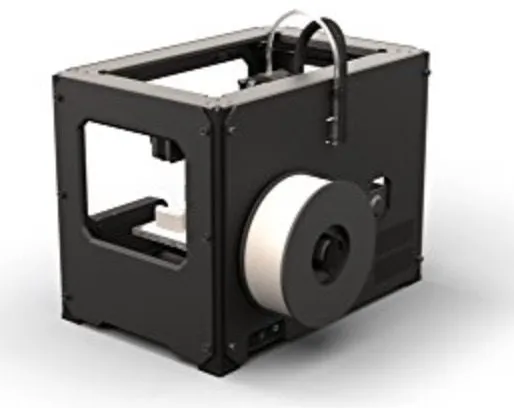
MakerBot Replicator 2 4th Generation Desktop 3D Printer
A solid mid-range printer that produces clean 100-micron prints with a generous 28.5 x 15.3 x 15.5 cm build volume. Great bang for the buck.
Pros
- Excellent print quality with smooth, clean edges
- No recalibration needed after 35+ prints
- Well-packaged with detailed owner's manual
Cons
- Acrylic build plate can warp if not leveled properly
- PLA only without modifications
The MakerBot 2 Replicator 3D Printer arrived in a few days. Quick shipping, so nothing to report there. A friend had already told me MakerBot’s customer service was good, which was reassuring.
First thing in the box is the owner’s manual. I actually sat down and leafed through it, and the level of detail MakerBot put into it impressed me. You can tell they care about the experience.
Underneath the manual is a cardboard tray holding the printer. Everything was well-secured: belts, gears, rods, all locked down with plastic clips, zip ties, and snap-on bars.
I checked every component and found zero shipping damage. That’s not a given with 3D printers. I’ve reviewed machines that arrived with broken parts, and even though companies will replace them, waiting around for replacements is a pain. The Afinia H480 also arrived in similarly great shape with a full tool kit included.
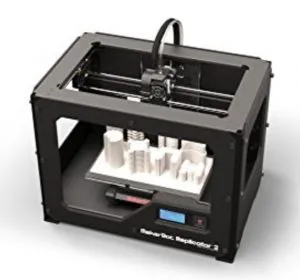
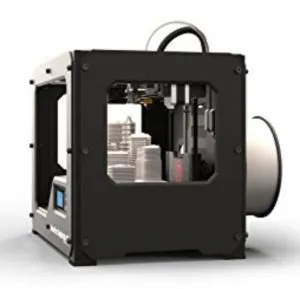
Photo Gallery


Key Specifications
| Spec | Detail |
|---|---|
| Build Volume | 28.5 x 15.3 x 15.5 cm |
| Layer Resolution | 100 microns |
| Positioning Precision | 11 microns (X/Y), 2.5 microns (Z) |
| Filament Type | 1.75mm PLA |
| Technology | Fused Filament Fabrication |
| Stepper Motors | 1.8 degree step angle, 1/16 micro-stepping |
| Bearings | Water-resistant, oil-infused bronze |
| Price Range | Mid-range |
Assembly and Setup
MakerBot puts the manual right on top for a reason: they want you to read it before touching anything. I usually skip manuals, but I’m glad I didn’t this time.
Assembly was straightforward thanks to the detailed walkthrough. Only moment of confusion was the USB cable. Turns out it’s optional, you only need it if you want to print directly from a laptop.
Took me about 2 hours total, reading carefully the whole way. Could you rush through it? Sure. But with a printer at this price point, I didn’t want to cut corners.
Under the hood: fused filament fabrication, 28.5 x 15.3 x 15.5 cm build volume, 100-micron layer resolution, and positioning precision of 11 microns on X/Y and 2.5 on Z.
All bearings are water-resistant, oil-infused bronze. If you care about motor specs: 1.8 degree step angles with 1/16 micro-stepping.
The Importance Of The Build Plate
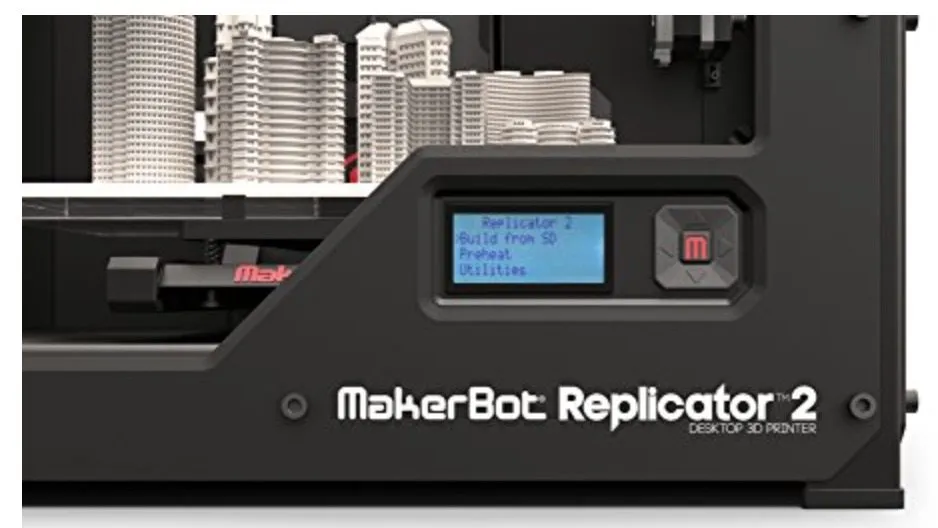
After assembly, I powered it on and followed the LCD prompts through calibration and build plate leveling. Then you load filament into the extruder head and you’re basically ready.
I’ll say this as clearly as I can: leveling the build plate is the single most important step in setting up any 3D printer. Get it wrong and every print will suffer. Doesn’t matter how good the machine is.
When the plate is properly level, the extruder deposits plastic at the right thickness, in the right places, moving in the right direction. That’s what gives you clean results. If manual leveling sounds like a pain, the LulzBot Mini does it automatically before every single print.
When the plate sits too far from the nozzle, you get stringy plastic that won’t bond to the layers below. And here’s the other issue: the build plate on the MakerBot Replicator 2 4th Generation Desktop 3D Printer is acrylic. Tough and hard to crack, but if it’s not level and you keep printing in the same area, uneven heat will warp it over time.
You can replace it, but the cost adds up, especially if you’re printing often. Better to just level it right from the start.
I’d also recommend throwing Kapton tape sheets on the build plate. They give PLA great adhesion and protect the surface, so finished prints pop off cleanly. A pack of these polyimide sheets is very affordable.
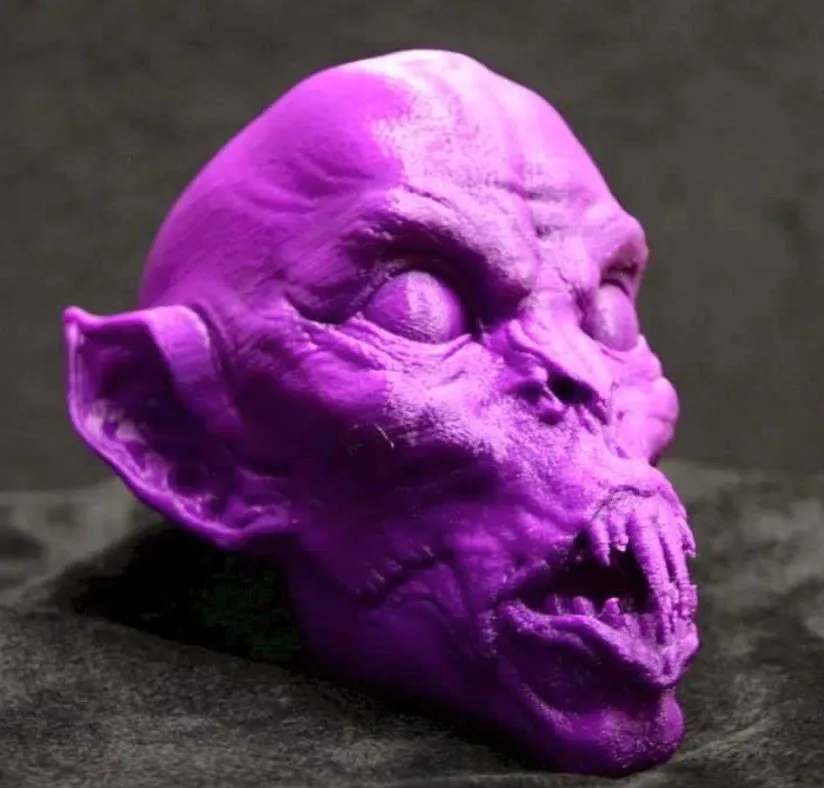
The Print Quality and First Print
After calibration, the printer prompts you to run your first print from the included SD card. Do it. It’s the best way to confirm everything is set up right and working.
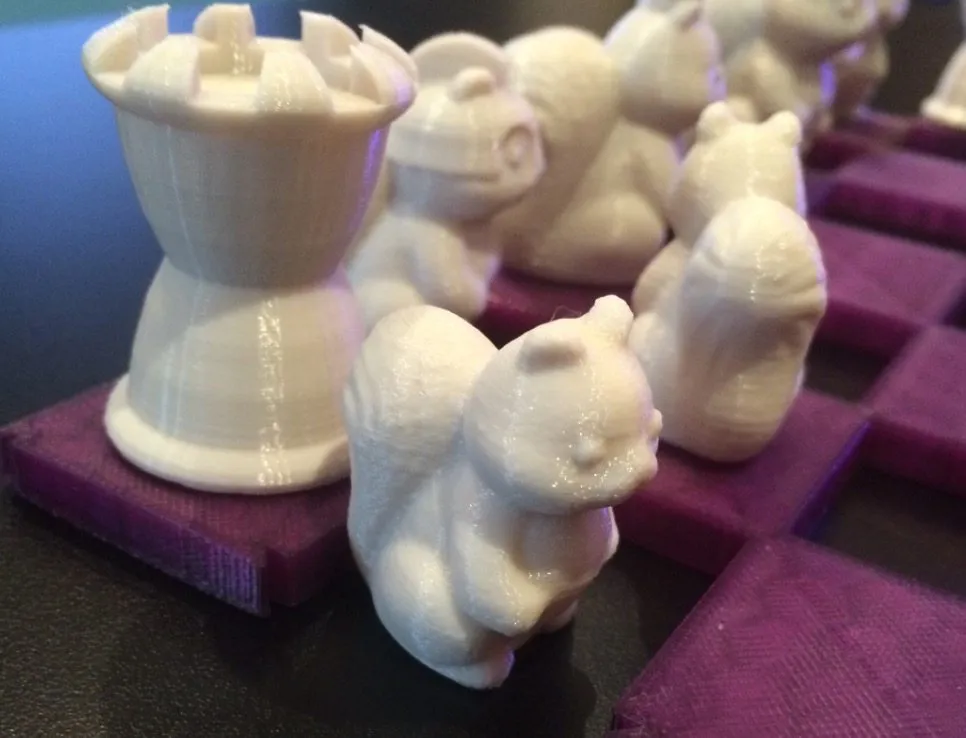
I’d start with the forever bracelet and the nut-and-bolt model. They’ll show you the fine detail this machine can produce and give you a real sense of what the MakerBot 2 4th Generation is capable of.
The slicing software isn’t in the box, but it’s a free download from MakerBot’s site. It handles printing only though. You can’t design or edit 3D models in it.
For that, you’ll need separate CAD software. I’ll be honest, CAD isn’t my strong suit. But free designs are all over the internet if you don’t want to build from scratch. If you do pick up CAD for the first time, be ready for a learning curve.
Blender’s my recommendation. It’s free, powerful, and has an enormous community.
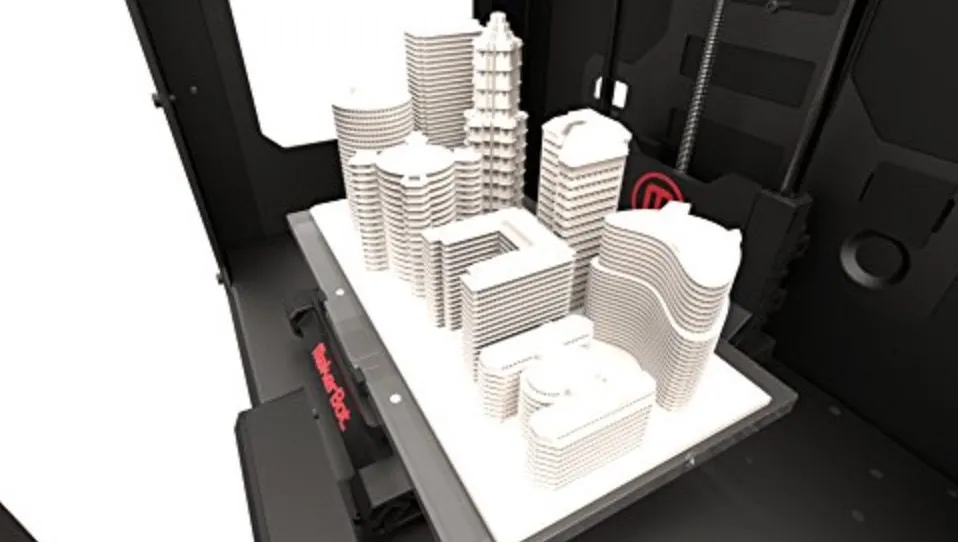
When my first print finished, the detail genuinely surprised me. No scraped edges, no stringy leftover plastic. Just clean, smooth surfaces. The Ultimaker 2 produces comparable edge quality if you’re looking at alternatives in a similar range. Remember those negative reviews I mentioned? My guess is those users didn’t level their build plates properly.
The printer resolves down to 100 microns. Some machines technically go finer, but most of them struggle at those resolutions. The Replicator 2 handles 100 microns consistently well, which matters more than being able to theoretically go smaller.
It’s reasonably fast too. My first build took about 2 hours. Some people complain about the noise, but honestly? It’s not that loud. Step into the next room and you’ll barely hear it.
Out of 37 prints that first week, I had 2 failures. Neither was the printer’s fault. Both were my own CAD mistakes, since I’m still learning the software.
The first one had an unsupported section in my design. I spotted it mid-print and killed the job. The second was pure forgetfulness. I was designing a docking station for my SSD drives and realized I needed 1mm more width. Got distracted adding other features and completely forgot to widen it. The print itself actually came out great otherwise.
If you don’t want to design your own models, check out Thingiverse. Thousands of free STL files with community ratings and reviews. Saves a ton of time.
For filament, I’d go with PLA plastic for most people. It’s biodegradable, made from corn, and melts predictably. Way easier to work with than ABS.
The tradeoff: PLA is more brittle. It’ll snap clean under stress, while ABS flexes back and forth before breaking. The FlashForge Creator X handles both materials well thanks to its enclosed build chamber and heated bed.
One more thing: ABS smells like burning plastic while printing. PLA barely has any odor. Both produce quality results though, so it’s worth testing each one before committing.
Frequently Asked Questions
The MakerBot Replicator 2 uses 1.75mm PLA filament. PLA is biodegradable, has a faint stench compared to ABS, and produces high-quality prints with predictable melt behavior.
Assembly and setup takes about 2 hours if you read through the manual carefully. The LCD screen walks you through calibration and build plate leveling step by step.
It delivers print quality comparable to printers costing significantly more. After 35+ prints without needing recalibration, it offers excellent value for hobbyists and semi-professional users.
Final Thoughts
One week in with the MakerBot Replicator 2 4th Generation Desktop 3D Printer and I’m genuinely impressed. I went in knowing that printers need maintenance and occasional parts, which adds to the real cost of ownership.
But here’s what surprised me: after the initial setup, I haven’t recalibrated once. 35+ prints and counting. That’s exactly what MakerBot was aiming for. More printing, less fiddling. The Dremel Idea Builder has similar reliability and went over 200 prints without a jam in our testing. At this price, that’s the kind of consistency you should expect.
It also undercuts premium printers that produce equal or worse quality. The next step up is the 5th Generation Desktop Printer, but I wouldn’t recommend it unless you absolutely need top-tier output and have a much larger budget to work with.
I originally bought this to print some fans and air ducts for my computer. My project list has since ballooned to 60+ items because the quality keeps surprising me. If you need more material options for functional parts, the LulzBot TAZ 5 prints nylon and polycarbonate alongside standard filaments.
I’m going to get my money’s worth out of this machine several times over. Those concerns I had before buying? Completely unfounded. Couldn’t be happier with the purchase.
Update: Two months in and I still haven’t found a single error or defect. MakerBot’s support team has answered every question I’ve thrown at them.
I’ll update this article if anything changes.


