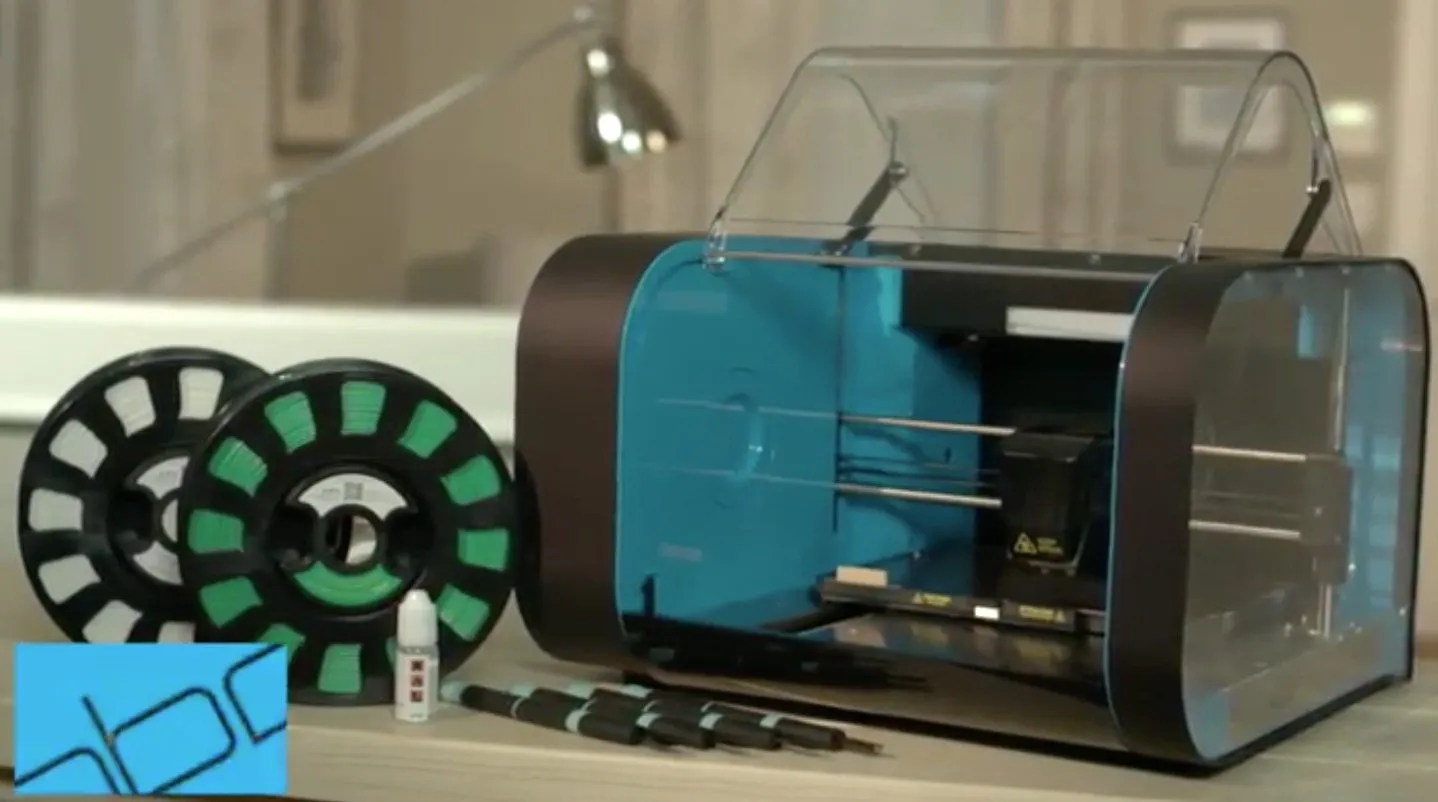
I got the CEL RBX01 Robox 3D Printer sent over for review, and I was curious to see what Hobby King could pull off. If you’re familiar with them, you probably know them from the RC world — airplanes, cars, drones, that kind of thing.
Well, they’ve gone and jumped into 3D printing. The Robox is their flagship machine, and it’s got some tricks I haven’t seen anywhere else.
Overview

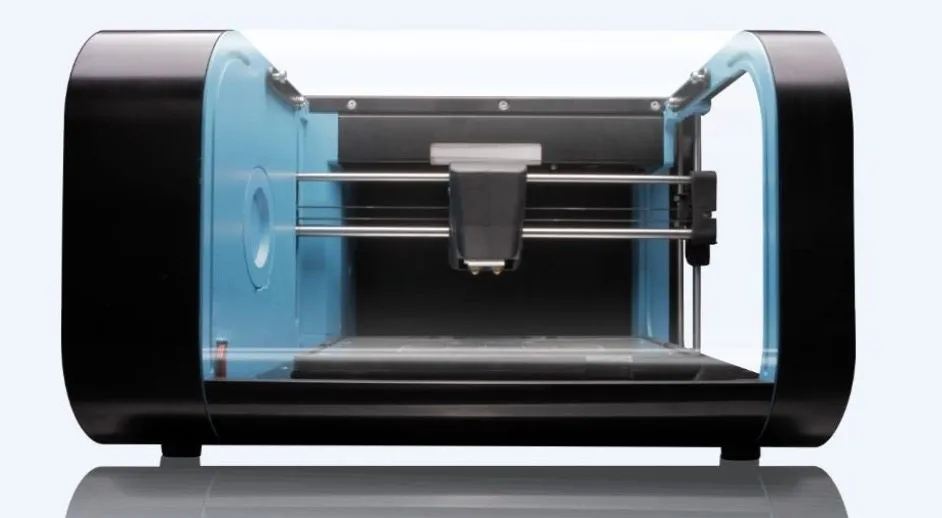
CEL Robox RBX01 3D Printer
An enclosed printer with a clever dual nozzle system, automatic calibration, and a lockable enclosure that's perfect for schools.
Pros
- Innovative dual nozzle for speed and detail
- Automatic calibration before every print
- Excellent safety features for classrooms
Cons
- Print head is not user-serviceable
- 100mm height limit is restrictive
Yes, the build height is on the shorter side for the price. I won’t sugarcoat that. But the fully enclosed chamber and dual extruder setup go a long way toward making up for it. And here’s where it gets interesting — both extruders run off a single filament input.
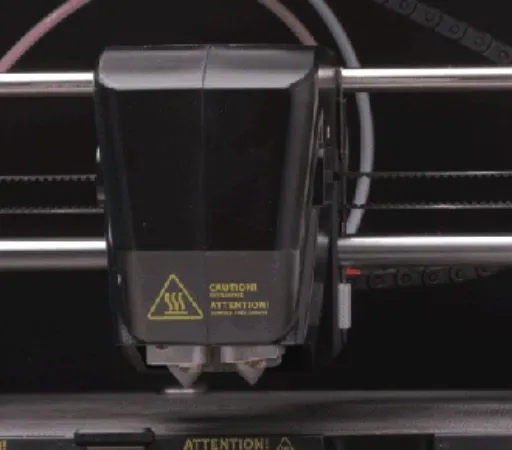
I know that sounds weird, so let me break it down. The Robox is one of very few machines I’ve encountered that runs dual nozzles from one material feed. It uses a needle valve system where the nozzles physically tilt out of each other’s way during printing. You get a 0.3 mm nozzle for detail work and a 0.8 mm nozzle for speed, both sharing the same filament path.
Why should you care? Because you can blast through a rough draft with the fat nozzle, then flip to the fine one when precision matters. Or combine them on a single print. When I tested this, nobody else was offering anything like it.
Honestly, it’s a pretty clever piece of engineering. Hobby King also had a dual material upgrade in the works, which would open up multi-material printing down the line.
Photo Gallery

Key Specifications
| Spec | Detail |
|---|---|
| Build Volume | 210 x 150 x 100 mm |
| Technology | FDM/FFF |
| Nozzles | 2 (0.3mm and 0.8mm needle valve) |
| Filament | 1.75mm, chipped cartridge system |
| Heated Bed | Yes, up to 125°C |
| Auto Bed Level | Yes, before every print |
| Enclosure | Lockable, fully enclosed |
| Price Range | Mid-range |
Safety
If you’re looking at printers for a classroom, pay attention here. The enclosure drops down easily, and the moment printing kicks off, it locks. Physically locks. Not some software warning — an actual mechanical latch.
Hardly any printers do this. The 3D Systems Cube is enclosed too, but there’s no active lock keeping curious fingers out. On the Robox, the bed slides backward during printing and engages the lock automatically.
Once the print wraps up and the bed comes forward, a lever releases the door. If you really need to get in during a print, you can slide a thin card in to pop the tab. I probably wouldn’t demonstrate that little workaround to a room full of kids, though.
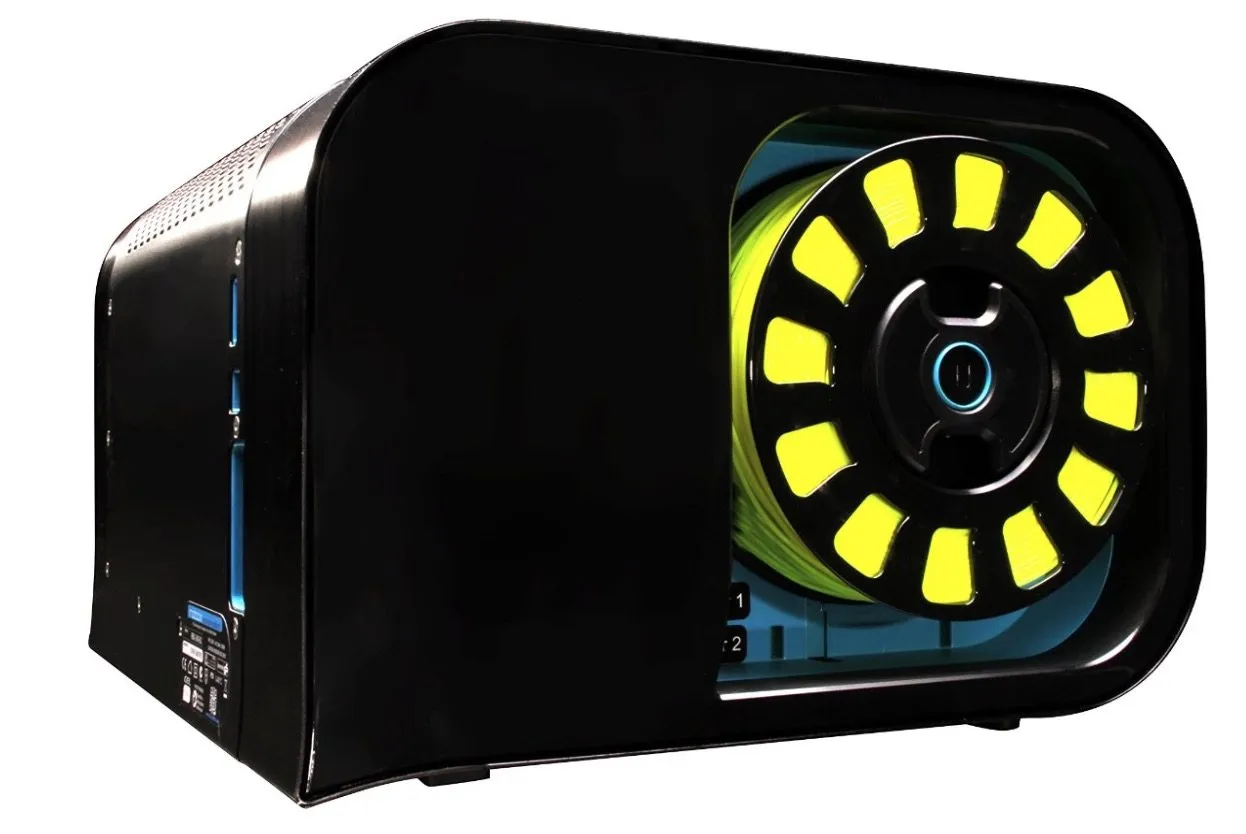
Filaments
So about those filament cartridges. Each one has a little chip embedded in it, and your first thought might be “great, another inkjet-style lockdown.” It’s not quite that bad.
The chips communicate with the software to track what’s loaded, how much is left, and your usage history. I had the best results with 1.75mm PLA, and I also pushed some copper filament through without a hitch.
Third-party materials? They’ll work, but be careful. That print head is delicate and specialized. If something goes wrong in there, you can’t crack it open and clean it out yourself.
As long as you understand that trade-off, you’ll be fine. It’s a big part of why I’d steer this machine toward schools, presentations, or anyone who values reliability above all else.
The thing just works. Calibration is automatic. And if the filament jams? The printer catches it and pauses on its own.
That’s rarer than you’d think. The Dremel Idea Builder is another solid reliable option, but it won’t catch a filament jam the way the Robox does.
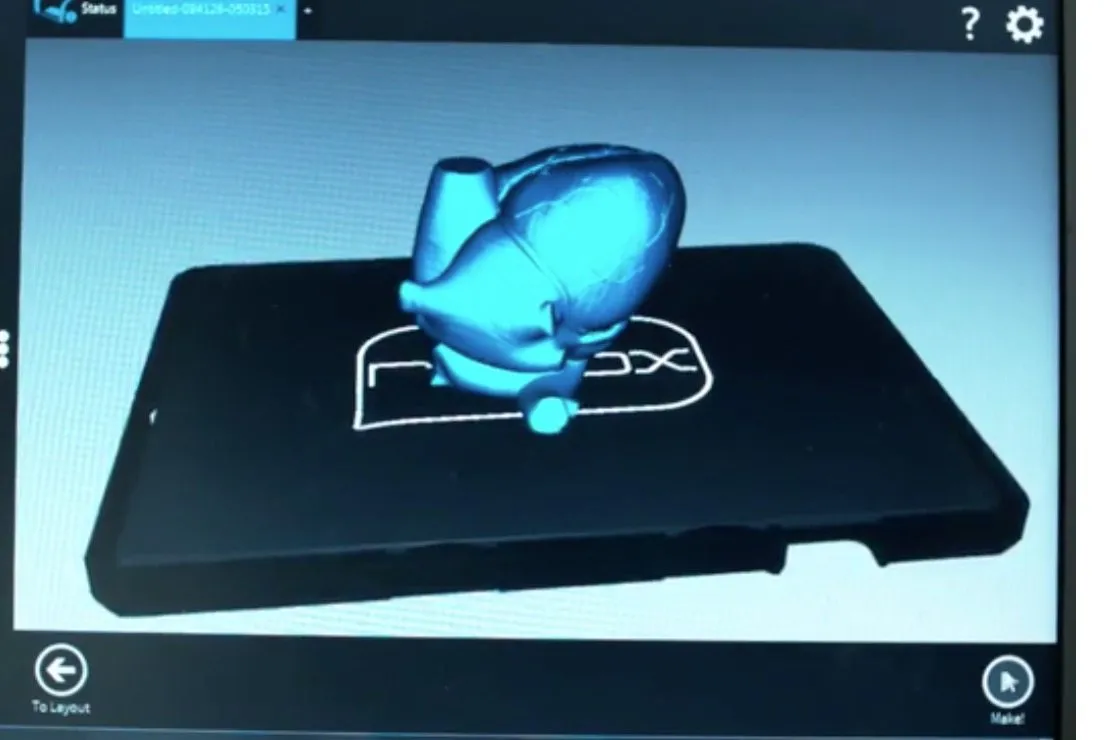
Interaction and Software
Here’s something that caught me off guard: there’s nothing on the machine itself. No screen, no buttons, no menu. Just one lone button on the side for filament changes. Everything else goes through the Automaker Slicing Software.
I get why that bothers some people. But honestly? Once you start using it, you don’t miss the on-board controls. The software is clean and easy to pick up, and the newer Automaker version is a real step forward — it uses Cura or Slic3r under the hood for slicing. If you crave deeper customization, the CraftBot’s CraftWare slicer gives you 50+ tweakable settings.
Slicing was fast, and rafts and supports snapped off cleanly every time. My one complaint? The time and material estimates for fine-detail prints took an eternity to calculate. Just sitting there… crunching… waiting.
The actual workflow is simple enough. Upload your file over USB, the machine caches it to internal memory, and you can unplug and walk away while it prints.
Fair warning though — if you disconnect your computer, you lose the ability to monitor temperature or check time remaining. The printer keeps going just fine, but you’re flying blind until you plug back in.
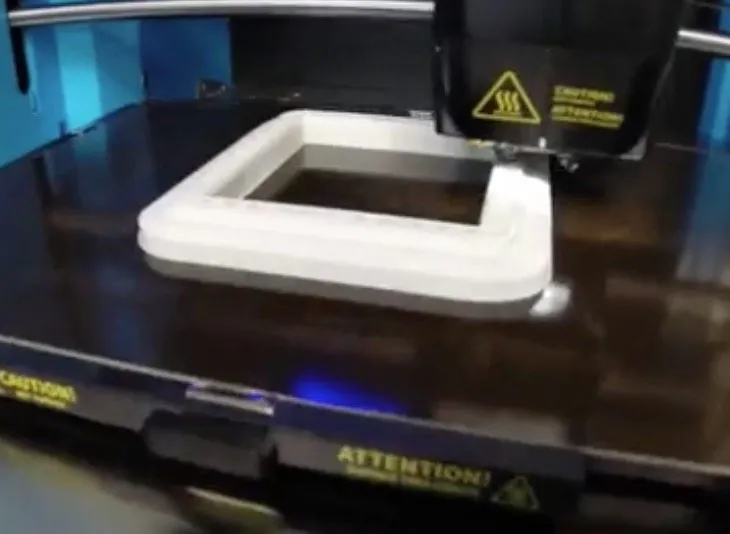
Printing
The auto-arrange function has a few quirks. It occasionally insists a print is outside the build volume when it clearly isn’t. Annoying, but still useful for layout. What bugged me more was really feeling that 100 mm height limit during actual use.
I had to shrink a couple of prints because they were just barely over 100 mm. Not a dealbreaker, but it does sting when a budget option like the Fabricator Mini gives you 80 x 80 x 80 mm. You won’t get the same quality from the Fabricator, but for beginners it’s worth a look. The CEL RBX01 Robox 3D Printer sits in the mid-range tier.
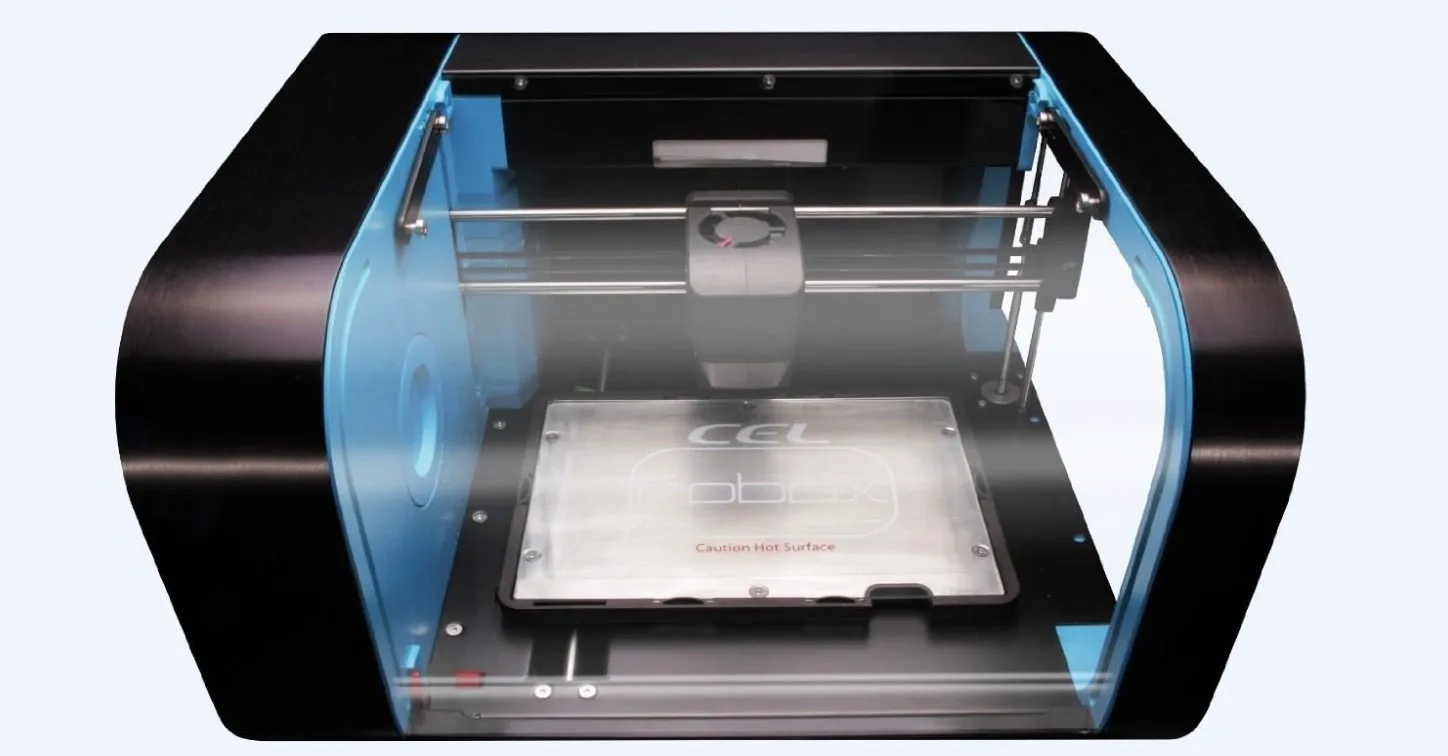
Now, the heated bed hits 125 degrees Celsius, which puts the Robox in a small club of printers that can handle ABS without warping issues. The print surface slides out easily once you release the latches.
It’s a thin fiberglass-like plate with two sides — sandy for better grip, glossy for a smoother bottom finish. Just flip it depending on what you need.
This setup works surprisingly well. Adhesion was never a problem for me, though I did notice slight warping with ABS.
Here’s where I ran into trouble, though. With the sandy side up, my bed could still shift 2 to 3 mm side to side, even when “locked.” My very first Robox print came out slightly skewed because of it.
The printer itself was working perfectly. The bed just had play in it. Imagine a beautifully engineered car where the steering wheel is attached with string. That’s what it felt like.
I’m pretty sure this was a batch issue. Other Robox units I’ve tested didn’t have this problem.
My fix was dead simple: wedge a few pieces of card near the latches to hold the bed tight. Problem solved. Still, I shouldn’t have needed to do that on a mid-range machine at this price point.
One thing I do like — before each print, the Robox purges its nozzle by squeezing a tiny bit of plastic into a small cup. Keeps things clean. Just don’t forget to put that cup back in with the bed. Occasionally the purged filament clings to the nozzle, but that only happened to me with ABS. Never once with PLA.
Automatic Tracking and Calibration
This might be the Robox’s best party trick. Before every single print, the CEL Robox 3D Printer touches its head down at multiple points across the bed, then compensates in software for any unevenness. You get a perfectly leveled first layer without lifting a finger.
If you’ve ever fought with an i3 and its four thumbscrews, you know exactly why this matters. It’s a game changer for beginners especially. The LulzBot Mini does something similar before every job, and both machines make manual leveling feel like ancient history.
Here’s the thing people forget — beds drift. You might nail a print on Monday, then come back Friday and nothing sticks. The Robox handles this by calibrating every single time. You can’t even skip it if you wanted to.
My favorite feature on the entire machine, hands down.
Remember those chipped filament cartridges I mentioned? They track remaining filament, temperature, and usage. But here’s what’s cool — even if you’re using unchipped third-party filament, the Robox still detects jams, feed problems, and empty spools.
That matters more than you’d think. I can’t count the number of times I’ve walked back to another printer only to find it grinding away on an empty spool, with burnt PLA clogging the nozzle beyond repair.
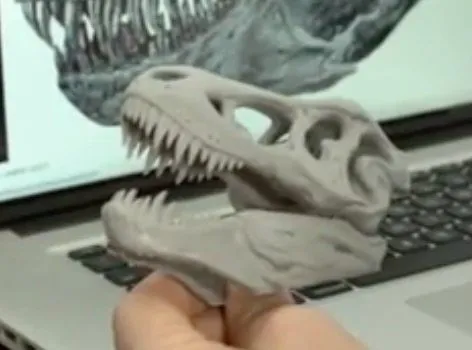
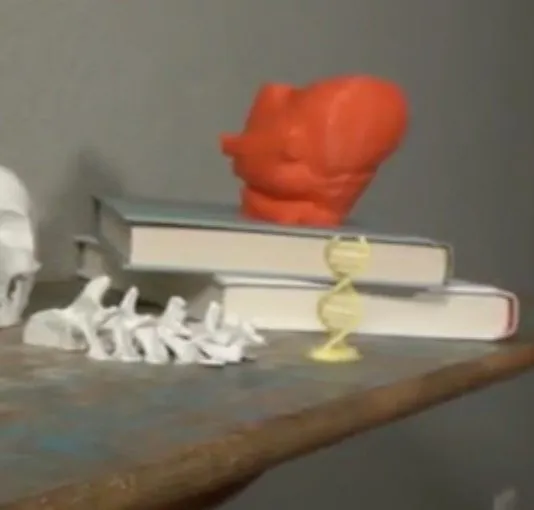
Print Quality
At this price point, you’d better be getting good prints. We’ve covered the reliability angle — now the real question: how does the output actually look?
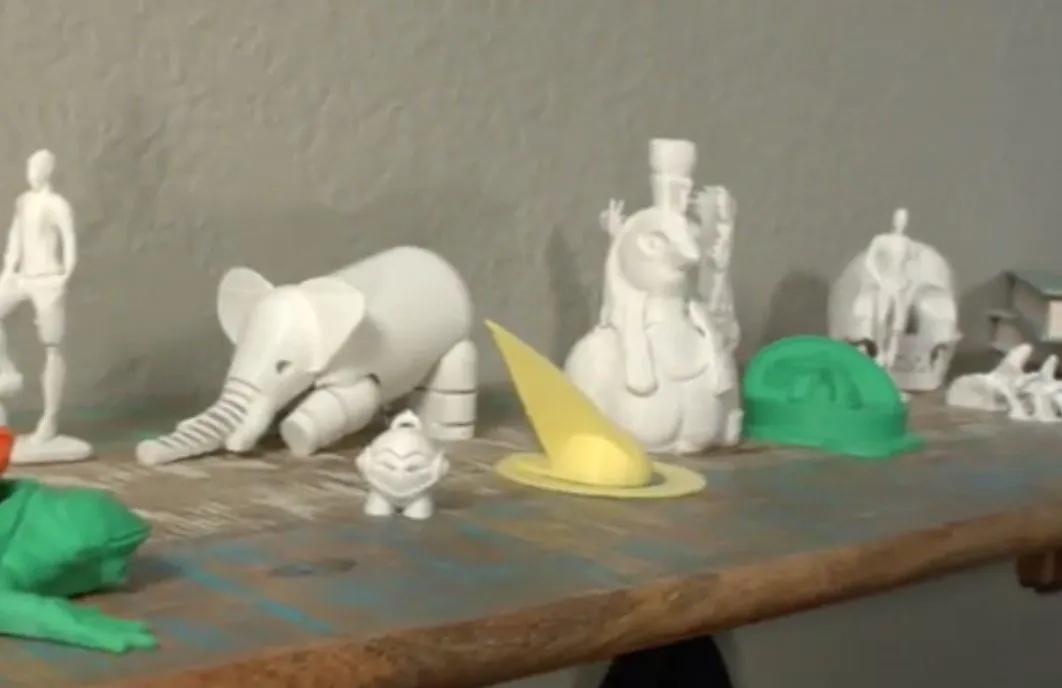
The Robox can go down to 20 microns, though I only tested as fine as 100. And at that resolution, the results were impressive. Seriously smooth.
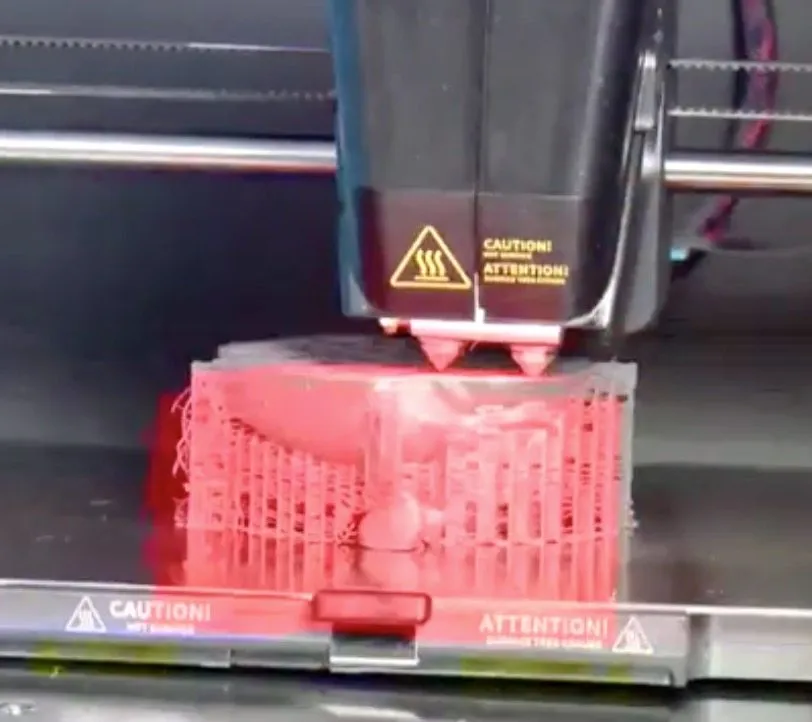
I printed a threaded test egg in copper PLA, and it came out beautifully. Clean threads, no support material required, and a finish that genuinely looked polished. The MakerBot Replicator 2 delivers similarly smooth results at 100-micron resolution, for reference.
Switching to the 0.8 mm nozzle? Way faster, but you can see the quality drop. I’ll be honest though — I kind of liked the rougher look. There’s this wire-like, almost handmade texture to it that has its own appeal.
Not for everyone, obviously. And you will probably see some stringing. Keep in mind, all my prints used default settings. With proper tuning, I could almost certainly push the quality further.
Something worth mentioning — these machines evolve. The moment I launched the CEL Robox 3D Printer software, it prompted a firmware update. So I ran prints on both versions to compare.
Night and day. The first print had a slightly melted top. After the update, that issue vanished completely. Hobby King is clearly investing in improvements post-launch, and that’s reassuring. The fine nozzle in particular blew me away with how much detail it captured.
I also ran ABS through the machine using Grey ABS filament. No warping. Both nozzles handled it well, but the 0.3 mm was on another level — perfectly flat output with zero curl. That’s better ABS performance than I got from the FlashForge Creator Pro, which still showed occasional minor warping.
Credit goes to the raft system and a bed that heats to 125 degrees. That combo is the Robox’s secret weapon for ABS.
Just make absolutely sure the bed is shimmed tight so it can’t slide around. That loose bed was the only real flaw I found, and I’m still hoping it was just my unit. Everything else about the mechanics is genuinely well done.
Frequently Asked Questions
Yes, but with caution. The Robox best takes 1.75mm PLA and can also use copper filament. However, the print head is delicate, and using incompatible third-party filament could damage the nozzles, which are not user-serviceable.
Yes. Before every single print, the Robox touches its head to various points on the bed and uses software compensation to automatically level itself for a perfect first layer every time.
Yes. The lockable enclosure cannot be opened while a print is in progress. The door locks as the bed moves backward during printing, and you can network 10 to 20 printers together managed by one PC.
Final Thoughts
If you’ve already got other printers and you’re considering adding the Robox, there’s one thing you need to understand upfront: that print head is not something you can tinker with. The nozzles tilt, they use needle valves, and none of it is user-serviceable.
A dust clog or a bad reaction to some third-party filament? You’re not opening that up at home. You’d be replacing the whole head. That’s the trade-off, and it’s the biggest concern I have with this machine.
So don’t be rough with it. Treat the head with respect and it’ll treat you right.
At its core, the Robox is built to do one thing — reliably produce quality prints. That’s it. And it nails that mission.
Where this printer truly belongs is in schools and classrooms. You can daisy-chain 10 to 20 of them to a single PC, managed by one person. Bed leveling? Automatic. Filament monitoring? Automatic. All a student needs to do is design the model and load a cartridge.
That simplicity is what makes the CEL Robox 3D Printer such a strong pick for its target audience.


