The FlashForge 3D Printer Creator Pro is, at its core, a MakerBot Replicator clone. But it ships with every community-requested improvement already baked in.
I’d argue it’s actually better than the Replicator 2X, and it costs roughly half as much. Try poking holes in that value proposition.
I’ve owned MakerBot Replicators for years. I’m a fan of the platform — solid support, dependable hardware. Thousands of prints without major headaches.
The form factor is right too. Big enough build area for serious projects, small enough to share a desk with your other stuff.
Overview
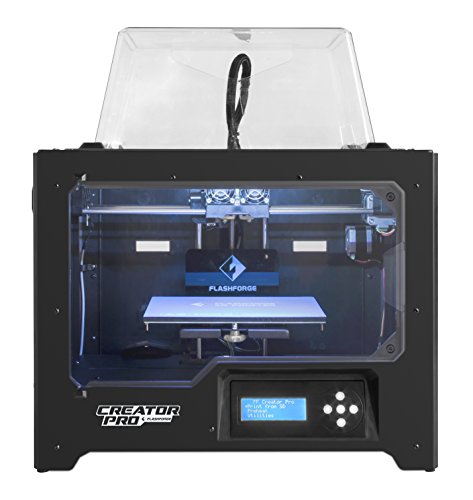
FlashForge 3D Printer Creator Pro
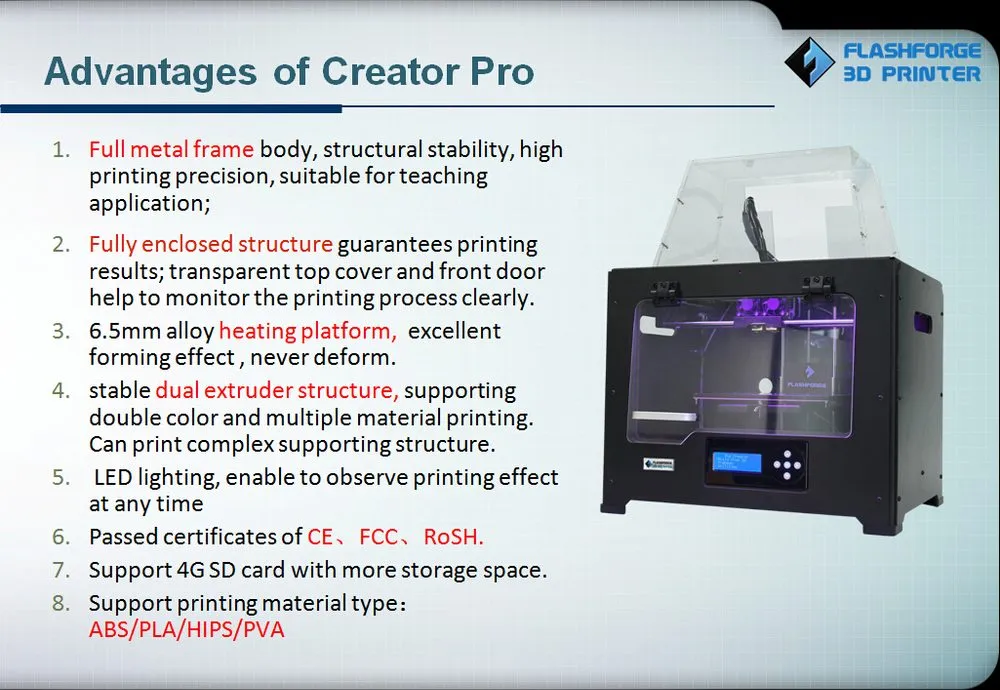
Takes the MakerBot Replicator design and improves on it with metal build arms, an enclosed build area, Sailfish firmware, and a heated bed. All for about half the price.
Pros
- Excellent value at half the Replicator 2X price
- Metal arms prevent build platform sag
- Consistent prints without frequent re-leveling
Cons
- Extruder has PTFE lining limiting high-temp materials
- Voltage switch not clearly documented
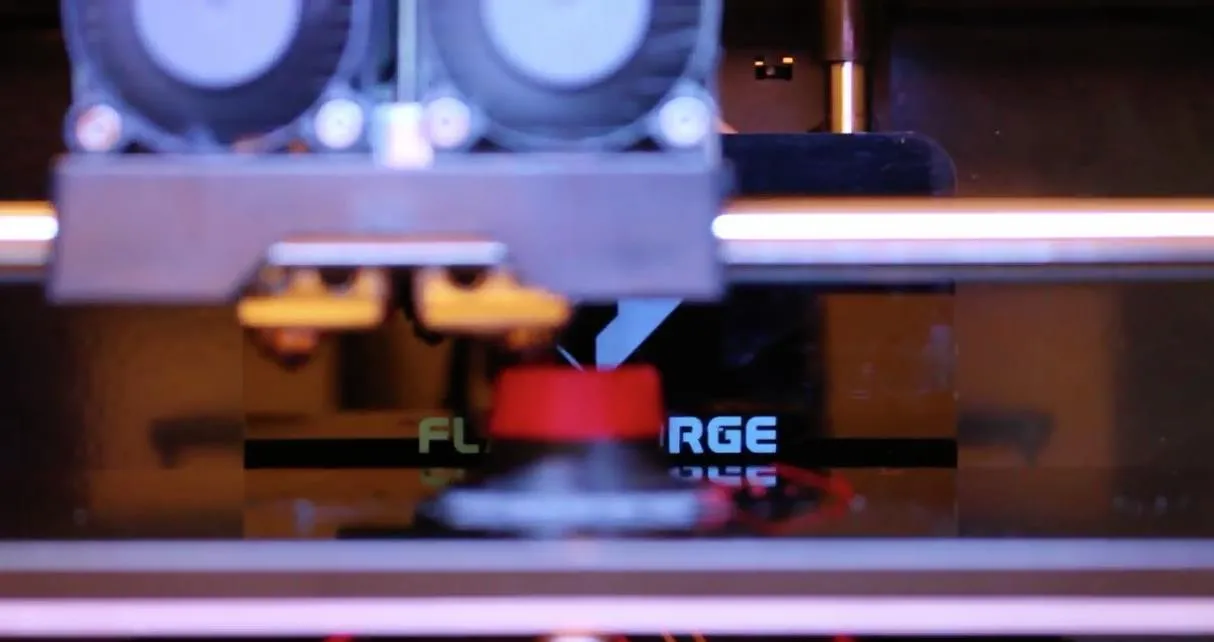
Having two extruders changes how you work. Print with one while the other’s getting cleaned. Keep ABS loaded in one and PLA in the other. Swap materials on the fly without reloading. It’s genuinely convenient.
The heated bed handles ABS, Nylon, PLA, bronze, wood — you name it. The LulzBot TAZ 5 has an even wider material range including polycarbonate and Ninjaflex, though you’ll pay significantly more for it.
What truly makes this ecosystem special is the MakerBot community. I can’t overstate this.
Every time I’ve hit a wall — design issues, hardware limitations, firmware quirks — the community already had a solution. Better extruders, metal platform arms, Sailfish firmware. That support network is a huge part of why I’m comfortable recommending the FlashForge 3D Printer Creator Pro.
My old printer was showing its age and I needed a supplement. I read more reviews than I care to admit, compared specs for weeks, and ultimately decided against MakerBot’s latest model.
Instead, I went with the FlashForge Creator Pro. It takes the open Replicator design and rolls in the community’s best upgrades from day one. Exactly what I wanted.
Let me walk you through what I found.
Photo Gallery

Key Specifications
| Spec | Detail |
|---|---|
| Extruders | 2 (dual) |
| Filament Type | ABS, PLA, Nylon, Bronze, Wood (1.75mm) |
| Heated Bed | Yes |
| Build Area | Enclosed |
| Frame | Metal with plastic skin |
| Firmware | Sailfish |
| Connectivity | USB, SD Card (X3G format) |
| Bed Leveling | 3-point with wing nuts |
| Power Supply | Internal |
| Price Range | Mid-range |
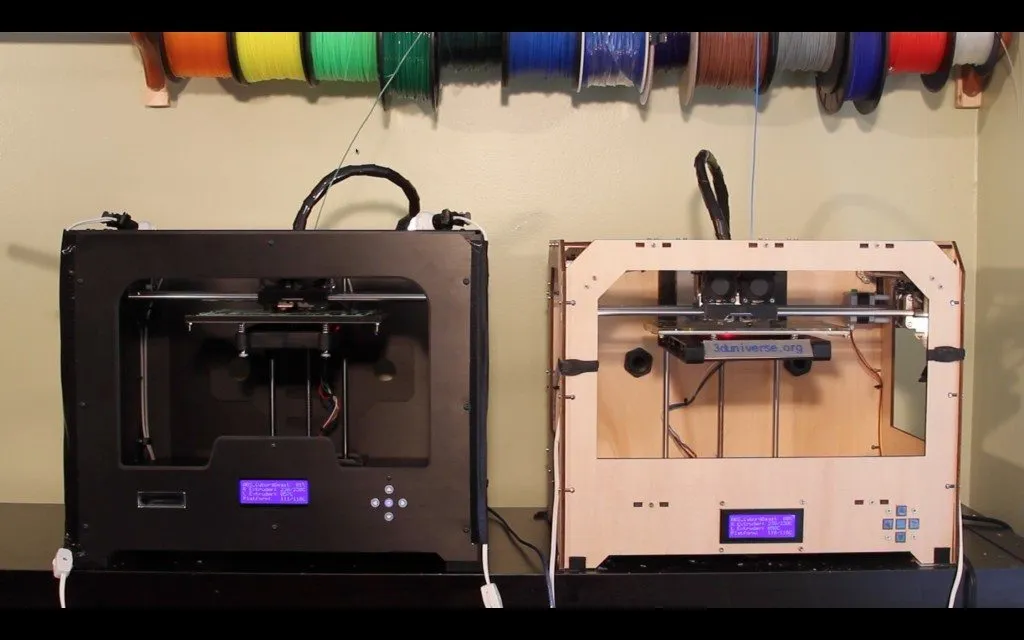
How The FlashForge Creator Pro Is Similar To The MakerBot Replicator
Side by side, the FlashForge Creator Pro and the MakerBot Replicator look like siblings. Metal frame, plastic skin, professional appearance. The FlashForge isn’t quite as polished as MakerBot’s injection-molded shells, but it’s clean enough for an office.
That metal frame isn’t just for looks. It’s rigid, and rigidity means better prints with finer detail.
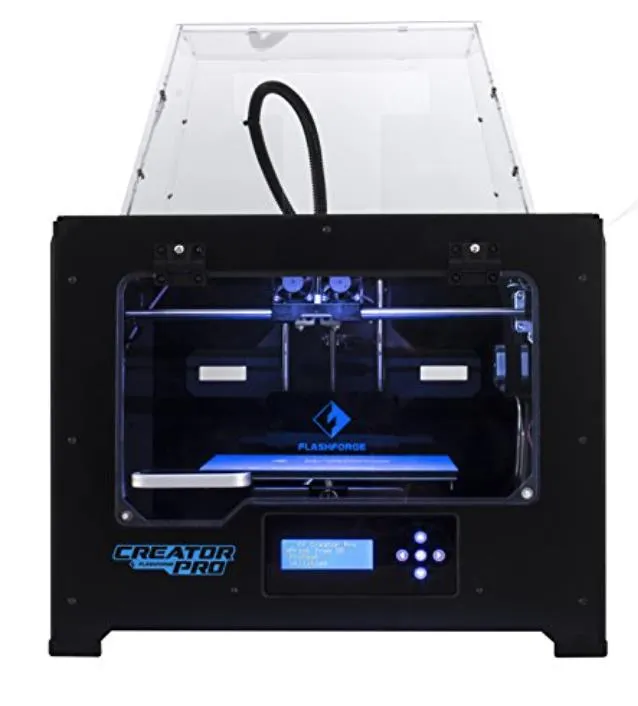
The layout is identical between both machines: bed moves on the z-axis, extruders handle x and y. Heated bed. Wide enough for long objects without being so bulky it dominates your workspace.
Dual extruders, spring tension with release levers, X3G file support from an SD card — all shared DNA from MakerBot’s older models. That means Makerware, Simplify3D, and ReplicatorG all work out of the box.
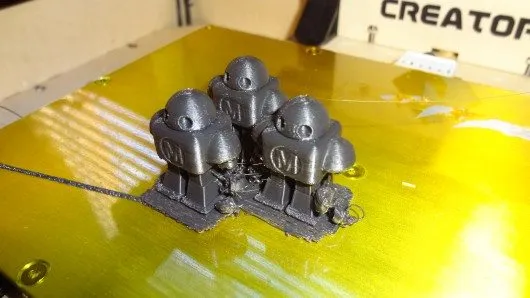
Sailfish firmware comes standard, and it’s a solid piece of software. Easy temperature and speed controls, slice once and tweak per filament, and the ditto printing feature runs both extruders simultaneously. Great for batch production of small parts.
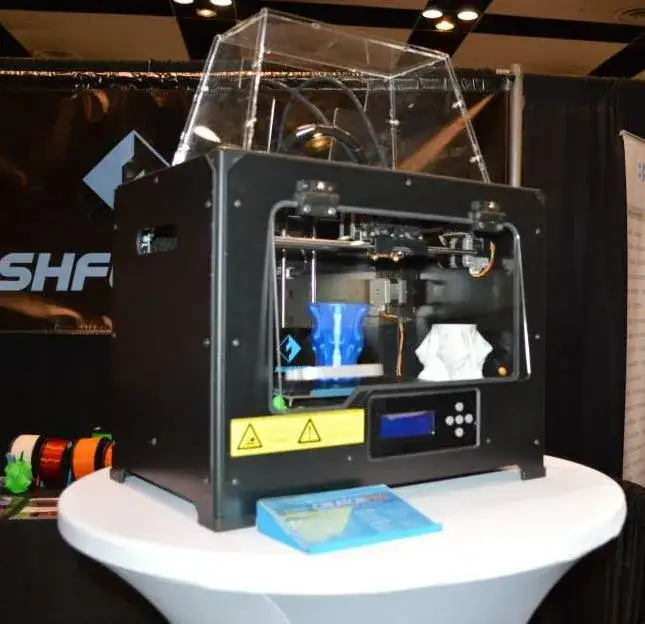
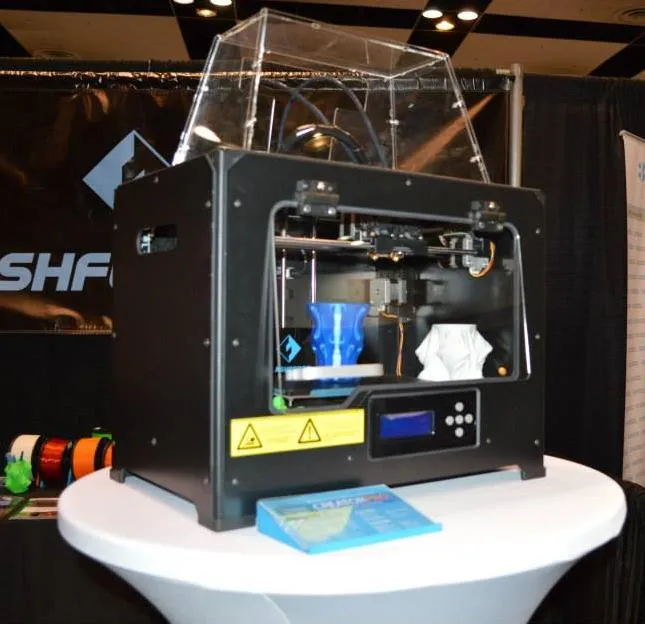
The enclosed build area is the real headline, though. It holds heat inside, which ABS absolutely needs. An enclosure was one of the most-requested community mods for the original Replicator — on the FlashForge, it’s included from the factory. The CEL Robox takes that concept even further with a lockable chamber designed for classroom safety.
Noticeable Improvements
The FlashForge 3D Printer Creator Pro uses metal arms for the print bed. This matters because metal doesn’t sag when it heats up. Your prints stay consistent without having to re-level constantly.
The community asked for this for months, and seeing it included out of the box is a relief. The FlashForge Creator X takes it a step further with an even thicker platform that resists warping over time.
They also went from four mounting points down to three, which makes leveling simpler. Wing nuts instead of thumbscrews. Quick, painless adjustments.
Under the hood, the CPU has more storage than the original Replicator. The latest Sailfish firmware uses that extra room for automated bed leveling — a feature that literally couldn’t fit in the Replicator’s cramped memory.
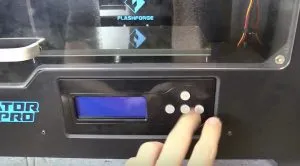
Small details add up here. The buttons are mechanical, not the mushy rubber ones on the older model. You feel the click. It matters more than you’d think. The Dremel Idea Builder nails these little usability touches too, like its snap-in build plate.
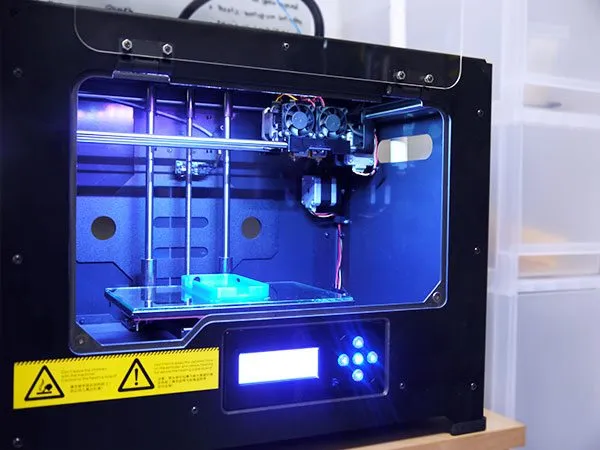
The display runs inverted — white text on black — which looks sharper against the dark case. Power supply is internal now, making the whole unit more portable and cleaner on a desk.
That beefier power supply also means the FlashForge can heat the extruder and bed simultaneously. And the box comes loaded with spare parts. Every screw, every nut, even a backup end-stop cable. I appreciated that.
My one real complaint: the extruder isn’t all-metal. There’s PTFE lining inside, which handles ABS and PLA just fine but could be a bottleneck for high-temp materials down the road. Good thing I’ve still got the original Replicator for those jobs.
If you’ve used a Replicator before, the FlashForge feels instantly familiar. Unpack, attach the extruders to the gantry with two screws, and you’re basically done.
One critical thing, though. Pay attention here: the FlashForge ships set to 220V. If you’re in the US, you absolutely need to switch it to 110V before plugging in. There’s a sticker on the box mentioning this, but it doesn’t tell you how to do it. Helpful.
The switch is on the power supply, buried behind the bottom cover. You’ll need a flashlight and a screwdriver, then reach through the vent holes to flip it. Getting this wrong could fry the whole machine. I really wish FlashForge made this more prominent in the documentation.
Setup
Once the voltage is sorted, setup goes quickly. Noticeably easier than the Replicator, actually. Bed leveling is more efficient because you position the extruders directly over each of the three control points and dial them in one at a time.
On MakerBot’s firmware, the extruders park at the center and four edges, so you’re adjusting in pairs and usually touching only 2 thumbscrews. Sailfish helps, but the FlashForge just does this better from the start.
You will need to attach the doors and top panel yourself. Takes a few minutes and isn’t complicated — FlashForge’s website photos make it obvious where everything goes.
One gotcha: the SD card files come compressed in RAR format. Most people won’t care, but if you’re brand new to this and don’t have RAR software installed, it might trip you up. For a truly no-fuss unboxing experience, the Afinia H480 includes everything ready to go.
Long-term, the FlashForge is significantly more consistent than the Replicator. Those metal bed arms don’t warp or sag when heated. The Replicator’s plastic arms? They do, which means periodic re-leveling.
With the FlashForge 3D Printer Creator Pro, one solid calibration holds. That alone is worth the switch.
Conclusion
I’ve gotten a lot of good prints out of my Replicator over the years. But the FlashForge Pro takes that same open design and improves on nearly every front. All those community-driven upgrades? They’re already installed. The small refinements add up to something meaningfully better.
The result is a printer that’s just pleasant to use, at a price that makes the Replicator 2X hard to justify. If you’re after even more build space at a similar budget, the CraftBot gives you 10,000 cubic centimeters to work with.


