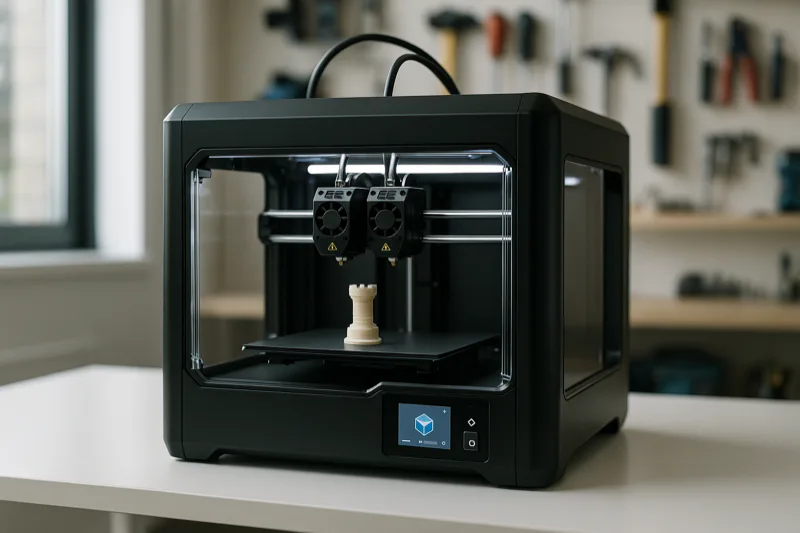
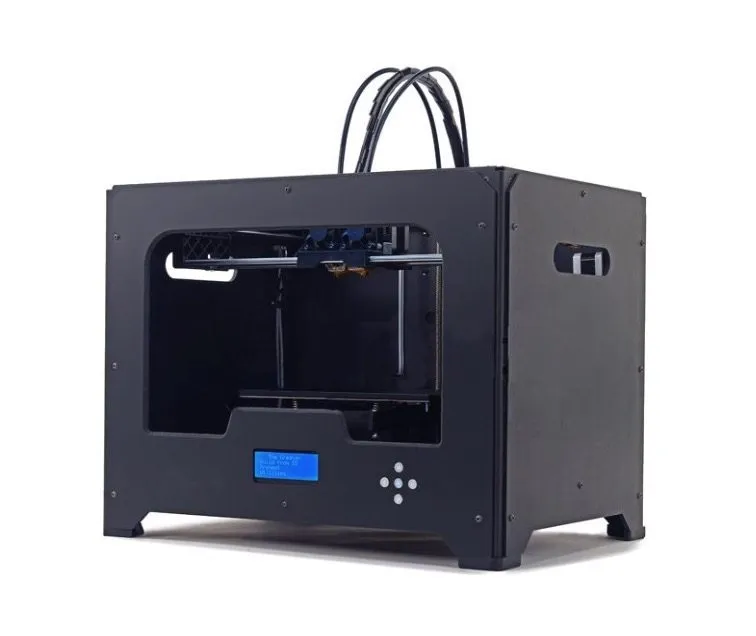
I’ve had the FlashForge Creator X 3D Printer running for over a month now, so I’ve spent enough time with it to give you a proper verdict.
It’s a dual extrusion machine with a 20 x 15 x 15 cm build volume. Pull it out of the box and the MakerBot resemblance is immediate — same firmware, same design software.
I’ve never owned a MakerBot personally, but from everything I’ve read, the performance is comparable. Our MakerBot Replicator 2 review goes into more detail if you want a direct comparison.
Overview
FlashForge Creator X 3D Printer
Dual extrusion printer with a beefy all-metal frame, enclosed design, and print quality that punches above its price tag.
Pros
- Improved build platform resists warping
- All-metal frame is more durable than wooden predecessors
- Quieter than the Creator Pro
Cons
- Heat bed takes about 15 minutes to warm up
- Print speed is slower than premium printers
Already own a Creator Pro? The Creator X is a meaningful step up. The all-metal frame, thicker build platform, and enclosed sides are where you’ll really feel the difference.
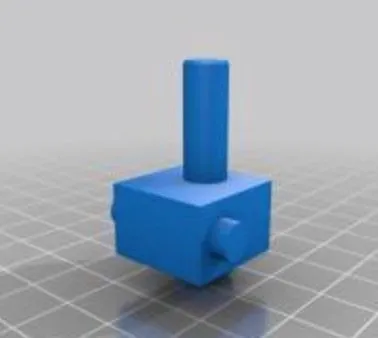
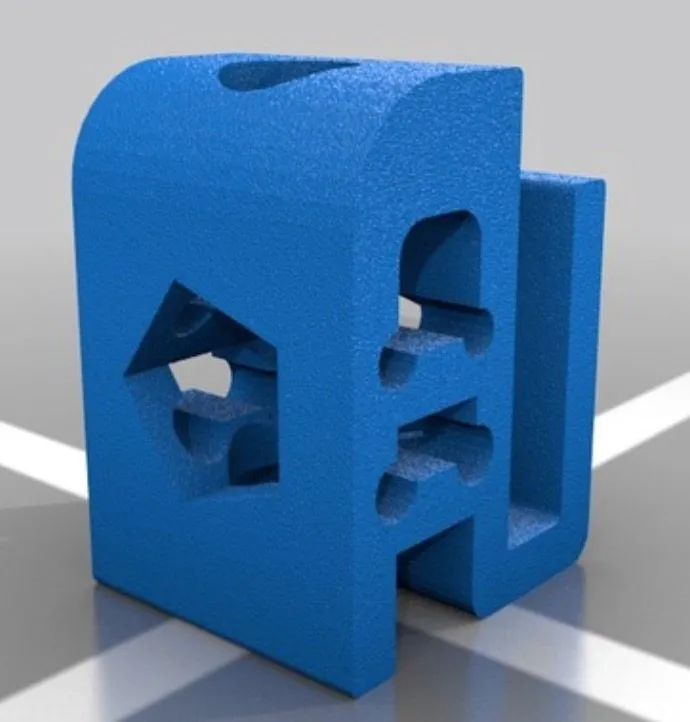
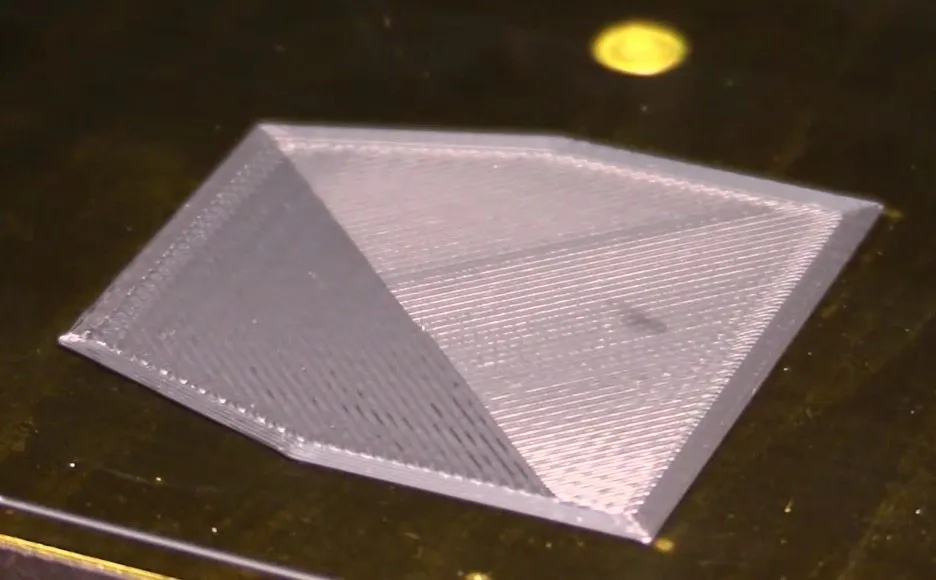
Photo Gallery

Key Specifications
| Spec | Detail |
|---|---|
| Build Volume | 200 x 150 x 150 mm |
| Extruders | Dual |
| Filament Type | ABS, PLA (1.75 mm) |
| Connectivity | USB, SD Card |
| Voltage | 110V / 220V |
| Price Range | Mid-range |
FlashForge Creator X Vs. FlashForge Creator Pro
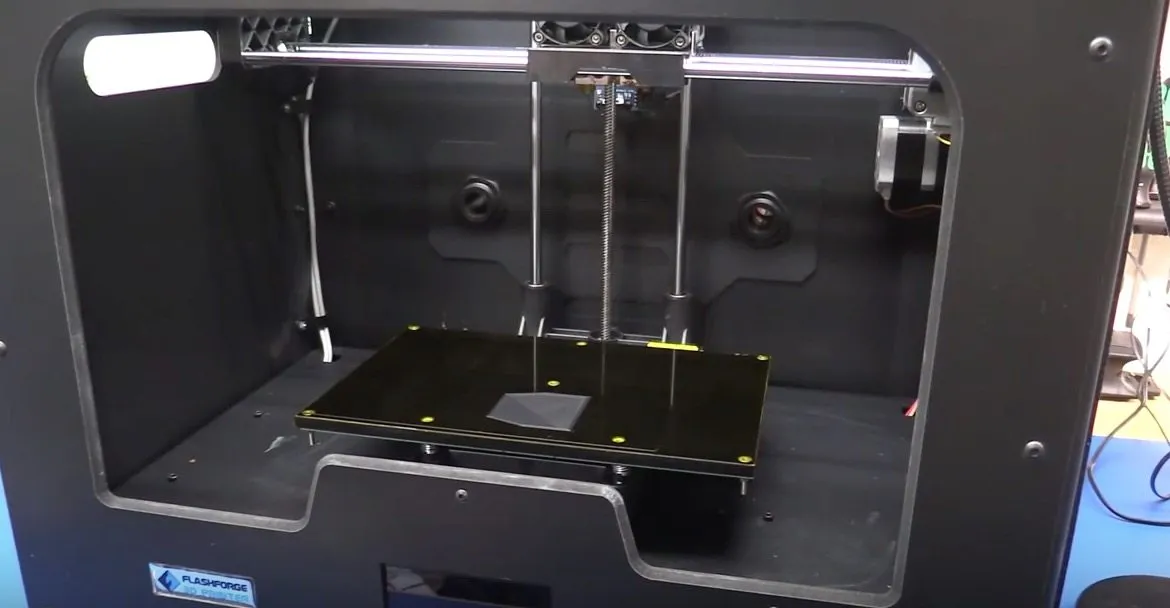
The single biggest upgrade over the Creator Pro? The build platform. It’s about 7 to 8 cm thick now, compared to that thin sheet on the old model.
That old plate had a nasty habit of warping after repeated heating cycles. You’d end up replacing the heat bed way more often than felt reasonable.
After a full month on the Creator X, the bed is still holding straight. There’s a very slight warp — maybe a few tenths of a millimeter — but it hasn’t affected a single print.
The all-metal frame is another win. Gone is the wood that needed periodic tightening.
Enclosed sides trap heat and keep any fumes inside the printer. (Don’t stress about the fumes — nothing coming off PLA or ABS is harmful.) The CEL Robox goes further with a physical lock on its enclosure if classroom safety is a concern.
Noise is noticeably lower too. And they trimmed the leveling system from four screws to three. Small tweak, but it does make the calibration process a bit less tedious.
Everything else — extruder, linear railing, software, firmware — carries over unchanged from the Pro.
Installation
Setup was about as painless as it gets. Install the two extruders — literally two screws — and you’re done with the hardware.
There’s a CD in the box, but I skipped it entirely. Went straight to MeshMixer and Makerware for their cleaner interface. Heads up: Makerware sees the printer as a MakerBot Replicator 2X. It doesn’t cause any configuration issues, it’s just how the software labels it.
If you’re coming from the original Creator, you know the wooden frame needed tightening from time to time. That’s gone now. All metal means you basically never touch it.
I did hit one snag during initial startup. The print heads pushed slightly upward through the top of the machine, which looked wrong. Some forum digging revealed it’s a sensor that shifts during shipping. Push it back down and everything works fine. If you get stuck, FlashForge’s support team is responsive. Though if US-based customer service is your top priority, the Dremel Idea Builder is worth a look.
Turning It On
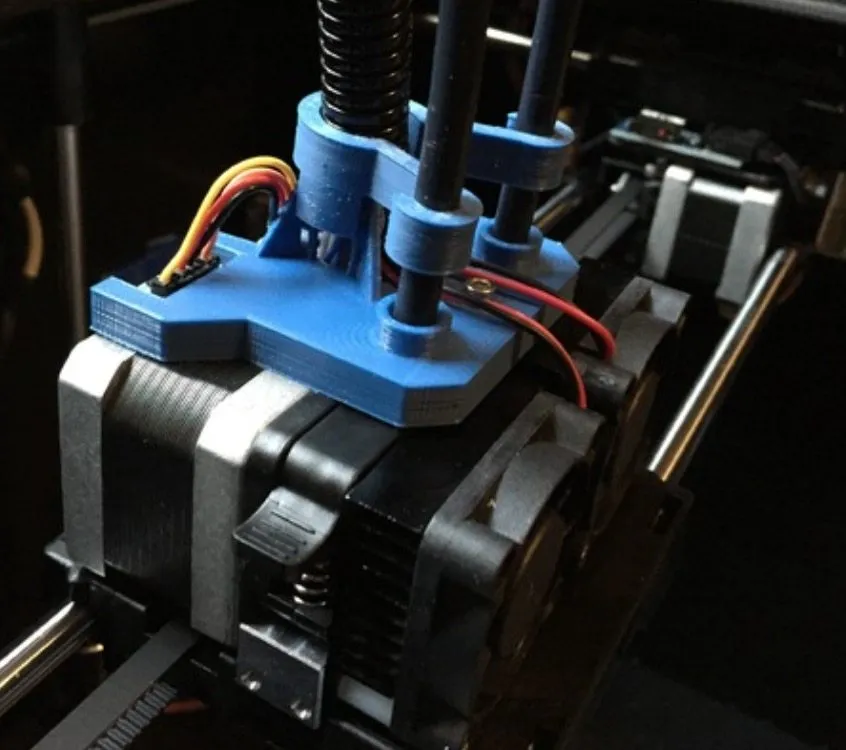
First thing you notice when it powers on? The fan underneath. It’s a bit loud, not going to sugarcoat that. But the LED strip inside the enclosure makes up for it — your prints look great while they’re running.
You can change the LED color, but I leave it white. Best visibility for watching a print in progress. There’s also an indicator light on the back panel: blue means the bed is cool, red means hot.
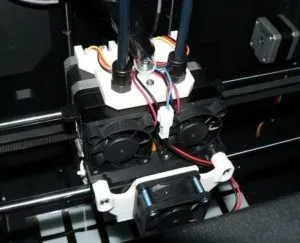
Simple, but useful. Keeps you from grabbing a scorching hot bed by mistake when you’re eager to check a finished print. The two extruders sit on the internal rail, each with its own dedicated fan.
Filament feeds through the top from spool mounts on the back. I prefer this layout — it keeps the spools out of sight and gives the printer a cleaner look, even though it doesn’t change anything performance-wise.
Both spool mounts are there, and I use black ABS tape. Quick tip: zip-tie the wires a bit tighter since they tend to sag during long prints.
The Creator X reads SD cards and connects to your computer via USB. It’s dual voltage too — 110V or 220V. Check the sticker on the back of the printer for your specific setting.
The Printing
You kick off prints using the LCD and control knobs on the front. One thing to know: the heat bed takes about 15 minutes to reach 100 degrees Celsius. Not the fastest warm-up.
The LCD tracks heating progress, so you always know roughly when it’ll be ready. I usually start it warming and go do something else for a few minutes.
Once it’s printing, the bed moves close to the extruder and starts laying down material in a web-like pattern, sweeping back and forth for even coverage. The speed was solid. Honestly, some printers are faster — but you’d be spending one to two thousand dollars more for that marginal improvement. At this price? More than fair. If raw speed is what you’re after, the LulzBot TAZ 5 is one of the quickest FDM machines we’ve tested.
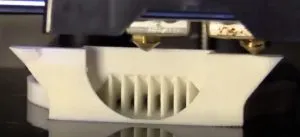
For my first test, I purposely killed the print after the initial layer to inspect quality up close. The interior was a little rough, but the edges? Impressively smooth.
A full print would’ve filled in those interior imperfections. It didn’t really bother me since nobody’s looking at the inside of a finished model, though durability could be slightly affected on stress-bearing parts.
More importantly, the prints had solid infill. No hollow surprises. I ran a full print right after and liked what I saw.
If you’ve been around 3D printing at all, you know sanding is sometimes part of the process. The Creator X isn’t exempt from that, but the surfaces came out smoother than most printers I’ve used in this price bracket. A little sanding and they look great.
My first real project was a fan mount for the extruder. It fit perfectly into the printer without modification. The M3D Micro gives you similarly smooth PLA surfaces if you want something more compact. That fan mount helps the printer cool faster and reduces warping on future prints — a worthwhile first build.
Conclusion
Is the FlashForge Creator X 3D Printer pricier than a typical beginner machine? Sure. But the build quality and feature set justify the jump. It’s not the absolute best in its class, but the next tier up costs thousands more for marginal gains.
If you want a reliable printer that produces good output and holds up over time, this checks the boxes. The MakerBot Replicator 2X costs significantly more and doesn’t print meaningfully better. The FlashForge Creator Pro is another strong choice in the FlashForge family, with Sailfish firmware and a massive community behind it.
The warranty provides some peace of mind too — 3 months of performance guarantee with after-sale support starting the day your printer arrives. Anything defective or missing gets replaced at no charge.


