I’d been watching the Ultimaker 2 3D Printer for months before I finally got my hands on one. The original Ultimaker was blazing fast, probably the quickest printer I’ve ever used at that price point. But it looked like somebody slapped together some plywood and shipped it.
Version 1 printed at speeds that left everything else in the dust. The trade-off? It was unbearably loud.
And it didn’t have a heated bed, which is kind of a deal-breaker. Heated beds make a massive difference when it comes to adhesion and overall print quality. The MakerGear M2 is one that nails this with a heated aluminum bed that reaches 110 degrees Celsius.
So Ultimaker went back to the drawing board. What they came back with was the Ultimaker 2.
Overview

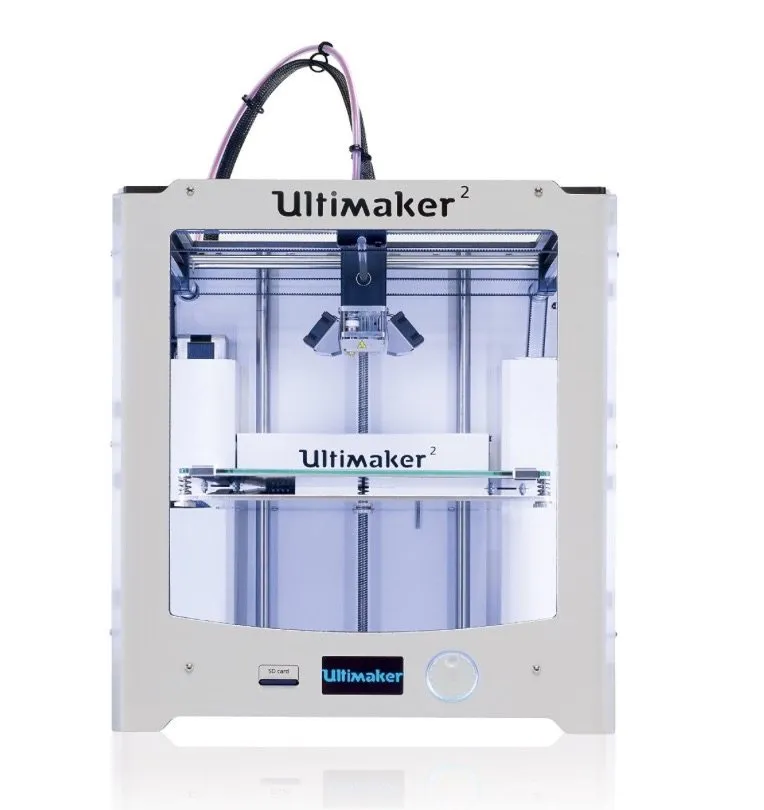
Ultimaker 2 3D Printer
A beautifully refined printer that fixes everything wrong with the original. Heated bed, LED lighting, near-silent operation, and genuinely stunning print quality.
Pros
- Impeccable print quality
- Nearly silent operation
- Beautiful design with swappable glass platform
Cons
- Premium price point
- Fan may get damaged during shipping
Pretty much every complaint about the original got addressed here. Heated bed, near-silent operation, enclosed sides that actually hold heat properly, and a clean design with an LCD interface so you can calibrate right on the machine.
Photo Gallery

Key Specifications
| Spec | Detail |
|---|---|
| Build Volume | 223 x 223 x 205 mm |
| Layer Resolution | 20 - 200 microns |
| Filament Type | PLA (2.85 mm) |
| Connectivity | USB, SD Card |
| Power Supply | 24V, 9.2A, 220W |
| Price Range | Premium |
Out of the Box
First thing you notice when it arrives: this box is huge. It won’t fit on a standard table.
Inside there’s a roll of magenta PLA and a roll of blue PLA.
Power cable was sitting right on top, and the printer itself was strapped down tight inside. Heavier than I expected, but man, it looked fantastic straight out of the packaging.
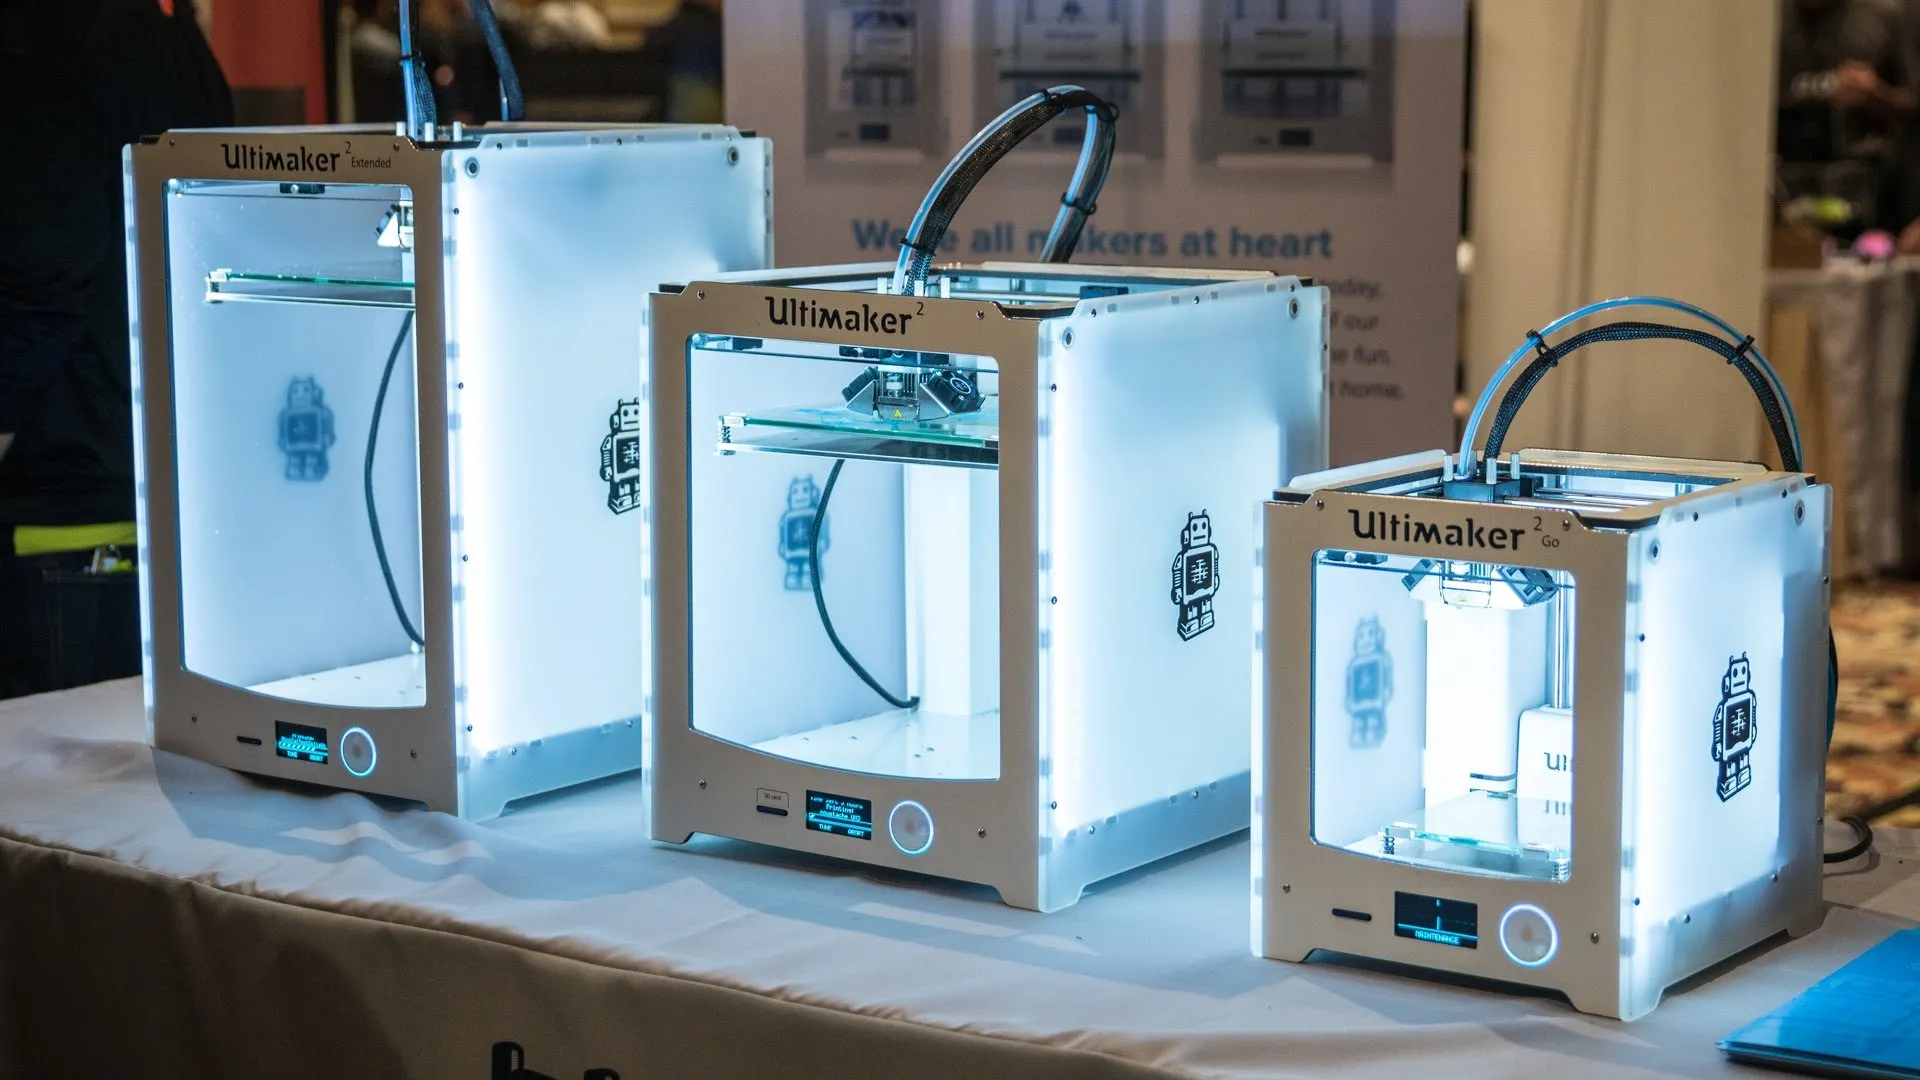
It’s way more attractive than version 1. Slightly smaller too, which I didn’t anticipate. The packaging quality alone is in a completely different league. The Orion Delta is the only other unboxing experience I’ve had that came anywhere near this level of care.
The original had a bad habit of things shifting around during shipping. Not an issue this time.
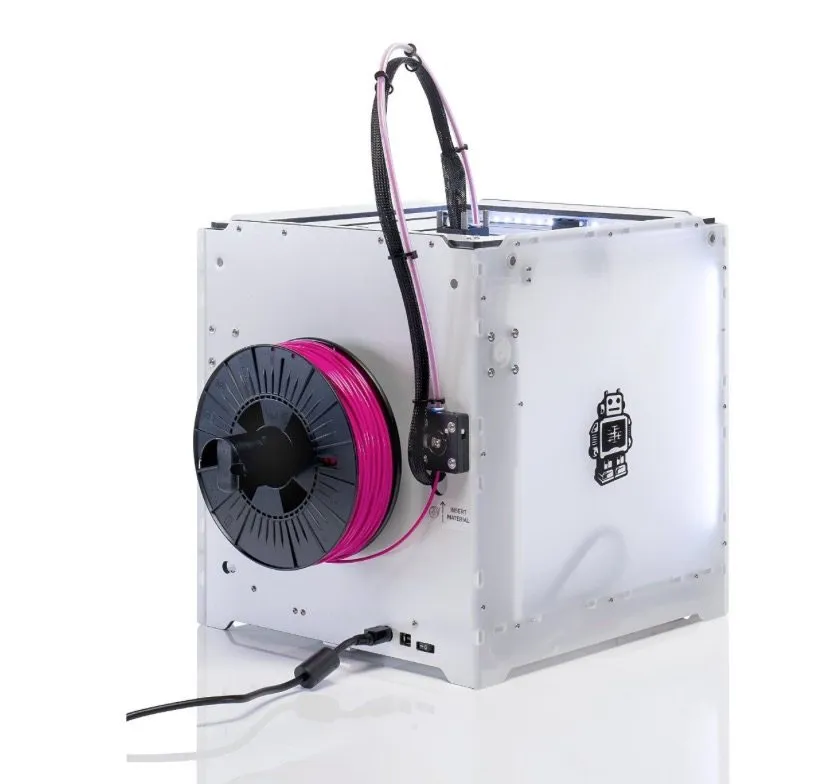
The Ultimaker 2 has a sleek white finish that looks like plexiglass or some kind of polished acrylic. It ships with a 2GB flash drive, and the jog dial is now integrated into the case rather than hanging off the side like an afterthought.
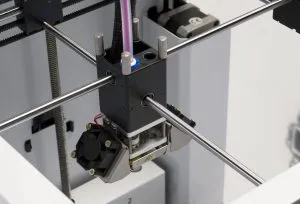
Inside, cardboard separates and protects the critical components, and zip ties hold everything snug. The poles and rods are packed well, and when I slid the print head by hand, it felt incredibly smooth.
One thing to remember: the glass bed is pinned down for shipping. Make sure you release it before you start the setup process.
Those enclosed sides do a much better job retaining heat compared to the wide-open original. Metal shrouds cover the motors and seriously cut down on noise. Custom channels for the wire looms round out the whole professional look.
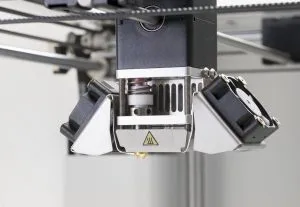
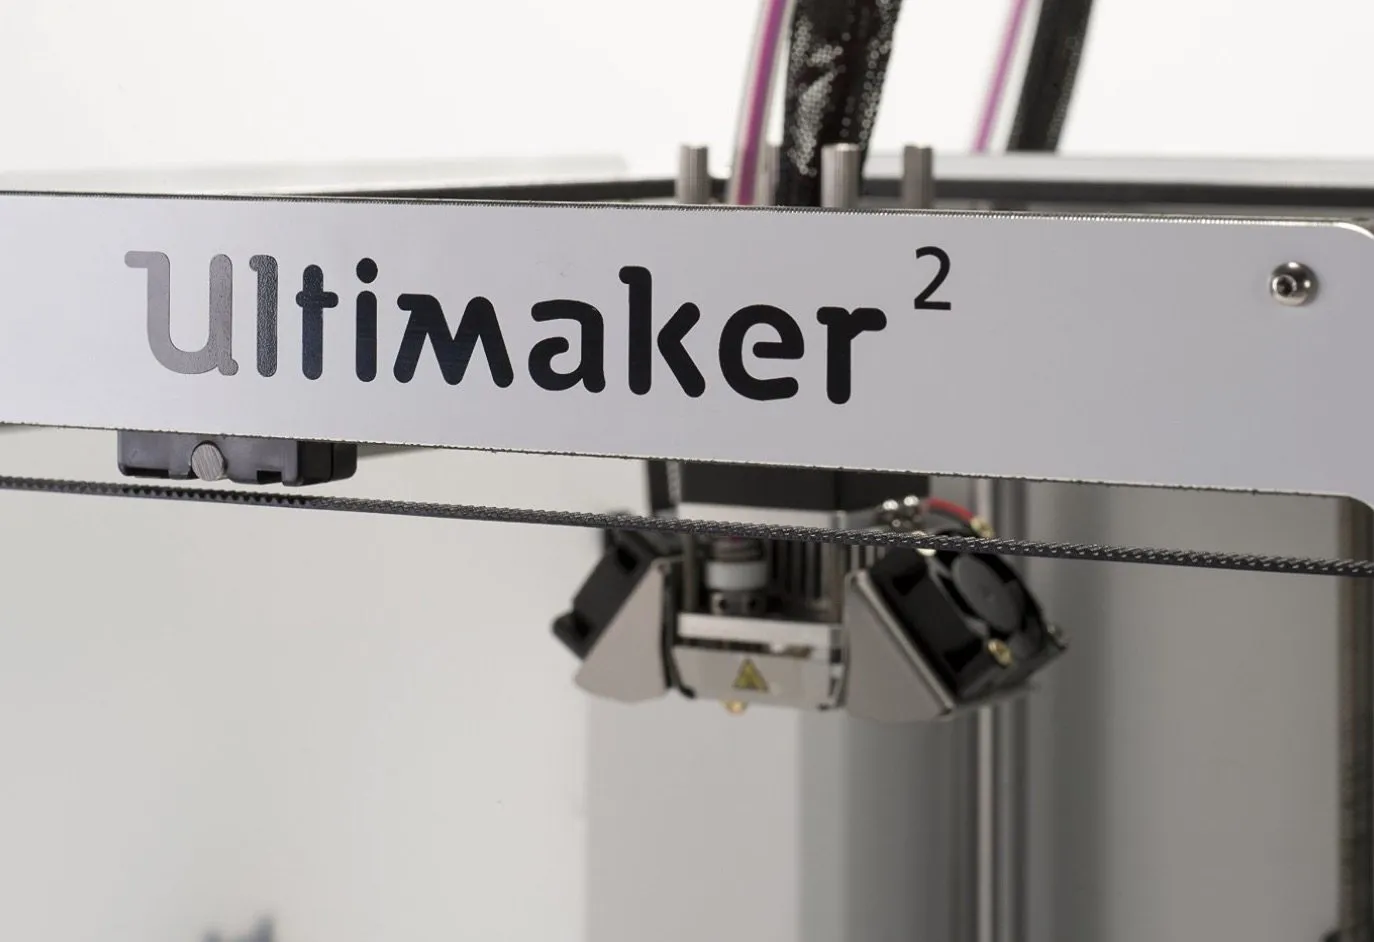
The print head is lighter than the original and now has two cooling fans. Unfortunately, one of mine arrived damaged. Looked like it got knocked around in transit.
The fans are easy enough to swap out, so it wasn’t a huge concern. I found a broken piece of the fan blade at the bottom of the printer, which confirmed it happened during shipping.
Knowing how responsive Ultimaker’s support was when I had my version 1, I wasn’t worried at all about getting it resolved.
The Design
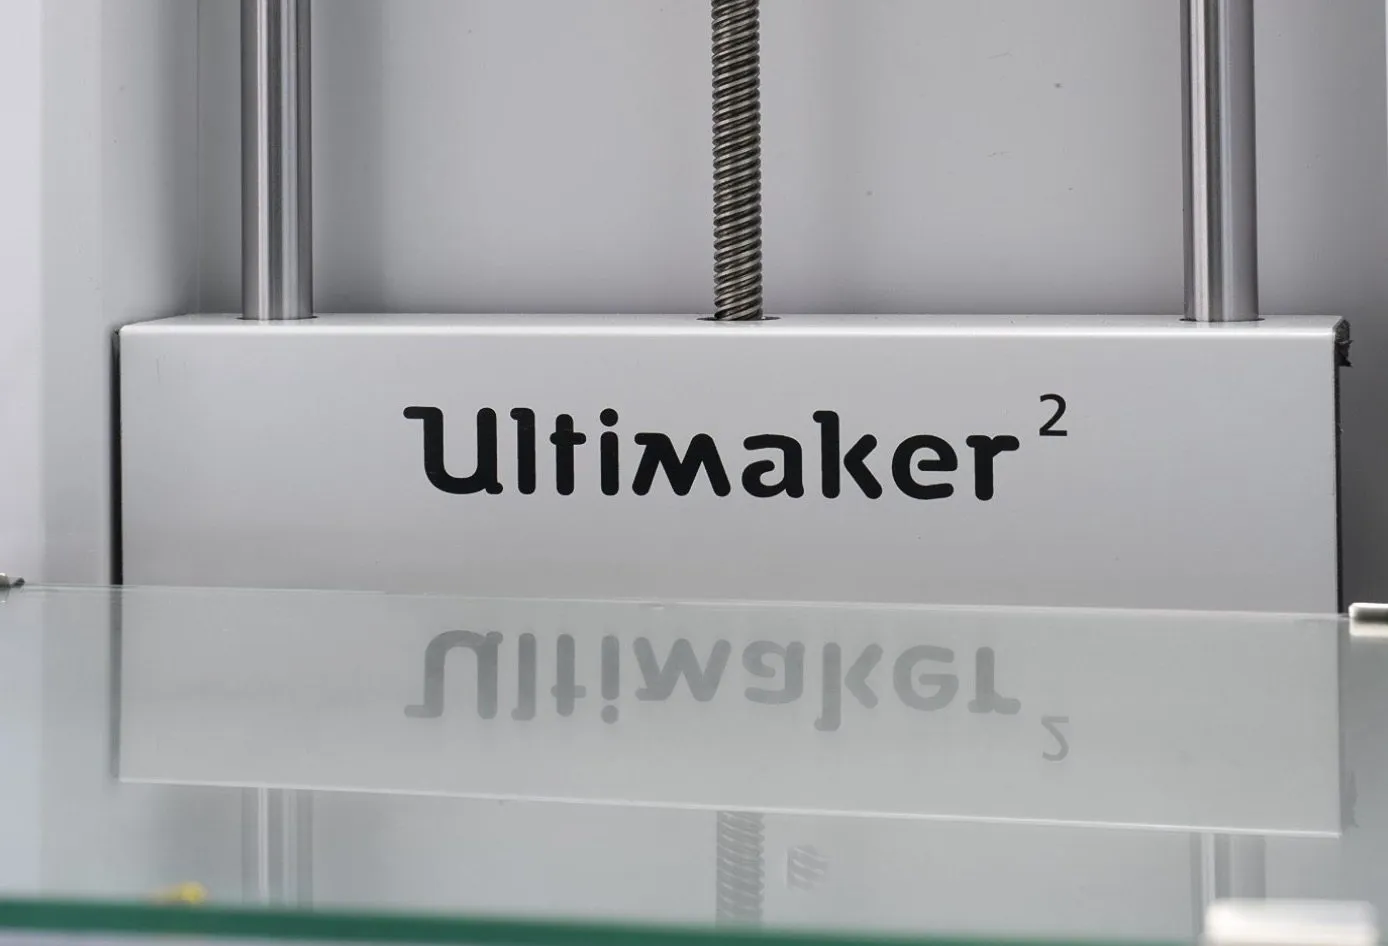
The custom plastic body comes apart way easier than the original, and you can tell actual engineering went into how everything fits together. Pop the screws off the back and the heated bed lifts right up, showing where the glass plate sits underneath.
Swing-out clips hold the build platform in place. Snapping it on and off takes seconds. Leveling the bed? Just turn the screws underneath. No separate tool required like with the first version.
The side profile with that metal case is sharp. It’s got real heft to it, and they printed material loading instructions right on the side panel. Thoughtful little detail.
What I really appreciate is the modular approach. There’s room to expand, so you won’t need a whole new printer when you want to upgrade later. The LulzBot TAZ 5 takes a similar upgrade-friendly route with its open source design.
On the original, the extruders stuck out awkwardly. Here, everything’s tucked in and tidy. You slide the glass bed in, push the clips outward to lock it down, then rotate them back until you hear a pop.
That pop means it’s secured. Swapping platforms couldn’t be easier, and the whole thing just has this elegance to it that version 1 never had.
Even the manual got a serious upgrade. Full-color pages with detailed illustrations for leveling and calibration.
The Ultimaker 2 3D Printer comes with a serious power supply: 24V, 9.2 amps, 220 watts. You need that kind of power to run the heated bed, and it plugs straight in without any hassle.
The Supplies
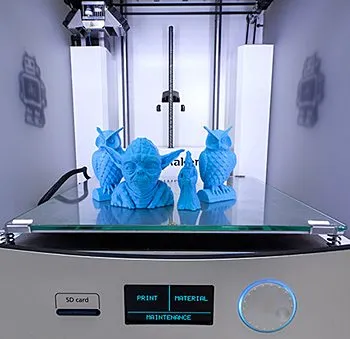
Don’t miss the test print at the bottom of your box. Ultimaker actually runs a print on your specific machine before they ship it, so you can see exactly what it’s capable of right from the factory.
That print came off your printer. Alongside it, there’s a bag of accessories: a spool holder for the back, a glue stick for bed adhesion, lubricant for the drives and bars, a USB cable, and a handful of allan wrenches for tightening and calibration.
Working the Device
Powering on the device for the first time was a genuinely cool moment. Custom LED strips illuminate the entire inside of the printer, which makes it incredibly easy to watch your prints take shape.
It’s also perfect for filming if you’re into that. When you first turn it on, a setup wizard walks you through everything step by step.
The machine self-calibrates by moving the bed around, and it does it fast. You’ll need to make a few small adjustments up front, but the whole process wraps up in a few minutes.
Just follow what the LCD screen tells you and you’ll be fine.
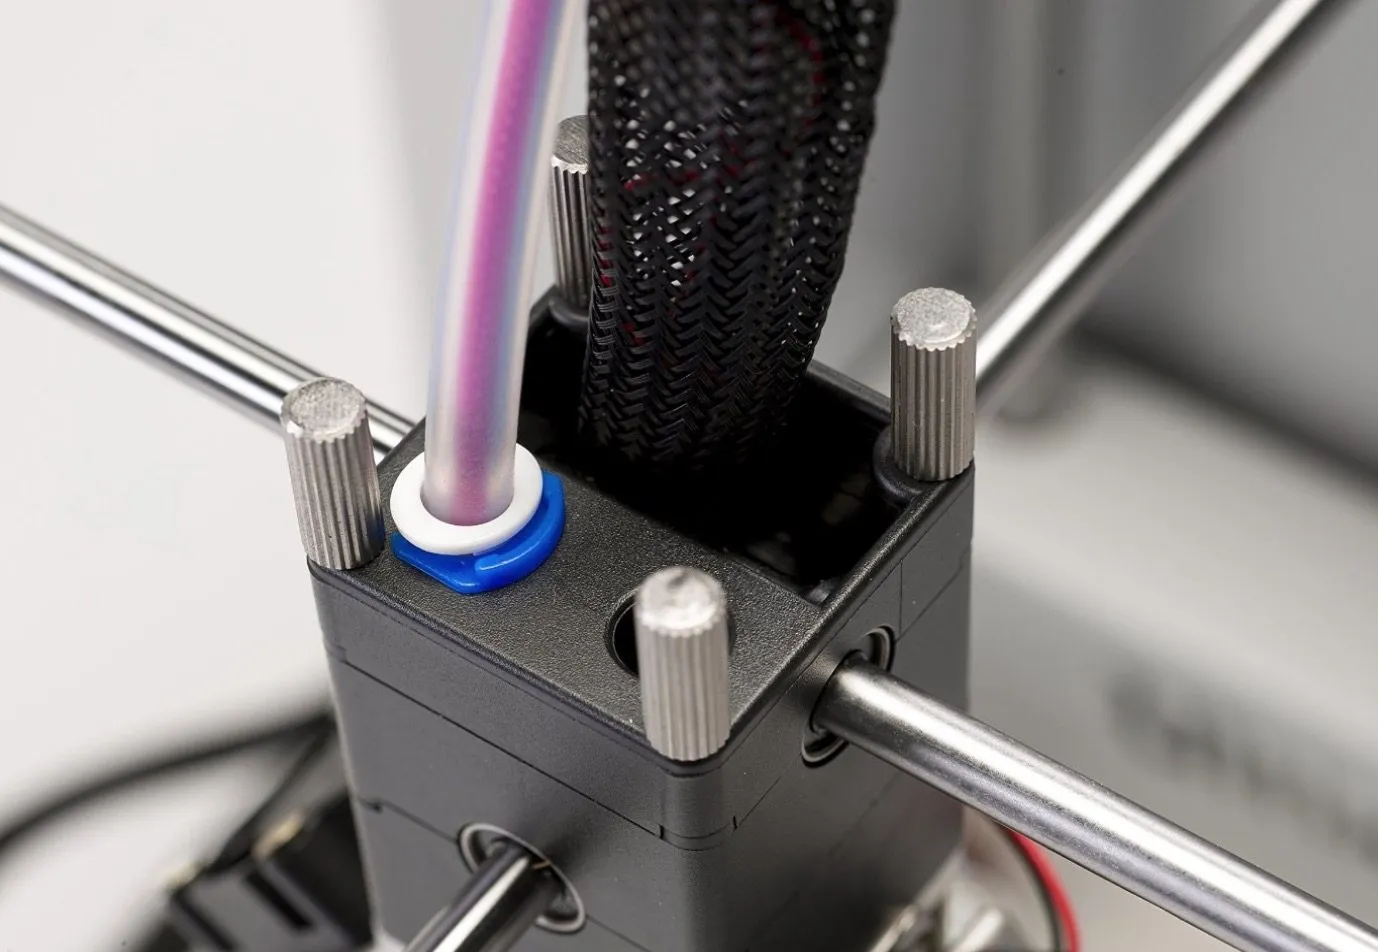
I loaded up my own roll of silver filament for the first prints. The spool slides right onto the handle on the side, and clips hold it in place so it can’t fall off.
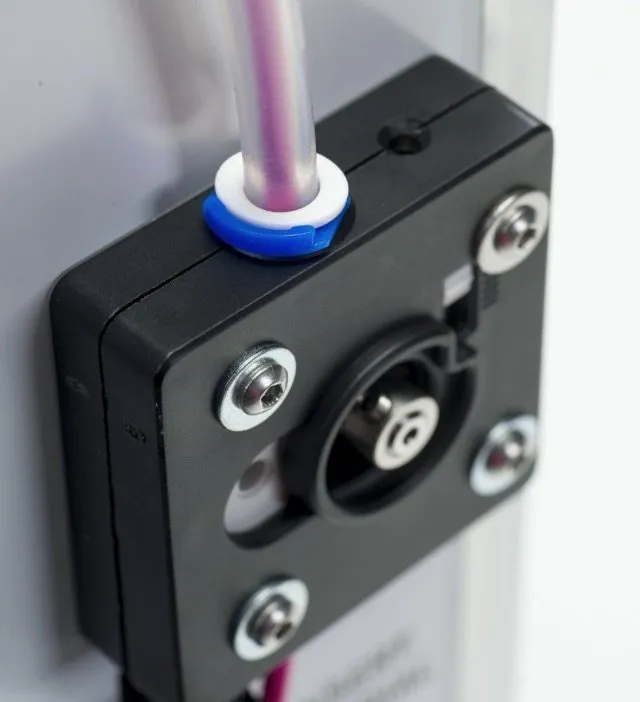
You feed the filament through a small hole on the bottom. Every step is printed right on the case itself, and the LCD walks you through it if you lose your place.
The bed heats up first, then the material loads in. You wait a short moment for the print head to start extruding, and then you’re off and running.
I used the included glue stick for adhesion, though honestly, hairspray works just as well if that’s what you’ve got on hand.
Here’s the thing that really blew me away: the noise level. Or rather, how there basically isn’t one. The TEVO Nereus is one of the few budget options that also manages to stay surprisingly quiet through long sessions.
Coming from the absurdly loud version 1, I could not figure out how they made this printer so silent. You could genuinely sleep in the same room while it’s running a job.
The LCD gives you a clean readout showing print progress and time remaining. My first print was a small robot figurine, and I was surprised when it finished in just under 40 minutes.
Print Quality
My prints were slightly off on one side initially because of that damaged fan. Once Ultimaker sent a free replacement and I swapped it in, everything came out flawless.
Cooling is a bigger deal than most people realize with 3D printers. The material leaves the nozzle in an almost liquid state, and it needs to cool and solidify quickly to hold its shape properly.
Without good airflow, you end up with warping and deformations. Ultimaker’s support team shipped me a replacement fan the same day I reached out. Couldn’t ask for faster turnaround.
At the price they’re charging, you’d better get excellent support and quality. Ultimaker delivers on both fronts without question. If you’re looking for something more budget-friendly in an enclosed format, the UP Mini is another solid pick for reliability and low-maintenance printing.
Frequently Asked Questions
The Ultimaker 2 adds a heated bed, near-silent operation, enclosed sides for better heat retention, and a much more refined design with an LCD interface for on-board calibration.
No. The noise level is almost nonexistent. Metal shrouds hide the motors and significantly reduce noise compared to the original Ultimaker.
The Ultimaker 2 comes with two rolls of PLA filament, a power cable, spool holder, glue stick, lubricant, USB cable, allan wrenches, and a 2 GB flash drive.
Final Thoughts
The single biggest difference between version 1 and the Ultimaker 2 3D Printer comes down to refinement. Even something as small as how the printhead is assembled feels more secure and deliberate.
The front controller now has a graphical interface instead of plain text, and you can run full calibration right from the onboard computer. No USB cable needed during setup anymore.
Everything about it feels user-friendly, especially the printing software. Most settings ship pre-calibrated, but experienced users can override anything they want.
For someone like me who just wants to load filament and start printing without a ton of fuss, this was an outstanding machine. Some of the cleanest prints I’ve ever pulled off. If the Ultimaker’s price tag is too steep, the Printrbot Simple Metal gets you comparable precision for a lot less money. I hope this review gives you a solid sense of what to expect.


