
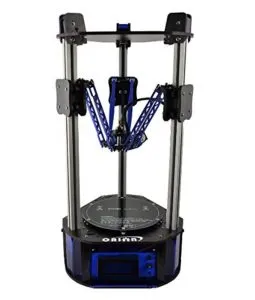
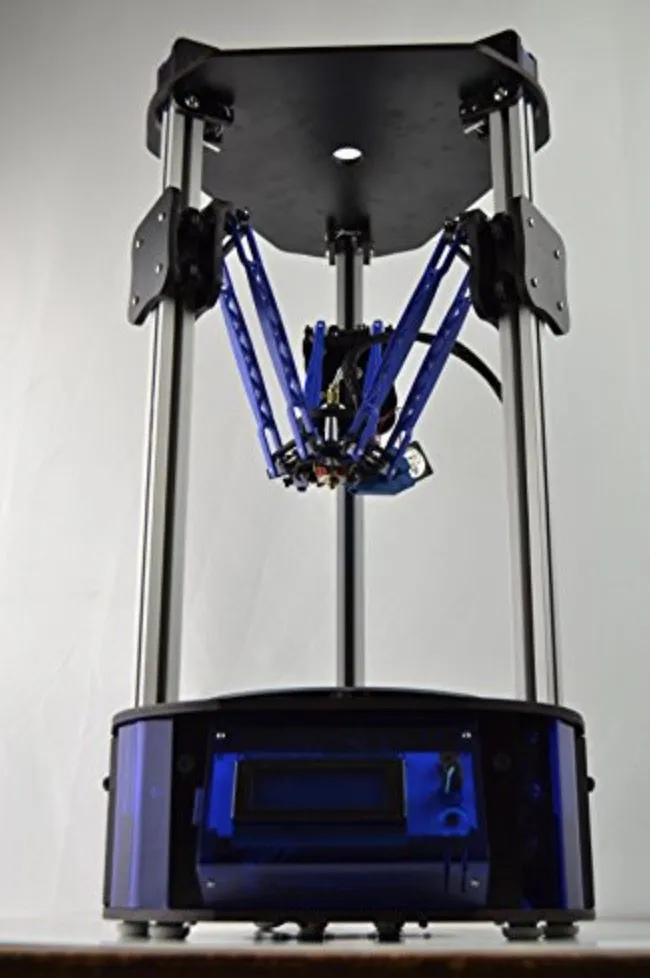
My Orion Delta 3D Printer by SeeMeCNC arrived pre-built and nicely packaged from UPS. First thing that hit me? This thing looks nothing like other printers.
Most 3D printers are some flavor of box or square. The Orion is taller, more slender, and honestly looks like a piece of modern art you wouldn’t mind having on display in your living room.
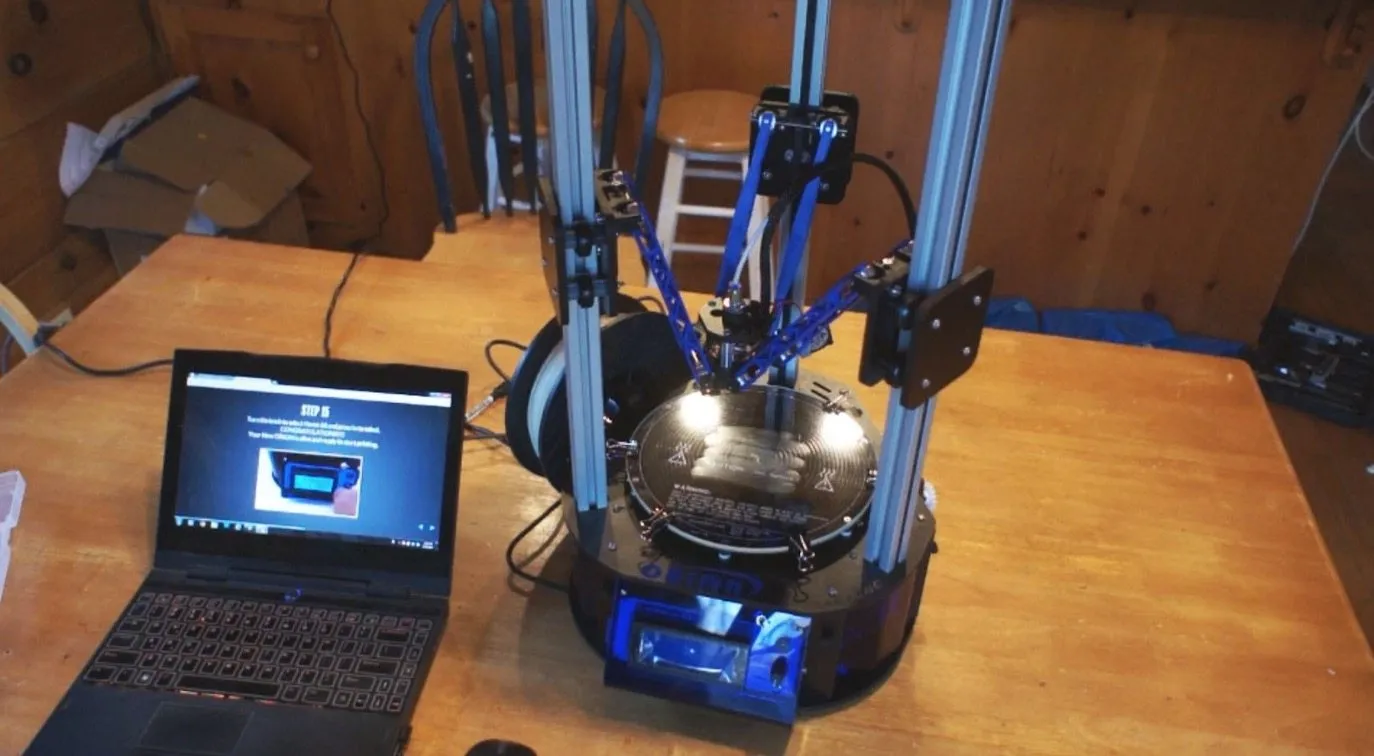
Inside the box there was a roll of filament, a handful of accessories, and an SD card. That SD card is huge for me. It means I can set the printer up in my shop, load a model from my laptop, pop the card in, and print without needing a computer tethered to the machine the entire time.
I was curious whether the documentation would live up to the build quality.
Documentation

Orion Delta 3D Printer
A delta-style printer that looks like nothing else on the market. Round print bed, beautiful print quality right out of the gate, and it's built to last.
Pros
- Incredible print quality with smooth surfaces
- Round bed provides even heating
- Built to last with quality construction
Cons
- Premium price point
- Z-height may need recalibration after shipping
SeeMeCNC hosts all their documentation online. Full setup instructions, downloadable manuals, quick start guides. I started with the quick start.
It was well laid out with step-by-step instructions and clear illustrations. The whole setup took me roughly 30 minutes, and nothing in the manual or on the machine itself confused me. That’s dramatically faster than kit printers like the TwoUp V2, which can easily eat up four hours or more.
The guide covers installing the control panel on the front, threading filament into the extruder, and running through basic calibrations.
Last step is transitioning the printer from its shipping position into print mode. Go slow here and carefully raise the arms to the top of the railings. Don’t rush it.
Photo Gallery

Key Specifications
| Spec | Detail |
|---|---|
| Build Volume | 6 inch diameter x 9 inch height |
| Print Bed | Round, heated |
| Filament Type | ABS, PLA (1.75 mm) |
| Connectivity | USB, SD Card |
| Design | Open source, delta style |
| Price Range | Premium |
Turning It On
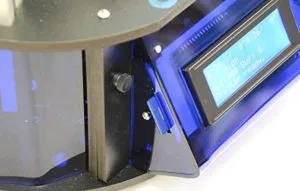
Flipped the switch and… nothing. Turns out I’d forgotten to plug in the cables to the LCD connector. Classic.
Once I sorted that out, the LCD screen fired up no problem. One press of the knob gets you into the settings, and the dial scrolls through options buttery smooth.
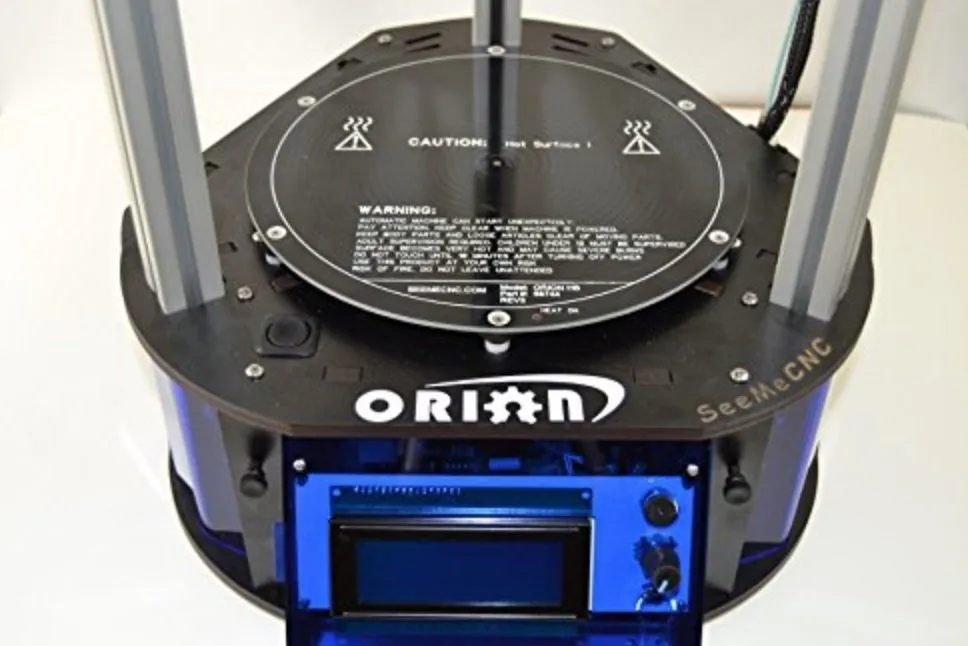
Give it about 5 to 10 minutes to heat the platform and extruder tip before it’s ready for the first test print. The control panel shows temperature readings, bed heating progress, and print status all on one screen.
Quick heads up: the print bed has to reach 200 degrees Fahrenheit before anything starts. Don’t touch it.
The First Print
First print? Didn’t go great. The extruder was depositing material in mid-air, clearly sitting way too high above the plate.
I fiddled with the settings on my own but couldn’t dial it in, so I pulled up the full online manual. And honestly, I was impressed by how thorough it is. Photos for every single step. If you’re setting up an Orion, skip the quick start guide and go straight to the full manual. You won’t miss anything that way.
Turns out the z-height calibration had shifted during shipping. One quick adjustment and the Orion was back in business.
This time the extruder dropped right down to the plate where it belonged. Pro tip: swipe an Elmer’s glue stick across the bed before printing. It helps with adhesion, especially on thinner models.
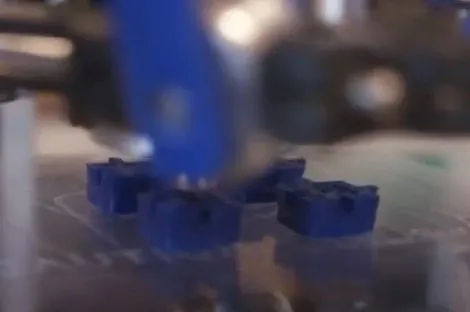
Watching it print was genuinely fun. The precision, the speed, the way the whole machine just moves. It looks sleek in action.
What really grabbed me was how it handled overhangs without any support material at all. The print came out clean from every angle. SeeMeCNC absolutely nailed the engineering here.
When it finished, the Elmer’s glue let me pop the model right off. And the quality? Incredibly clean. None of the rough edges or stringing you usually get from other machines.
How Easy It Was To Get It Going
Getting the Orion Delta 3D Printer running was pretty straightforward. I also discovered the whole platform is open source, which is a great bonus if you like to tinker and customize.
From cracking open the box to my first successful print was just over an hour, including the calibration hiccups. Getting the software set up so I could push STL files from my laptop to the printer added about another hour. The Printrbot Simple Metal has a similar timeline if you go with the pre-assembled version.
Overall, plan for 2 to 4 hours depending on how comfortable you are with tech. If it starts feeling overwhelming, slow down. It might be worth learning some 3D modeling basics before diving into the printer itself.
How It Prints
I’ve built motors before by printing modular components one piece at a time. With this printer, I can get way more done in fewer sessions.
The print bed is generous and the z-axis reaches 9 inches tall. That means bigger prints and less time splitting models into separate parts. And I’ve got to say, I’m a big fan of the round bed.
With my old square beds, I’d sometimes have larger prints slip off the edge when printing things like engine rotors. The Orion’s round bed heats remarkably evenly, and even after just a handful of prints, I can see a real difference in ABS tape warping. Or rather, the lack of it.
Here’s why that matters: ABS shrinks slightly on each layer as it cools. When the upper layers are still contracting while the bottom has already cooled down, you get warping along the base. Even heating helps prevent that.
I’m really pleased with how this bed performs. The fact that it stays completely still while the print head does all the moving is a massive advantage. My old Afinia moves the bed mid-print, and I’m pretty sure that caused some z-axis alignment issues on certain models. The Afinia H480 is still a capable printer, but the static bed design on the Orion is a clear step up. We’ll see how it holds up over the long haul.
The Structure and Features
I haven’t owned the Orion Delta 3D Printer for long, but you can tell just by handling it that this thing was built to last. The construction quality is top notch. I don’t anticipate any breakdown headaches.
For comparison, my Afinia has served me well, but I’ve burned through three heating elements for its print bed, and those replacements aren’t cheap. I can’t see that happening with the Orion.
One feature I really appreciate is the SD card slot on the side near the control panel. No laptop babysitting required.
Some of my previous printers needed the computer plugged in for the entire duration of a print job. The Afinia lets you disconnect once printing starts, but the SD card approach is just cleaner overall. The TEVO Nereus takes this even further with built-in WiFi, letting you kick off prints from your phone.
The on-machine controls are solid too. Temperature tweaks and calibration adjustments are simple, and you can also make changes through the software if you prefer. The manual includes all the drivers and config files you’d ever need.
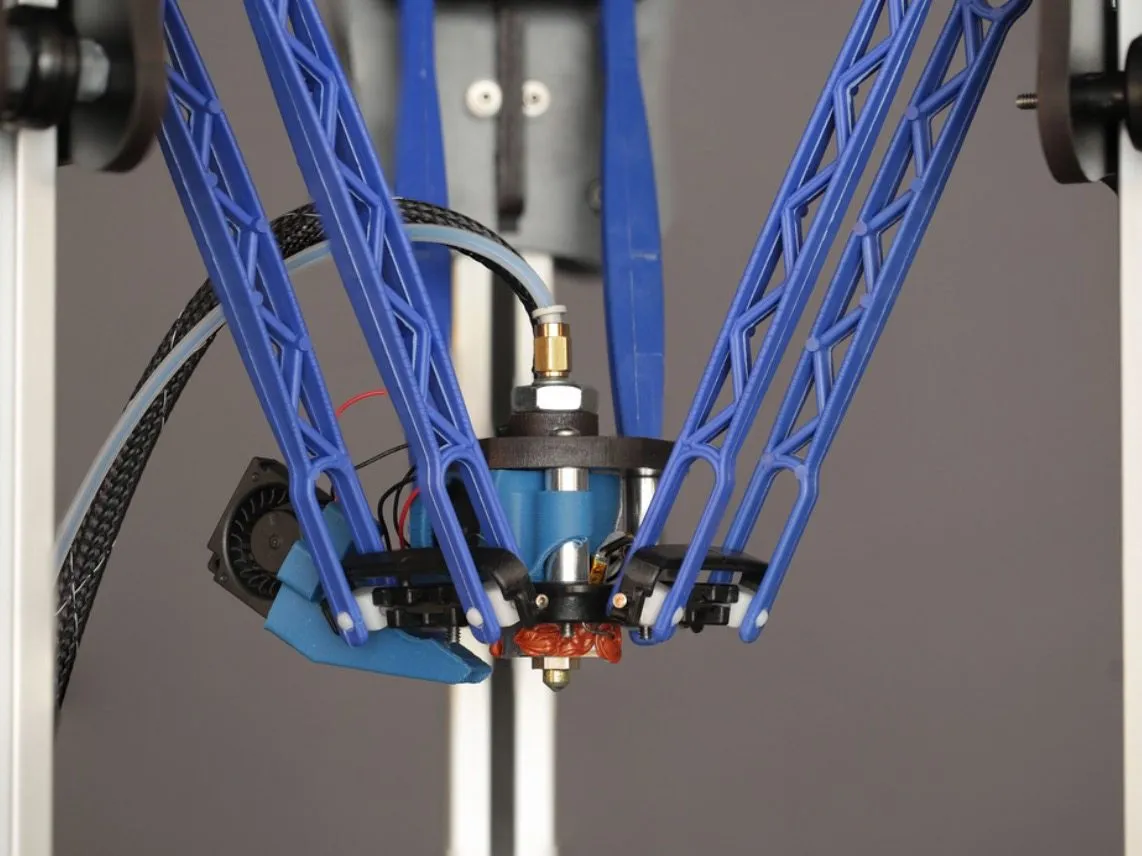
The extruder assembly itself is nicely designed. Tight tolerances, polished finish. You can tell someone cared about the details.
Experimentation
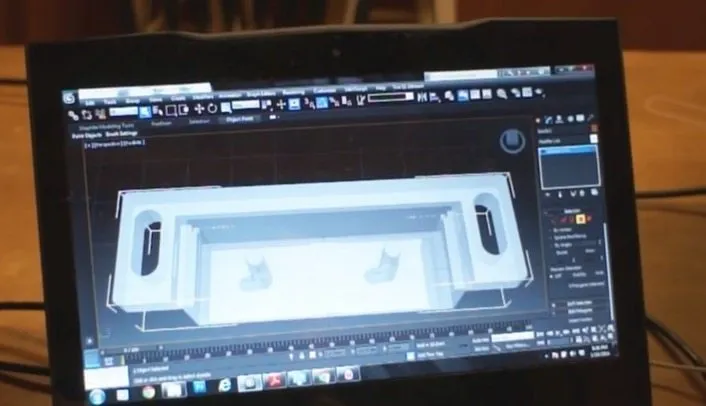
I wanted to throw a real-world project at the Orion Delta right away. Our kitchen cabinet has two plastic magnet holders that work as door stops, and one of them snapped.
Perfect 3D printer test case. I grabbed the surviving piece, measured it with a digital caliper, and started modeling.
The part took about 30 minutes to design. That timeline only shrinks as you get more practice. If you’re brand new to 3D modeling, TinkerCAD or SketchUp are great starting points.
The printed holder came out great. Magnets snapped in perfectly. That right there is why people get into 3D printing.
I’m honestly not sure I could’ve found a replacement for that specific cabinet piece anywhere. My wife was thrilled I fixed it for practically nothing, and without this printer it would’ve been a genuine headache to solve.
Best part? The file’s saved on my computer now. If it breaks again, I just print another one. Or tweak the design if I want it stronger.
The open community around 3D printing is incredible too. Whatever you’re looking to make, odds are someone has already shared a design file you can download and adapt. If you want to doodle in 3D without committing to a full printer, the Samto 3D Pen is a fun way to sketch quick prototypes by hand.
My replacement piece works perfectly. Couldn’t be happier.
Frequently Asked Questions
Setup takes about 30 minutes following the quick start guide, plus calibration. From box to first print, expect about 2 to 4 hours depending on your experience level.
Unlike box-style printers where the bed moves, the Orion Delta has a static round bed and the print head moves. This results in better z-axis alignment and more even heating across the print bed.
Yes. The Orion Delta is fully open source, allowing you to modify and customize it as you see fit.
Final Thoughts
Print quality from the Orion Delta 3D Printer is outstanding. Smooth surfaces come out truly smooth, and when you want rough textures, it handles those just as well.
You’ll occasionally see thin spider-web-like strings on the sides of finished models, but they pull off in seconds with tweezers or scissors. Barely counts as cleanup.
At this quality level, the premium price tag actually makes sense. I’ve had zero issues printing with either ABS or PLA on this machine.
Next on my list is 5-glase, the same material used in clear plastic water bottles. Incredibly strong stuff, and I’m curious to see how the Orion handles it.
If you’re getting into 3D printing and want a machine that doesn’t demand hours of assembly or constant fiddling but will still be running years from now, this is a great pick. For a similarly premium experience with near-silent operation, the Ultimaker 2 is another strong option. So far, I’ve been thoroughly impressed. And it’s approachable enough for anyone willing to invest a little patience up front.


