I’ll admit, I didn’t expect much from the TEVO Nereus WiFi 3D Printer at this price. But it genuinely surprised me. Whether you’re just getting started or you’ve been printing for years, there’s a lot to like here.
One caveat up front: it takes real prep work before you’re printing. If you want perfect results the moment you plug it in, look elsewhere.
Introduction
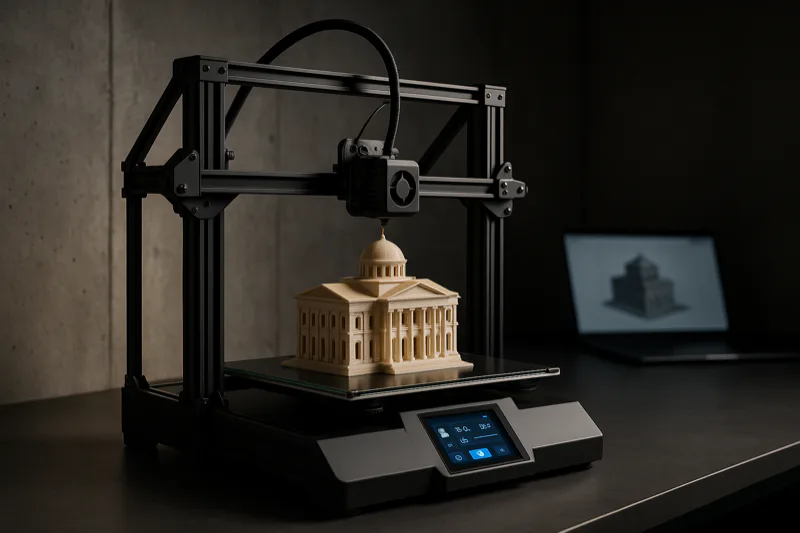
TEVO Nereus WiFi 3D Printer
A budget FDM printer that gives you WiFi, a massive build volume, and a touchscreen at an affordable price. Open-source design means you can tinker to your heart's content.
Pros
- Massive build volume for the price
- WiFi connectivity rarely found at this price
- Surprisingly quiet operation
Cons
- No software included
- Assembly requires significant patience
But if you actually enjoy the hands-on side of 3D printing, the building, the tweaking, the figuring-it-out, the Nereus opens up a ton of possibilities.
Like TEVO’s other printers, it’s got a clean open-frame design sitting on aluminum extrusions. The Flash had that metallic red base with borderline superhero energy. The Nereus dials it back with a more understated orange.
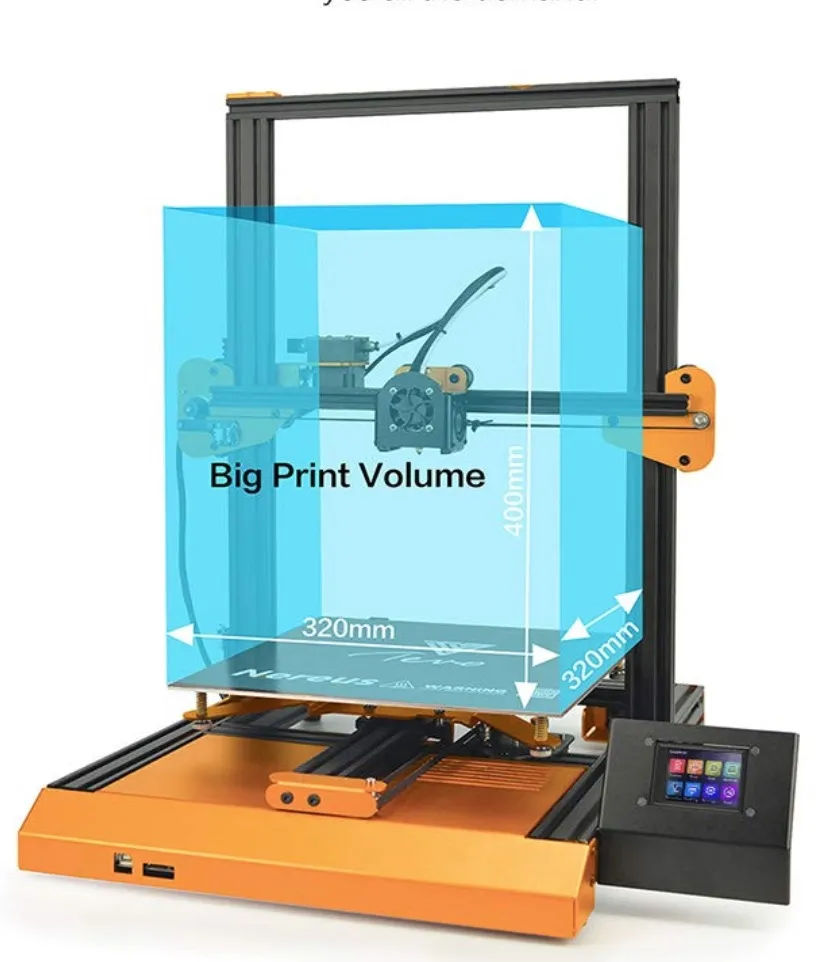
Aesthetics aside, TEVO packed this FDM machine with features. The 320 x 320 x 400mm build volume makes it bigger than both the TEVO Flash and the Tornado. Even the Robo 3D R1 Plus and its 8 x 9 x 10 inch bed can’t quite match it.
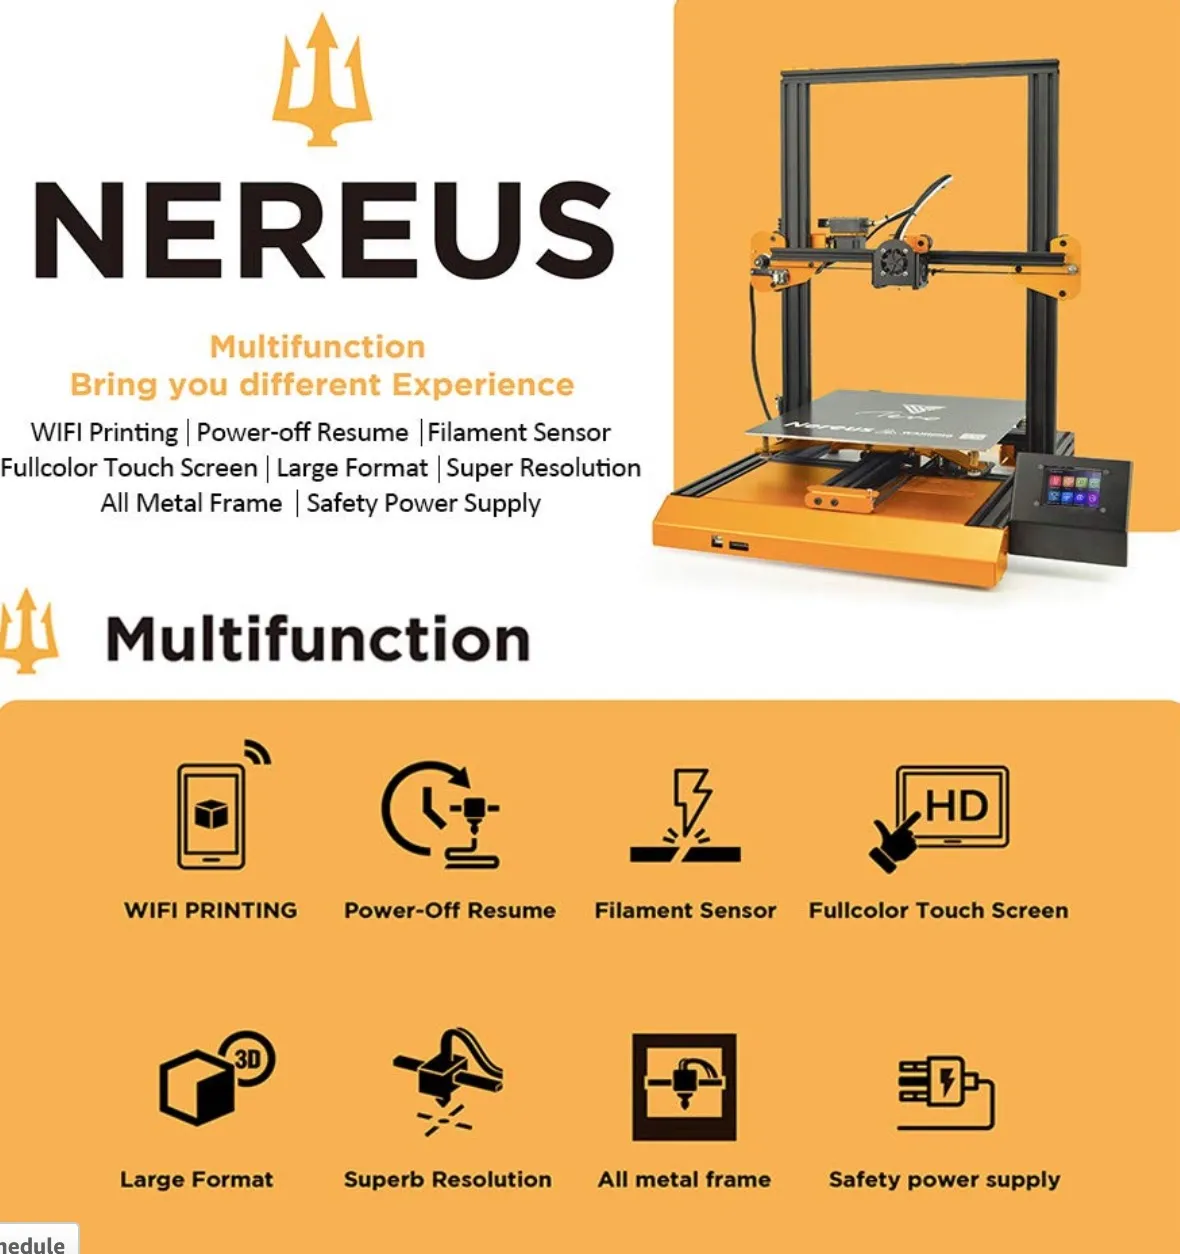
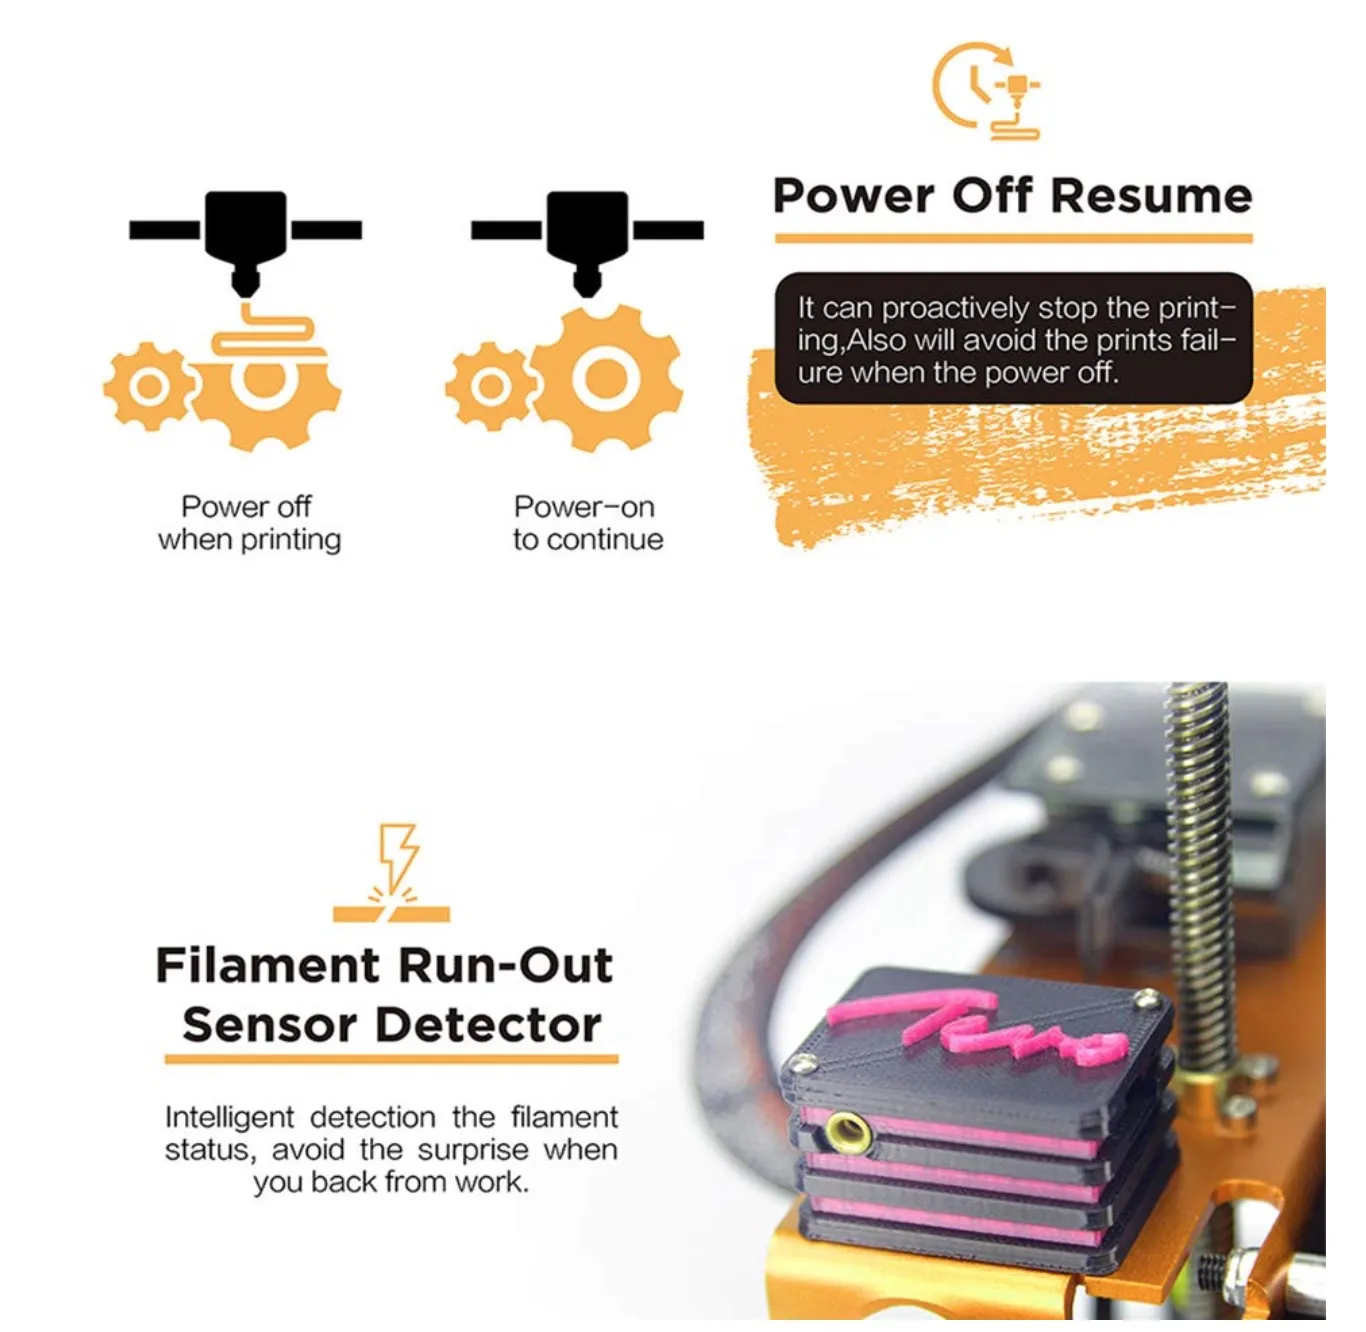
Filament run-out detection and a resume printing function come standard. You’d expect those on newer printers, but they’re still nice to have. The 3.2-inch touchscreen on the base is a welcome upgrade for the TEVO line.
Auto bed leveling is listed too, which should speed up the initial setup process.
Two features in particular caught my eye, mostly because you almost never see them on budget FDM printers.
First, TEVO claims the Nereus supports dual-color printing. That’s a first for them. If you dig into the product listing though, the dual extruders show up under “upgraded accessories.” So you’ll probably need to buy and install those separately.
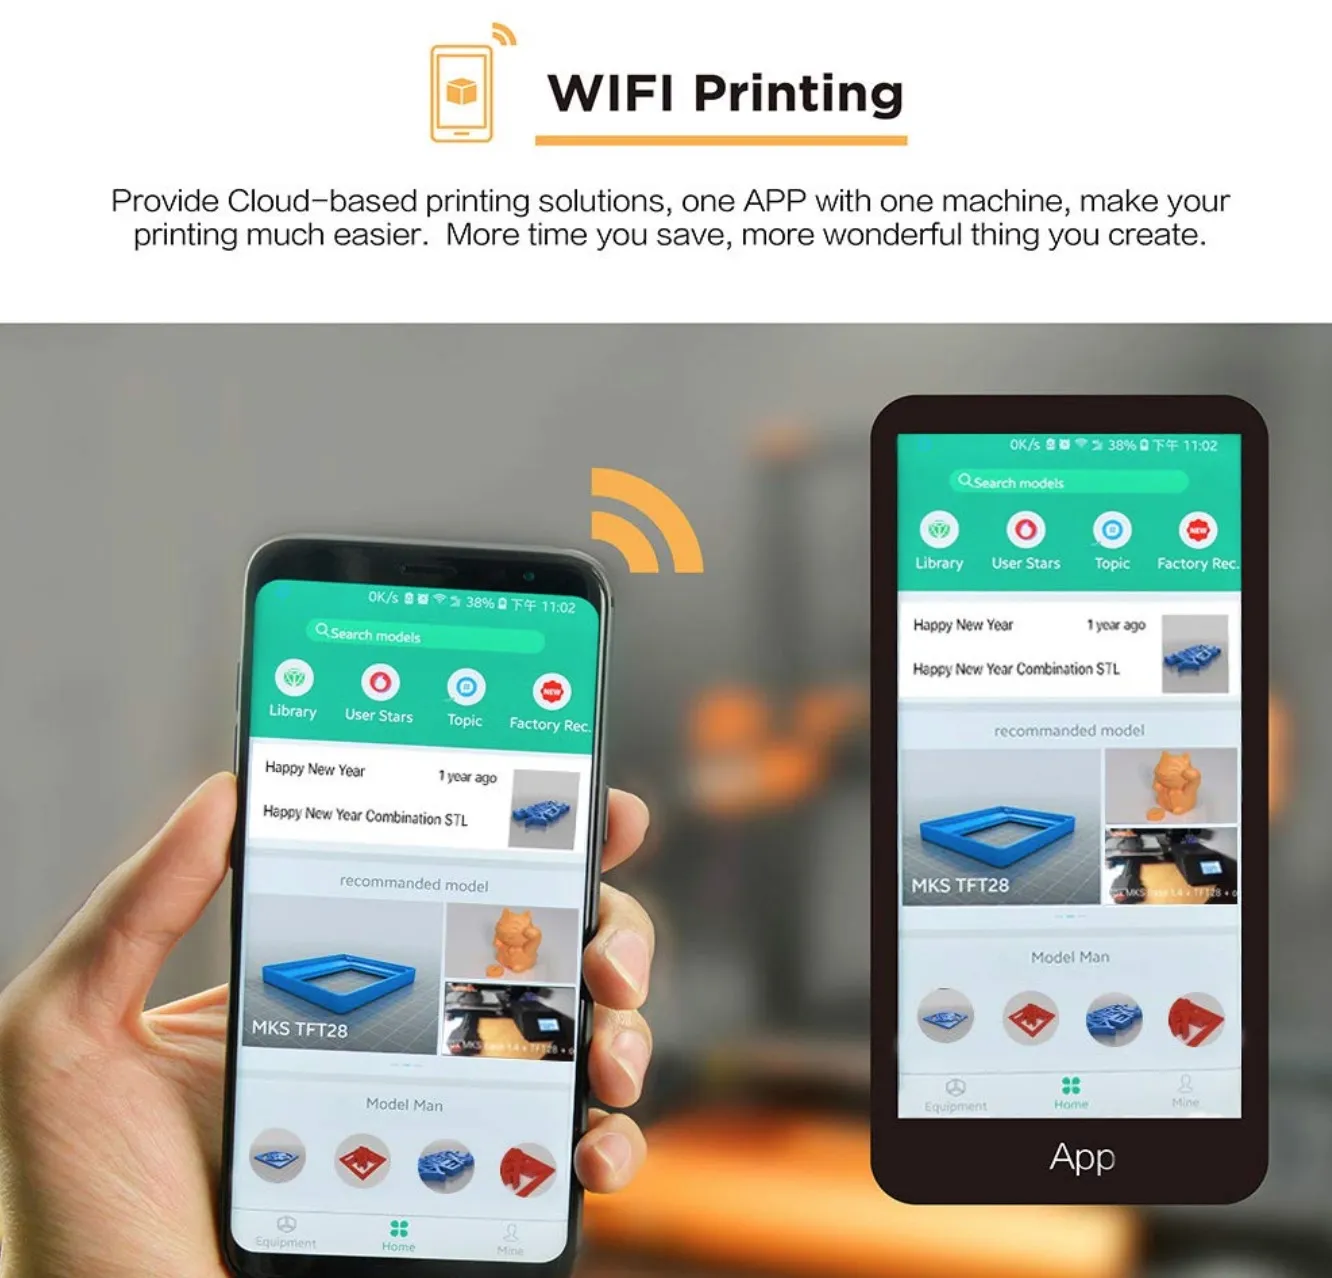
Second: WiFi connectivity. There’s a mobile app that lets you start prints and check on progress from your phone.
That kind of remote control usually lives on printers costing twice as much. Seeing TEVO bring it to the budget tier is a solid move.
Assembly is relatively straightforward, and filament run-out detection plus power-off resume give you good safety nets. The touchscreen feels like a genuine step up from the clunky knob-and-LCD combos on most budget machines.
Photo Gallery
Key Specifications
| Spec | Detail |
|---|---|
| Brand | TEVO |
| Model | Nereus |
| Type | Complete Machine |
| Build Volume | 320 x 320 x 400 mm |
| Layer Resolution | 0.1mm to 0.36mm |
| Nozzle Diameter | 0.4mm |
| Nozzle Temperature | 180 - 240°C |
| Bed Temperature | 0 - 80°C |
| Max Print Speed | 150mm/s |
| Filament Type | PLA, ABS, HIPS, Flexible PLA, Wood (1.75mm) |
| Connectivity | WiFi, USB, TF card, Online |
| LCD Screen | Yes (3.2 inch) |
| Frame Material | Aluminum Extrusion |
| Voltage | 100-240V, 600W max |
| Weight | 9.7 kg |
Other Specifications
That 32cm x 32cm x 40cm build area gives you plenty of room for most everyday projects. You won’t feel cramped.
This was one of the first printers I came across with WiFi printing baked right in. Pulling designs from cloud storage and sending them straight to the printer saves more time than you’d think.
The LCD screen gives you a clean readout of print progress without having to hover over the machine. Simple. Effective.
Power goes out mid-print? Doesn’t matter. The built-in resume function picks up exactly where it stopped once electricity comes back.
I’ve thrown all sorts of jobs at the Nereus. Jewelry designs. Architectural models. Product prototypes. Replacement parts for stuff around the house. Layer resolution sits between 0.1mm and 0.35mm, which is solid for what you’re paying.
After Unpacking
It ships as a full kit, so my advice is to lay every single piece out before you touch a screwdriver. Trust me on this. You don’t want to be halfway through assembly, digging through packaging trying to find one specific bolt.
Nice touch from TEVO: all the screws come in individually numbered bags that match up with the English instructions. Finding the right hardware for each step was painless.
The instructions are well illustrated for the most part, though a couple sections left me wanting more detail.
Structure
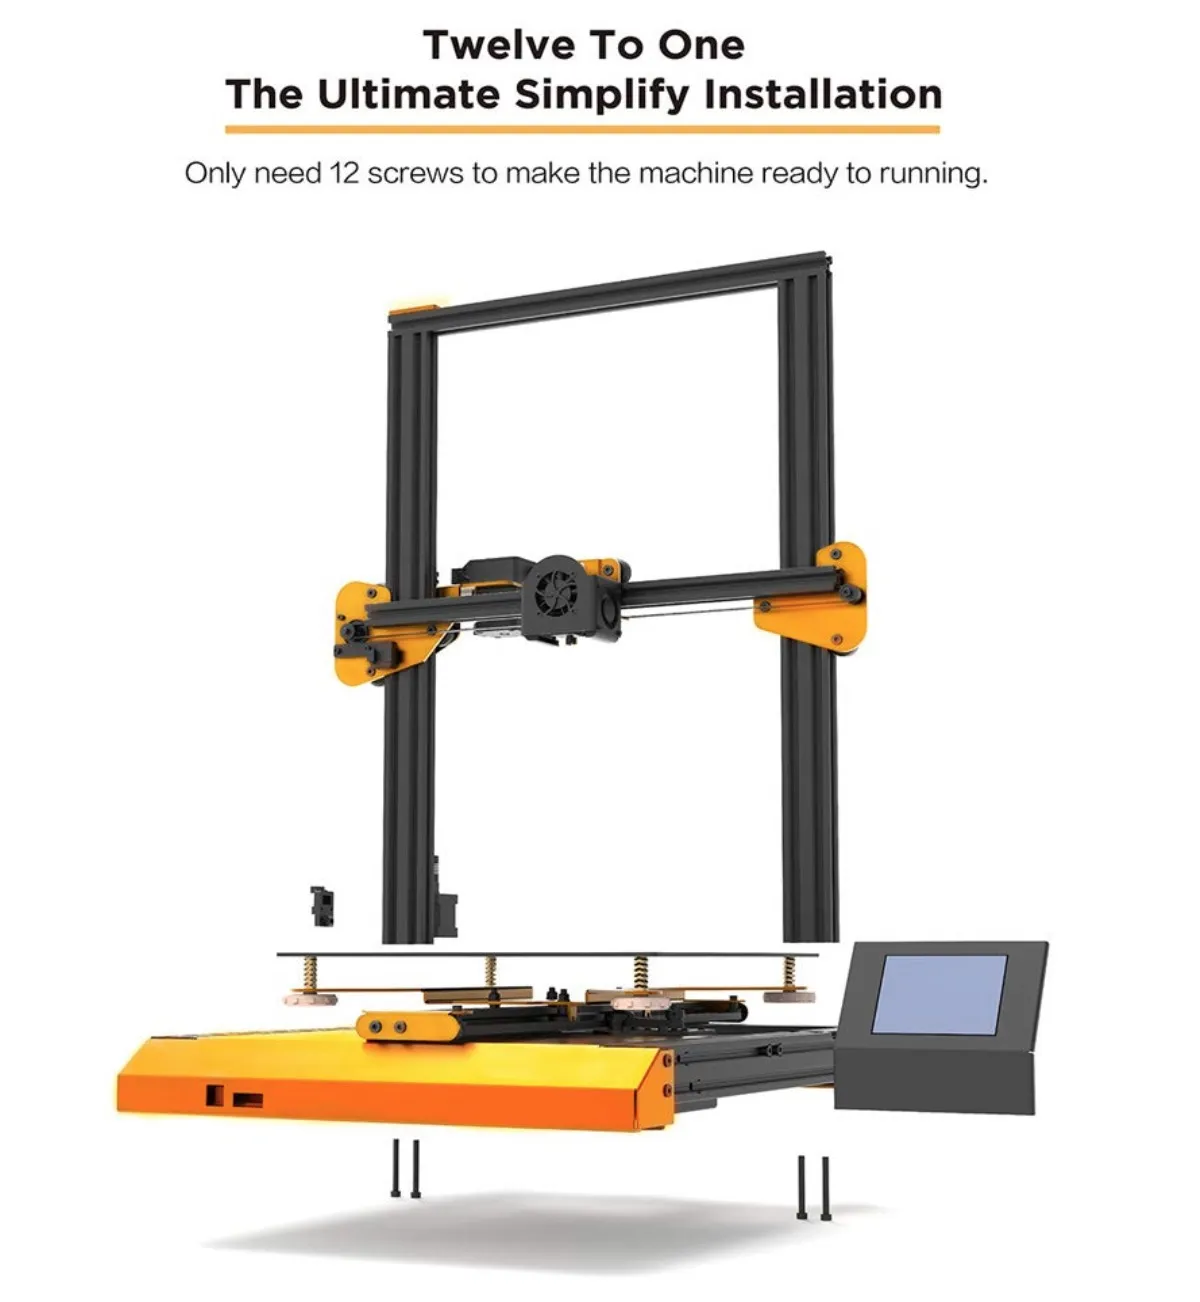
The build went smoothly, but don’t kid yourself thinking you’ll knock it out in an hour.
If you’re a beginner, plan on roughly 8 hours. For those of us with day jobs, that means 2 or 3 evenings, or one dedicated weekend session. The TwoUp V2 kit takes about the same time and is another solid option if you want to learn how these machines work from the ground up.
The silver lining is that building the thing yourself teaches you exactly how it operates. By the time you tighten the last bolt, you know this machine inside and out. That knowledge pays for itself every time something needs adjusting later.
Caution With the Power Cord
Pay close attention when you’re hooking up the power cord. This part actually matters.
Like most budget printers, the Nereus ships with an open power cord that you wire into the included power supply yourself.
If there are kids in the house, heads up. Those cables remain exposed even after you’ve finished building. Tuck them away or cover them up.
Calibration
Don’t rush calibration. Seriously. If you skip this step or half-ass it, your prints will show it.
You manually move the extruder across the heated bed and check the nozzle-to-bed gap at several spots. The goal is to fit a sheet of paper through with just a slight bit of resistance.
If you’ve calibrated a kit printer before, this’ll feel routine. We didn’t find it particularly tricky.
Software Not Included
This one bugged me. TEVO doesn’t include any software with the printer. None.
There’s a brief mention at the tail end of the build instructions that Marlin or Repetier are good options, but that’s it. Would it have killed them to bundle something? Even a download link on a card?
We went with Marlin for testing and it’s worked well. The Printrbot Simple Metal takes the opposite approach and ships with cloud-based software that handles slicing automatically.
Advantages
Quality and Speed
After calibration and a handful of tweaks, the Nereus started putting out prints that genuinely impressed me. Better than I had any right to expect at this price.
The build quality of the printer itself feels a cut above the usual budget fare. The acrylic components are the exception. They feel a bit flimsy and are the clear weak link. If durability is your number one concern, the MakerGear M2 runs a full welded steel frame with zero plastic parts.
The Bowden metal extruder pulls weight off the motor, though, and that lets the Nereus print noticeably faster than other machines at this price.
Low Noise
This one caught me off guard. The Nereus runs way quieter than any budget printer I’ve used before.
The roller system keeps everything smooth and muffled. You don’t realize how much printer noise gets to you until you’re running a 6-hour job and your workspace is actually peaceful for once.
Any Modifications by Open Source
Being fully open source means the Nereus benefits from a whole community of people building free upgrades and mods.
Need extra modules or replacement parts? Someone in the community has probably already designed one. Software compatibility tends to be excellent with open-source machines, and the Nereus is no exception.
Delivery and Packaging
Compared to other printers I’ve ordered, the Nereus showed up noticeably better packed. Delivery was quick too.
TEVO clearly puts thought into shipping, which isn’t always the case with budget brands. I haven’t come across packaging complaints from other Nereus buyers, either.
FillaPrint
FillaPrint isn’t cheap. If you’ve priced it before, you know. The cost scales with bed size, so larger printers like the Nereus will cost more per sheet than smaller machines like the TEVO Flash.
But it’s a phenomenal print surface. Heat it up and your first layer locks on tight.
When everything cools, finished parts pop right off. No damage, no fuss. The ultra-thin transfer coating lasts 2 to 5 years, and the surface stays flat, smooth, and mirror-clean. No sprays, no glues, no tapes.
The price per sheet is the only knock against it. At that cost, I really wish it were removable.
Here’s my workaround: grab a piece of borosilicate glass (flatter and bonds better than regular or mirror glass), stick FillaPrint on top of it, and now you’ve got a removable print surface. Problem solved.
One thing to note: you can tweak acceleration settings on this printer, but not jerk settings. Always save your profile and back it up after making changes. Losing a calibration you spent an hour perfecting is genuinely painful.
Other Factors
I do wish TEVO had tossed a second extruder in the box. But the filament compatibility makes up for it: HIPS, PVA, wood, flexible PLA, ABS, and regular PLA, all at 1.75mm.
Top speed hits 150mm per second. The nozzle heats up in about three minutes, runs 0.4mm diameter, and operates between 180 and 240 degrees Celsius.
Four connectivity methods at this price? That’s rare. WiFi, offline, online, and TF card. Most budget printers top out at two.
At 9.7 kilograms, it’s got some heft. Find a good permanent spot for it before you start the build.
Long-term, the open-source design is probably the biggest value driver. You can keep upgrading and improving this machine with community mods for years. The aluminum frame and platform board feel sturdy enough to hold up.
What Others Say
Other owners consistently praise the print quality. The dual extruder capability generates a lot of buzz, even though it’s a separate “upgraded accessory” purchase.
WiFi connectivity comes up in nearly every positive review I’ve read. Being able to kick off a print and monitor it from your phone is something you’d normally pay considerably more for. The CraftBot is one of the few other machines in this price range that puts similar emphasis on wireless convenience.
Frequently Asked Questions
No. The manufacturer does not include software with the printer. At the end of the building instructions, Marlin or Repetier software are recommended for use.
As a beginner, expect about 8 hours of construction time spread across 2-3 evenings. The assembly process helps you understand how the printer works.
The TEVO Nereus supports PLA, ABS, HIPS, flexible PLA, and wood filaments. The filament diameter is 1.75mm and the nozzle temperature ranges from 180 to 240 degrees Celsius.
Final Thoughts
The TEVO Nereus punches above its weight for the money. Once you get through calibration and dial in a few settings, the print quality is genuinely impressive at this price.
Open-source design means you can keep upgrading it over time, which is great for long-term value. Just be ready to exercise some patience, because getting it set up takes a while.
Better documentation would’ve gone a long way. I really wish TEVO had invested in a more complete manual, even if it meant adding a couple bucks to the price tag.
If you like tinkering and you actually want to understand how a 3D printer works from the inside out, the Nereus is a fantastic learning machine. You’ll absorb more during the build process than most tutorials could teach you.
For beginners on a budget, it’s a strong pick. But if you just want something that works the second you plug it in, this isn’t your printer. The Dremel Idea Builder is the true plug-and-play option with almost zero setup.
I could see the Nereus landing well in schools, in homes with tech-curious older kids, or on a hobbyist’s workbench. And for experienced users, a budget printer like this always makes sense as a second machine. The Nereus fills that role really well.


