
The FlashForge Finder 3D Printer showed up in just a few days, which surprised me given that it shipped all the way from China.
First impression was actually the box itself — specs and printer details printed right on the packaging. Small thing, but I like when companies do that.
Overview
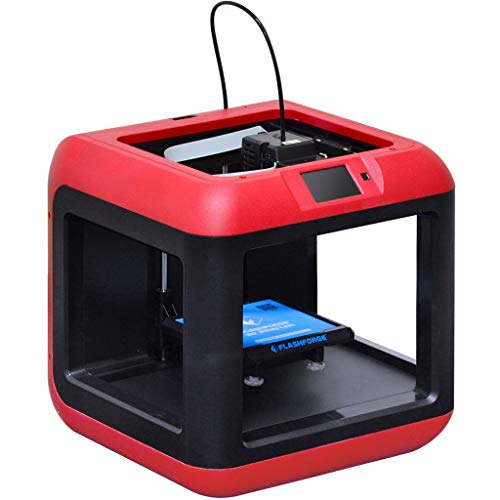
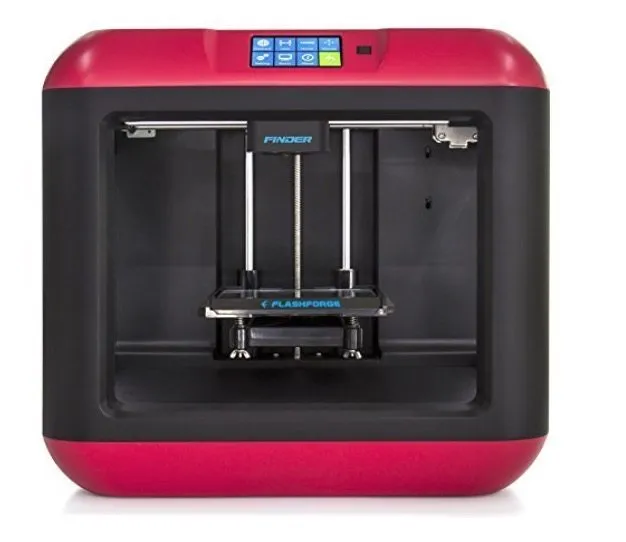
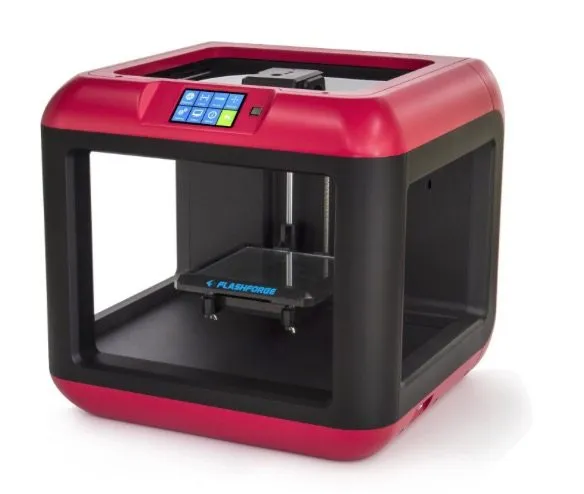
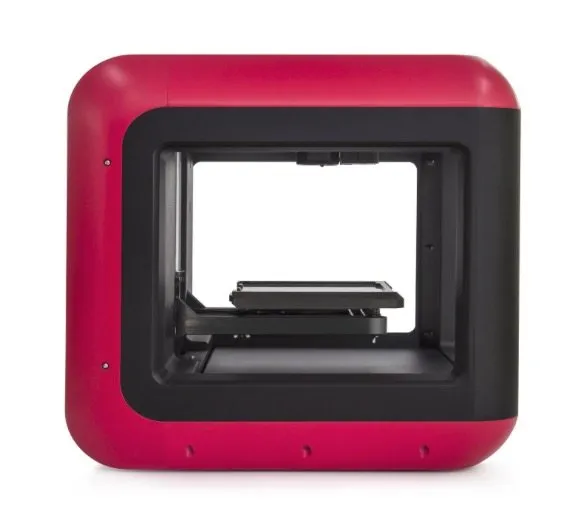
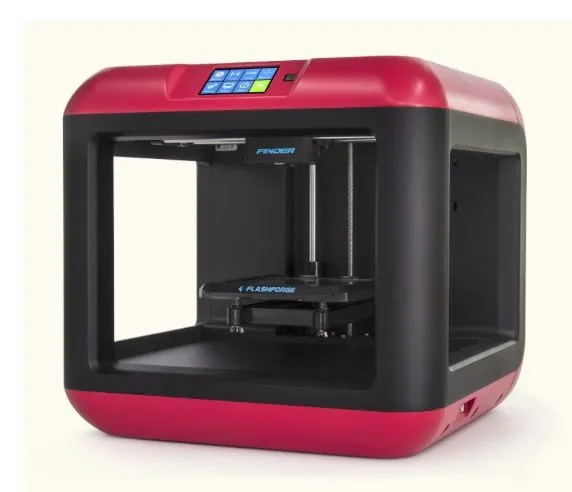
FlashForge Finder 3D Printer
A solid beginner-friendly printer with WiFi, a touchscreen, and surprisingly quiet operation. Great for home use.
Pros
- Easy setup with touchscreen calibration
- WiFi means no computer connection needed
- Fast extruder heating (about 10 minutes)
Cons
- PLA only (no ABS support)
- Minimum resolution of 100 microns
Pop open the box and the quick start guide is right there on top, along with bed sheets, basic tools, and a 4GB USB stick for loading STL files.
Underneath that: a spool of blue PLA filament, USB cable, and power cord. FlashForge sends the right power cable for your region, so no adapter headaches.
There’s a filament loading tube included too, and the quick start guide walks through the whole setup process.
Photo Gallery
Key Specifications
| Spec | Detail |
|---|---|
| Build Volume | 140 x 140 x 140 mm |
| Layer Resolution | 100 - 500 microns |
| Filament Type | PLA only (1.75 mm) |
| Connectivity | WiFi, USB |
| Display | 3.5 inch touchscreen |
| Price Range | Budget-friendly |
Preparing The Printer
First step after unboxing the FlashForge Finder: peel off the blue tape inside the cover. It’s obvious what needs to go, but take your time so you don’t scratch anything.
Two zip ties hold the print head steady during shipping. Snip them. The Afinia H480 secures things similarly, and both printers arrive well-protected.
Reach under the build plate and lift carefully — there’s styrofoam packing underneath that was protecting the bed during transit.
Now for filament. The Finder has its own dedicated tray for the spool, which is a nice design touch. The included spool is obviously a sample — about a pound, enough for your first couple of prints. Totally expected.
One gap in the instructions: they don’t really explain where to insert the filament loading tube. I took a guess that the two holes on top were the right spot. They were.
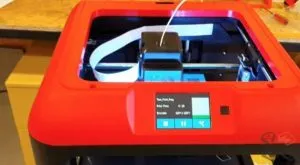
From there, the guide walks you through preparing the build plate. Power on, and the 3.5 inch touchscreen lights up with a welcome chime. The Finder runs surprisingly quiet.
Navigate to tools, then level, and the calibration process begins. Build volume maxes out at 14 cm in all three dimensions. Important limitation: PLA only, 100 micron minimum resolution.
Lower microns equals finer detail. The M3D Micro goes down to 50 microns if you need even sharper layers, though with a smaller build area. The on-screen guide tells you to tighten three nuts counter-clockwise until they stop.
Tap “OK” and the printer runs its own calibration check, measuring the gap between head and plate. Then loosen each screw until you hear a beep. The screen confirms when everything’s dialed in.
Getting Started On The First Print
And here’s where I immediately messed up with the FlashForge Finder 3D Printer. When you load filament, it feeds through the nozzle as the extruder warms up. I’d left the build plate jammed right against the nozzle from leveling.
Hot filament oozed out everywhere. Mess. Lesson learned the hard way.
The pre-loaded demo files didn’t interest me, so I found some models online instead. Loaded an STL onto the USB drive, plugged it in, tapped print on the touchscreen. Easy.
When you print from USB, the file copies to the printer’s 4GB internal memory first. Plenty of space for most files.
The software estimated 30 minutes for a high-quality print. Both the extruder and bed reached temperature in about 10 minutes — noticeably faster than a lot of printers that sit there heating for 20.
Results Of My First Print
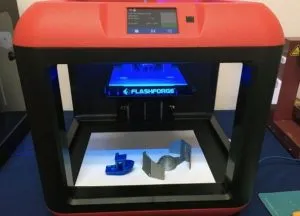
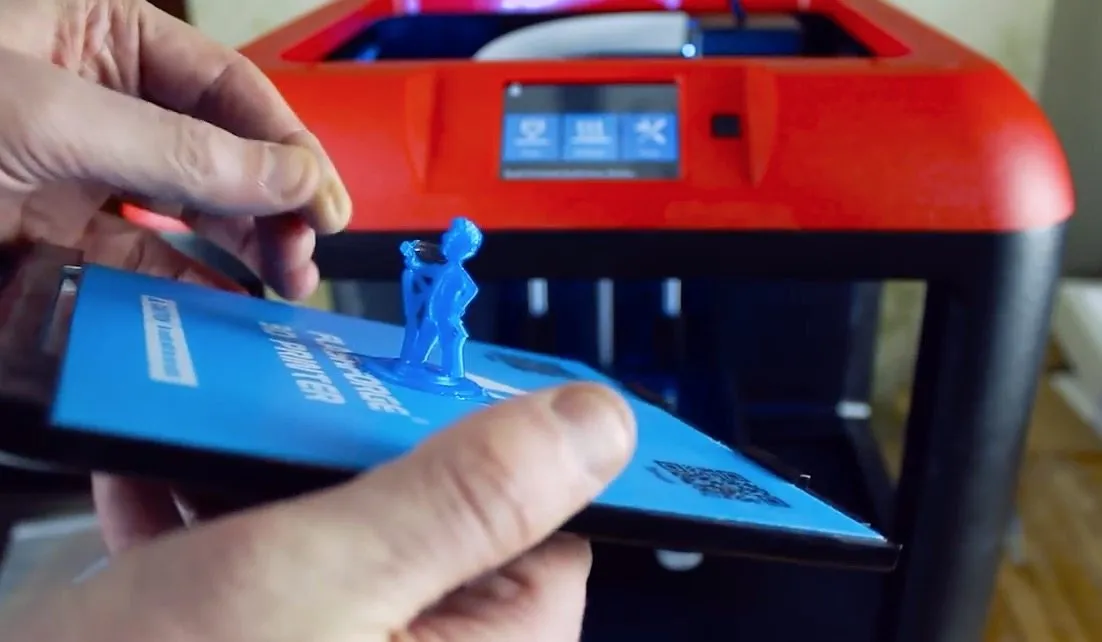
Thirty minutes later, right on schedule, my Vault Boy model was done. The tree-like support structures snapped off clean.
I was genuinely impressed. Detail was sharp, and I didn’t see any of the rough, layered texture that plagues some printers at this price. The MakerBot Replicator 2 produces similarly clean edges, though you’ll pay considerably more.
Something really intricate might still need a pass with sandpaper, but this print came out crisp. No complaints from me.
Getting the model off the heat bed required some effort. Pretty standard for 3D printing. A friend suggested using acetone or a light glue coat on the bed beforehand to make removal easier.
Under close inspection, there were a handful of stray filament strands. Nothing that a quick cleanup couldn’t handle.
Who Is This Printer For?
The FlashForge Finder 3D Printer is built for home users and hobbyists, which is exactly my use case. Even with some experience under my belt, I can appreciate how the nearly plug-and-play setup and clear instructions make this a fantastic choice for beginners.
You’re not going to get top-tier print quality here. But you’ll produce clean, useful objects without tearing your hair out. If you need dual extrusion or ABS support, the FlashForge Creator Pro is the natural next step up in the FlashForge lineup. Build volume is decent, though on the smaller side compared to some competitors.
For the money, though? Solid value.
WiFi is a real standout feature. No cables tethering the printer to your computer — just send the file and walk away. The 3D Systems Cube also has WiFi with app control, but those proprietary cartridges get expensive over time.
With delivery, it lands in the budget-friendly range. Fair price, and the quality sits comfortably above the cheaper printers even if it can’t touch the premium machines.
Frequently Asked Questions
Yes. The Finder comes with WiFi connectivity so you do not have to connect it directly to your computer. It also has a USB port and 4 GB internal memory.
The Finder only prints with PLA filament at a minimum resolution of 100 microns. It comes with a spool of blue PLA to get you started.
The extruder and print bed heat up in about 10 minutes, which is faster than many printers that take up to 20 minutes.
Final Thoughts
That first print came out great, and now I’m genuinely excited to start designing my own models.
What I keep coming back to is how easy this thing is. The FlashForge Finder 3D Printer just works out of the box after a quick calibration. Build plate pops out and slides back in like it was designed for people who don’t want to think about it. Because it was.
If your projects demand fine detail and complex geometry, look at something like the LulzBot Mini. But for beginners, hobbyists, or anyone who wants to print useful stuff around the house without a steep learning curve, the Finder is a genuinely solid pick.


