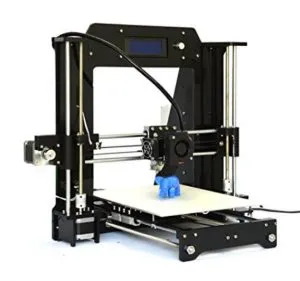
I went back and forth for weeks before pulling the trigger on the HICTOP Prusa I3 3D Desktop Printer. Compared it against everything else in the $400 range, read every customer review I could find, and kept coming back to this one.
If you’re shopping on a budget, do yourself a favor and spend time with the reviews. They’ll save you headaches down the road.
Overview

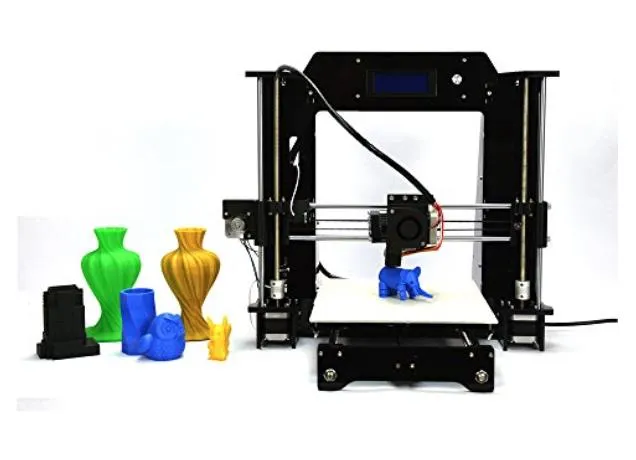
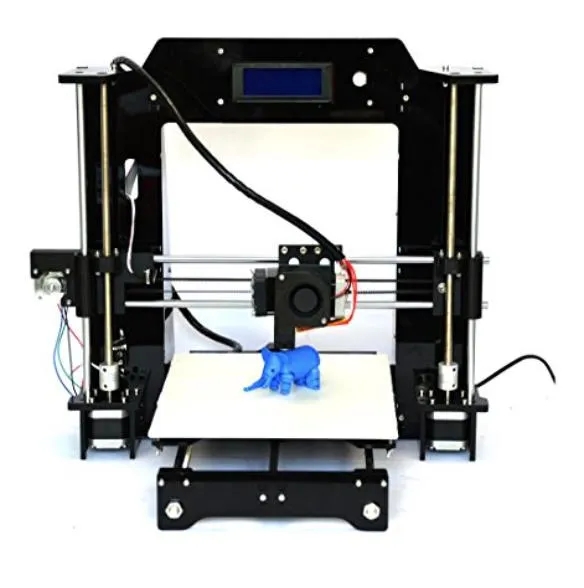
HICTOP Prusa I3 3D Desktop Printer
A budget open-source printer that's endlessly customizable. Decent-sized bed, Arduino-compatible firmware, and surprisingly good print quality once you've got it dialed in.
Pros
- Superb print quality once calibrated
- Completely customizable and upgradable
- Educational assembly process
Cons
- Assembly takes significant time
- No configuration.h file included
This isn’t a plug-and-play machine. It’s for the kind of person who actually enjoys a challenge and wants to understand how things work. That mindset pops up constantly in the customer reviews, and honestly, it’s what drew me to it.
Once it’s properly dialed in, the print quality is genuinely superb. I’d recommend it for teachers, students, hobbyists, pretty much anyone who treats 3D printing as something to learn rather than just use. If you’re looking at this for a classroom though, the CEL Robox might be a better fit since it has a lockable enclosure for safety.
Photo Gallery
Key Specifications
| Spec | Detail |
|---|---|
| Build Volume | 200 x 200 x 170 mm |
| Filament Type | PLA, ABS |
| Motherboard | MKS Base v1.2 |
| Software | Cura (included), Repetier (recommended) |
| Customizable | Yes, additional extruder possible |
| Price Range | $400 |
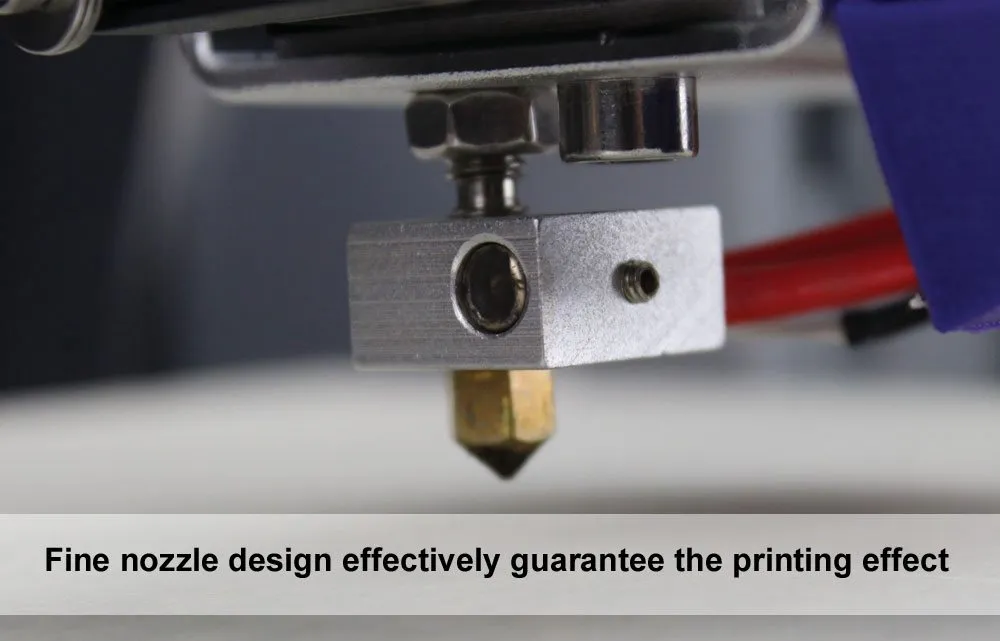
Print Quality
Fair warning: your first few prints won’t look amazing. You’ve got to manually tweak the settings before this thing starts producing good work.
The HICTOP Prusa I3 3D Desktop Printer ships with Cura, which is fine. I switched to Repetier pretty quickly though because I wanted more granular control.
Once I dialed in the extrusion speed, print speed, and fill densities, the difference was night and day. The CraftBot ships with CraftWare slicer software that makes this kind of fine-tuning easier with its visual preview feature.
After finding my sweet spot in Repetier, I was printing moving parts with real structural integrity. Functional stuff, not just decorative trinkets. If you like getting your hands dirty with settings, this printer earns every one of its 5 stars.
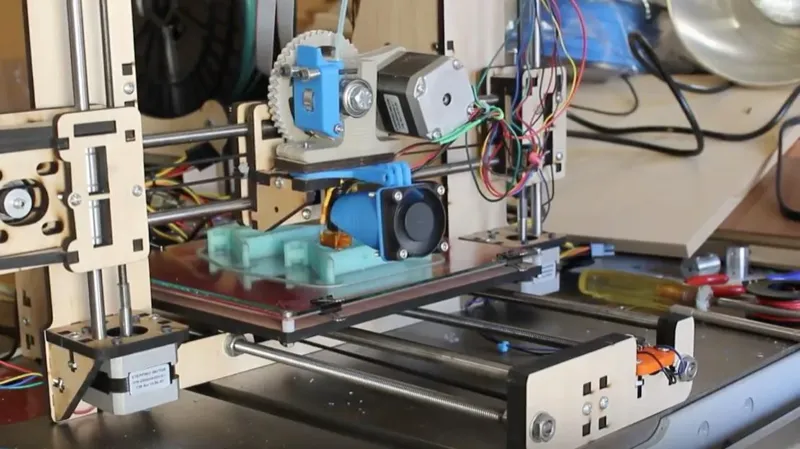
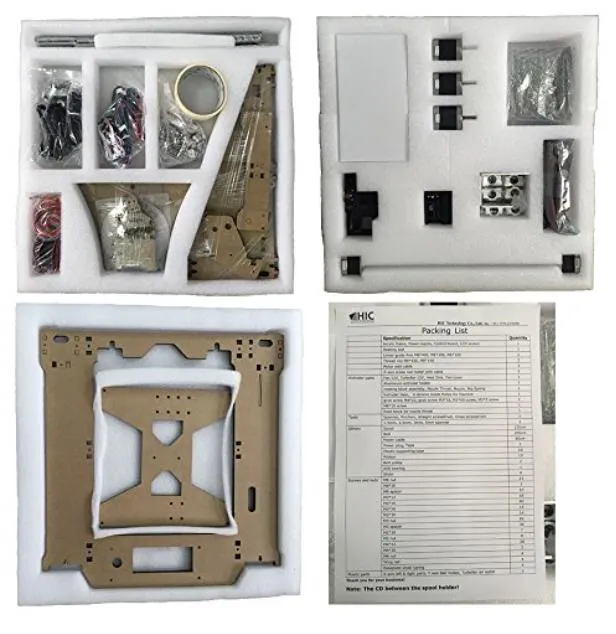
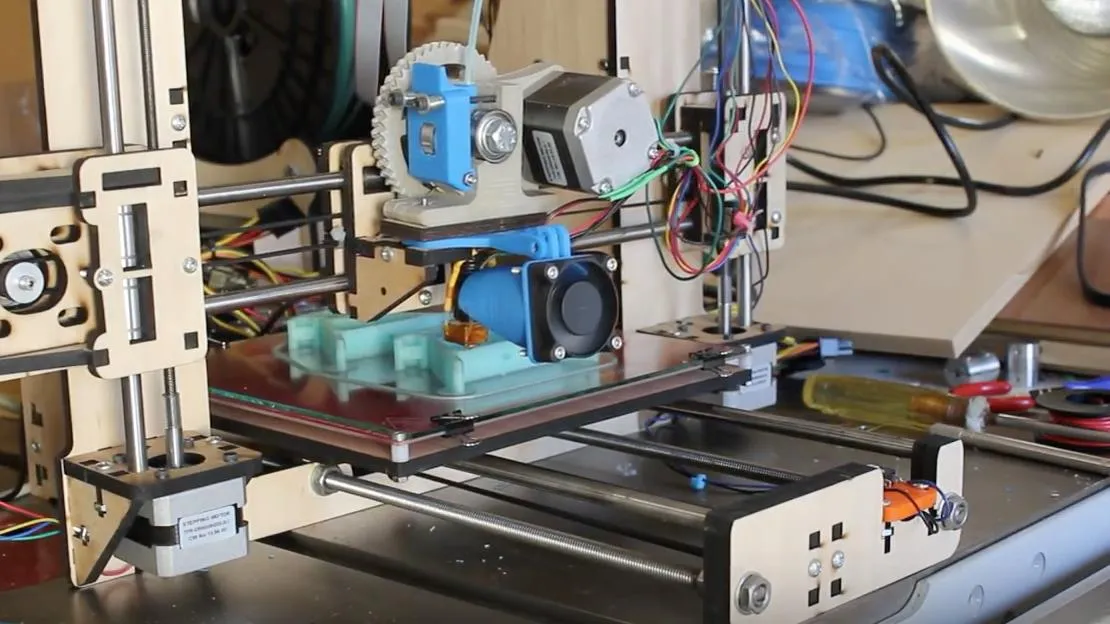
Assembly
Honestly? Assembly was the thing I was most nervous about. This was my very first 3D printer, and I’d read way too many comments about the instructions being garbage.
They weren’t wrong. The instructional video flies through the steps with zero narration, so if you’re not pausing and rewinding constantly, you’re going to miss things. If you’d rather skip assembly entirely, the M3D Micro ships fully assembled and ready to print.
Here’s the thing though: building it turned out to be my favorite part of the whole experience. Seriously. If you’re a visual learner, just pause the video at each step and you’ll be fine.
One tip I picked up: leave one side of the z-axis support without the vertical rod. If you install both supports, the motor jams up. Learned that the hard way.
You can definitely build this solo, but grab a friend for the bigger pieces if you can.
The whole process took me about 15 hours spread over three days. Most of that was fixing mistakes, which is par for the course when you’ve never done this before.
But it was a blast. I mean that. Fifteen hours of hands-on learning that made me actually understand how 3D printing works from the ground up.
Software And Motherboard
Everything you need comes in one box, which I appreciate. No separate orders, no hunting for missing parts.
Cura is the included slicer and it works well enough to get started. I ended up switching to Repetier because it lets me manually control each axis, which is worth it if you like that level of control.
The motherboard is an MKS Base v1.2. Not a mainstream board, which has its drawbacks, but it’s Arduino-compatible. If you know your way around Arduino, that opens up a lot of possibilities.
Here’s my biggest gripe: HIC doesn’t include a configuration.h file. That’s the file the board needs to know what to do. I spent way too long messing around with config settings and actually bricked the board at one point. Not my proudest moment.
I reached out to HIC’s support team and they were genuinely helpful. Patient, responsive, and willing to walk me through things.
What actually saved me was another Prusa I3 owner who sent me a working configuration.h file I could customize. Community to the rescue.
I’d dock the motherboard one star for not being mainstream and for that missing config file headache. Otherwise, no complaints.
DO NOT let any of that scare you off if you’re on a budget.
Future Use
Where HIC really nailed it with the Prusa I3 3D Desktop Printer is customization. This thing is endlessly upgradable.
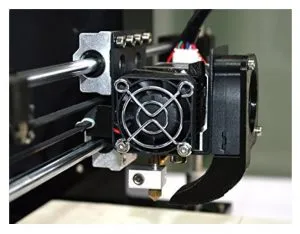
Found something I didn’t like? Just swap in different parts. The Y-axis endstop, for instance, doesn’t actually contact the print bed, so you have to manually stop it during homing. Annoying, sure, but I’m already planning to design and print my own auto-home part on this very printer.
That kind of adaptability is a solid 5 stars from me.
Want dual extrusion? The motherboard supports a second extruder. You’ll need to buy the parts separately, but the option’s there. If you want dual extrusion right out of the box instead, the FlashForge Creator Pro ships with two extruders already installed.
What Can You Make?
For an entry-level printer, the bed size is more than respectable. Repetier reads it as 200x200x170, but with some tweaking to the configuration, endstops, and software, you can push it beyond that.
To put things in perspective: the printer we use at my company cost around $15,000. I’ve seen friends’ phone cases and projects from their machines, and honestly, the output from this $400 printer holds up surprisingly well against far more expensive hardware. The Monoprice Maker Select offers a similar value proposition for budget-conscious buyers.
No, it doesn’t have all the bells and whistles. But you’re getting results that punch way above the price tag.
So far I’ve printed gyroscopes, toys, replacement printer parts, office supplies, and phone cases. Got some custom printing disks planned for this weekend.
5 stars for what this machine can actually do.
Frequently Asked Questions
Assembly took about 15 hours spread across three days. The main reason for the extended time was learning from mistakes as a first-time printer owner. Experienced users can complete it faster.
It comes with Cura software, but Repetier is recommended for manual control of the different axes. The MKS Base v1.2 motherboard is compatible with Arduino software for custom coding.
Yes. The motherboard has room for an additional extruder if you are willing to purchase the parts. The printer is highly customizable and upgradable.
Final Thoughts
All things considered, I’m giving the HICTOP Prusa I3 3D Desktop Printer a solid 4.5 stars.
Read other reviews before you buy. Go in knowing this is a learning tool first, printer second. That mindset will save you a lot of frustration.
Yeah, the learning curve can be stressful. But that’s exactly what makes the payoff so satisfying when you nail a clean print. The software and motherboard have room for improvement, but every resource you need is available online for free.
Print quality is incredible once calibrated. Just know that the results depend entirely on how much time you put into dialing things in. This machine rewards patience.
Customer service is solid, so ignore the negative reviews about support. If you want a printer that actually teaches you the craft while producing quality work, this is the one. For those who’d rather just unbox and print, the LulzBot Mini sets up in under 5 minutes with zero assembly required.
If you’re someone who likes tinkering, problem-solving, and figuring things out, just get this printer. I really can’t overstate how rewarding the whole experience has been.
Best $400 I’ve ever spent. Without question.


