
My Monoprice Maker Select 3D Printer showed up way faster than expected, just a few days after I placed the order. I couldn’t wait to tear into the box. Here’s what happened from unboxing to first print.
Unboxing

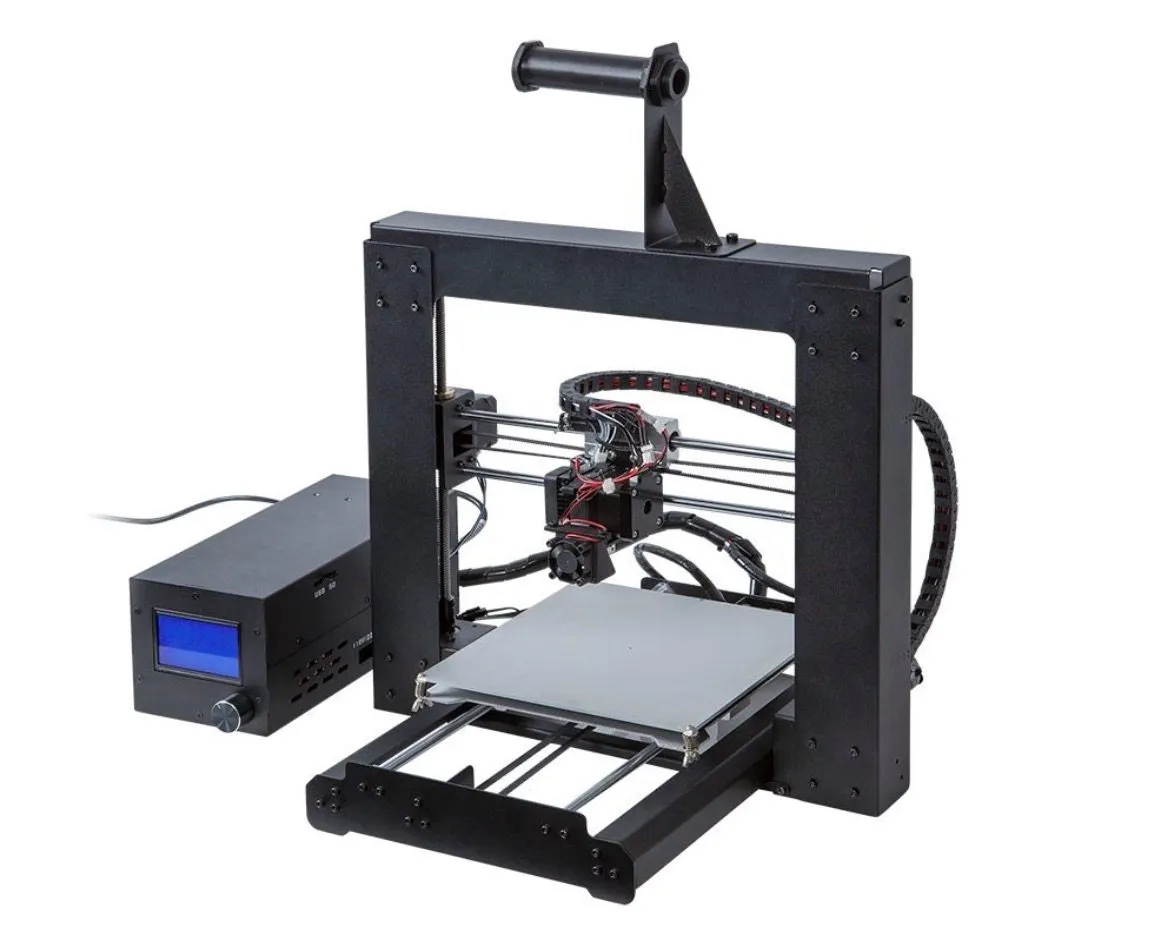
Monoprice Maker Select 3D Printer
An entry-level printer that punches above its price tag. Heated bed, LCD display, and PLA and ABS support at a budget-friendly price.
Pros
- Excellent value for the price
- Simple assembly in about one hour
- Good print quality with PLA filament
Cons
- Complex prints lack fine detail
- Not plug-and-play, requires calibration
It came in a heavy box strapped down with nylon, wedged tight between thick foam inserts and sealed with a couple strips of tape.
Honestly, the packaging was perfectly sized. Everything fit snug and secure, which always makes me feel better about potential shipping damage. The XYZ Da Vinci 1.0 had similarly thoughtful packaging when I reviewed it.
The instructions were sitting right on top when I cracked the box open. Since they were literally staring me in the face, I figured I’d read them for once. I’m usually the type to dive straight in and figure it out as I go.
Underneath the instructions you’ll find a big power brick with wiring, the LCD display, and a separate box with all the accessories. Fair warning: the printer was jammed in so tight that wrestling it out of the Styrofoam actually took some effort.
Photo Gallery
Key Specifications
| Spec | Detail |
|---|---|
| Build Volume | 200 x 200 x 180 mm |
| Filament Type | PLA, ABS (1.75mm) |
| Heated Bed | Yes |
| Connectivity | USB, SD Card |
| Display | LCD with coordinates |
| Price Range | Budget-friendly |
More Unboxing
Nobody warns you about this part: getting the printer out of the packaging is trickier than it looks. Yank on the wrong piece and something could tumble out and hit the table. Not great.
Take it slow. The other thing that tripped me up was figuring out which end of the tower faces up. I stared at it a few times before realizing the motors go toward the bottom. That’s really not obvious when everything’s still in the box.
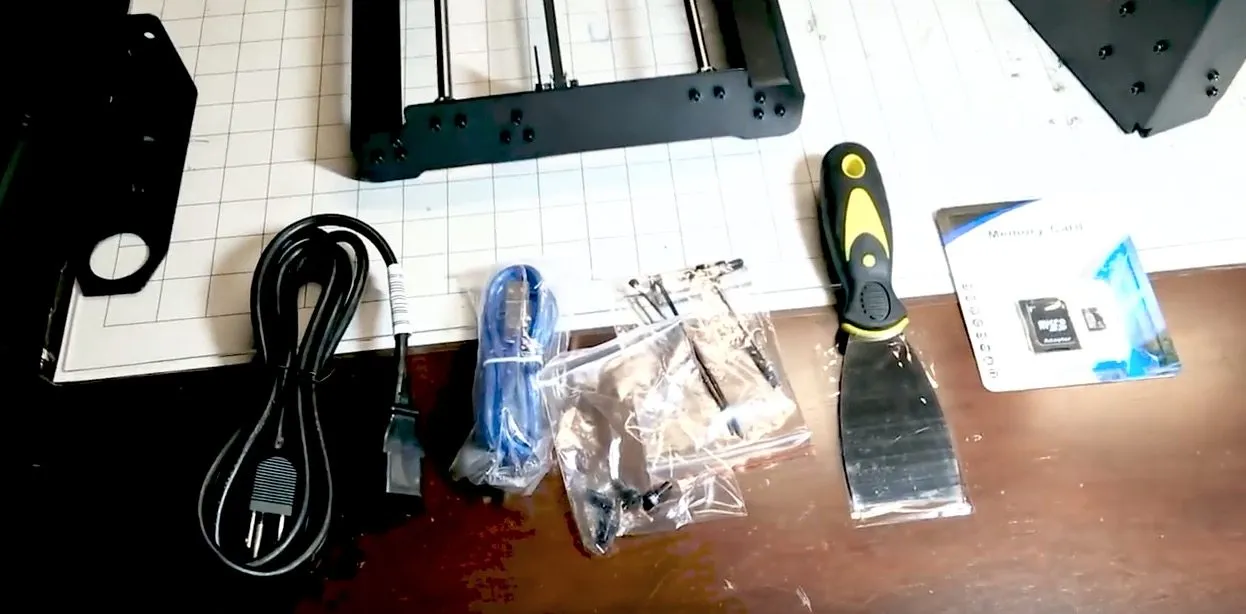
The photo above shows the full contents of the package. If anything looks like it’s missing from yours, reach out to customer support. They’ve been excellent in my experience, which I appreciated since I’m not exactly a 3D printing veteran. Here’s what you should find inside: the base, the tower, the power unit, a filament spool rack, a power cable, a USB cable, 4 mounting screws, extra screws, a clear tube, zip ties, a putty knife, a 2 GB SD memory card, and some Allen wrenches.
Assembly
Putting the Monoprice Maker Select 3D Printer together was easier than I’d expected, even though I was a bit nervous going in. The tower bolts to the base with four screws, and the base sits on the ledge at the top. Simple enough.
All the bolts come in one tiny bag. There’s honestly not much to it beyond lining things up and double-checking orientation.
When you get to the motor wires, the instructions spell out exactly which wire connects where. The connectors are keyed so they only fit one way. Pretty hard to mess up.
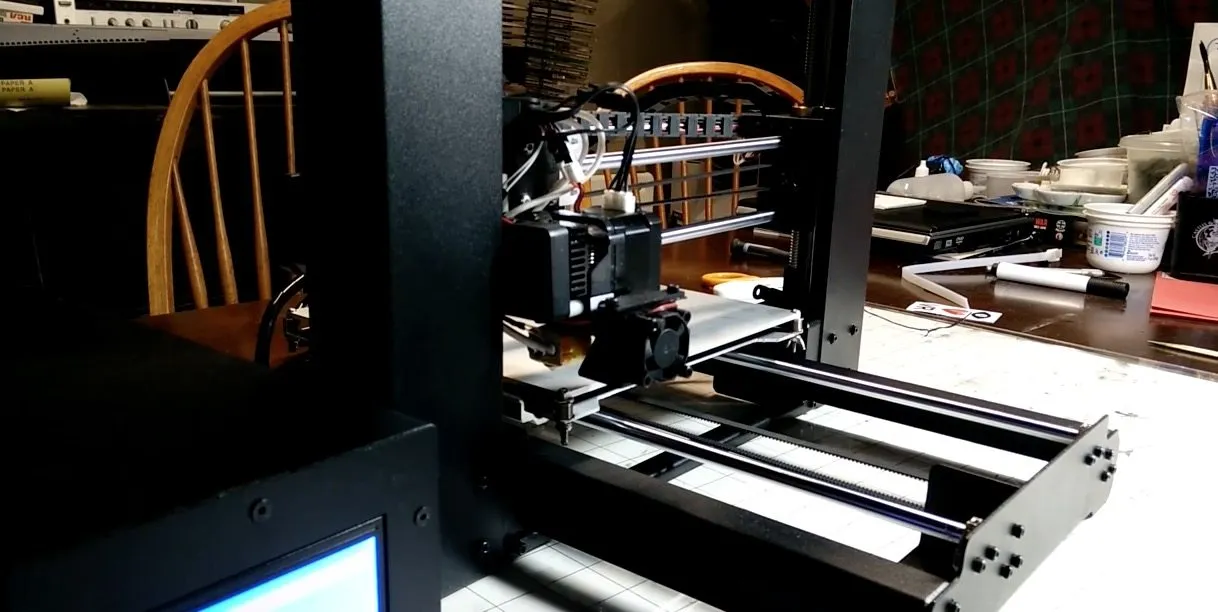
Once it’s all together, the printer feels surprisingly solid. The whole thing took me about an hour, mostly because I was being overly careful. I did have to redo it once because the back end kept popping up while I was tightening the screws. Lesson learned. If you’d rather skip assembly altogether, the UP Mini comes fully assembled out of the box.
Powering It On For The First Time & Calibration
With the spool holder mounted, it’s time to power this thing up. First order of business: calibrating the gantry.
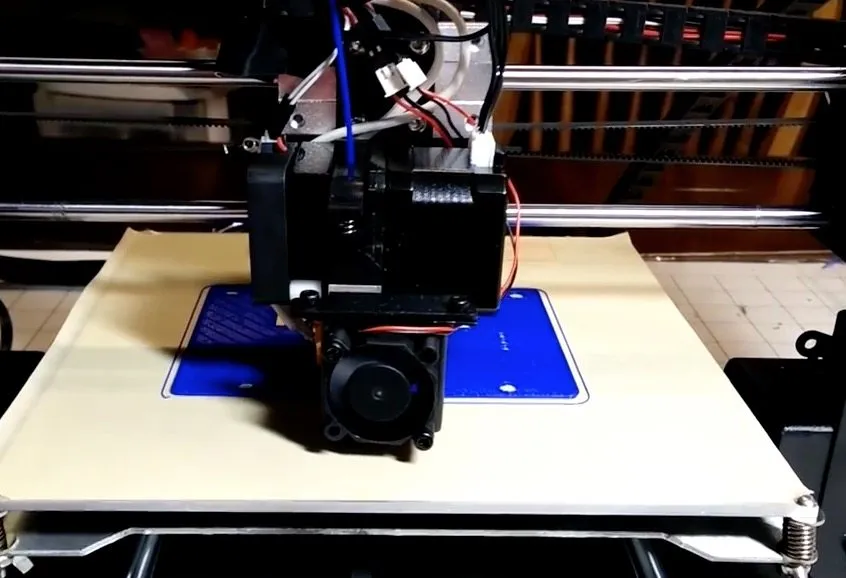
Pull the y-axis forward and crank all the wing nuts down as far as they’ll go. This drops the print bed to its lowest point. Then you slowly loosen each wing nut to raise it until there’s roughly a sheet of paper’s worth of gap between the bed and the extruder, just like the instructions say.
Flip the power on and the LCD screen walks you through what’s next. The extruder moves into position and runs a “Home All” sequence to lock in its starting coordinates.
When you slide paper under the extruder to check the gap, be careful not to catch it on the screws. Seems like a small thing, but nailing this calibration step makes a world of difference in your print quality.
Here’s why it matters: if the extruder sits too close to the bed, your prints will fuse to the surface and you’re in trouble. Printers with auto-leveling like the Printrbot Play handle this whole step for you, which saves a ton of headaches.
I found this out the hard way on my second print. Tore up the tape layer on the board, which ruins the print and can damage both the extruder and bed. Not making that mistake again.
The machine’s built tough, but there’s no reason to push your luck. Just take your time with the gap.
One more tip: lay paper sheets on the bed before heating it up. Once it gets warm, the air bubbles become way easier to push out. The included putty knife is perfect for this and speeds up the whole process.
The Printing
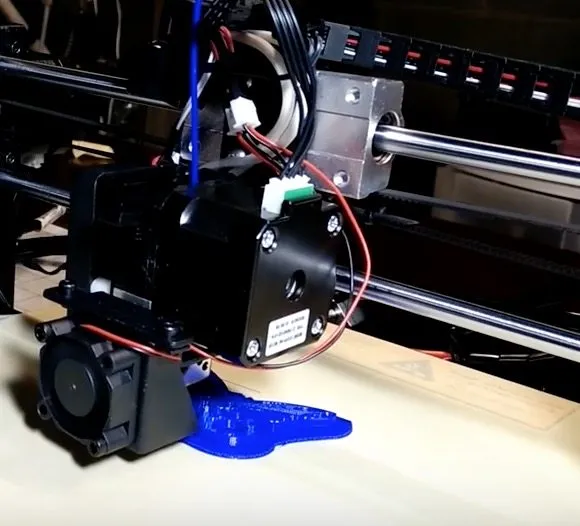
Now for what actually matters with the Monoprice Maker Select 3D Printer: how does it print? You start by preheating either ABS or PLA filament.
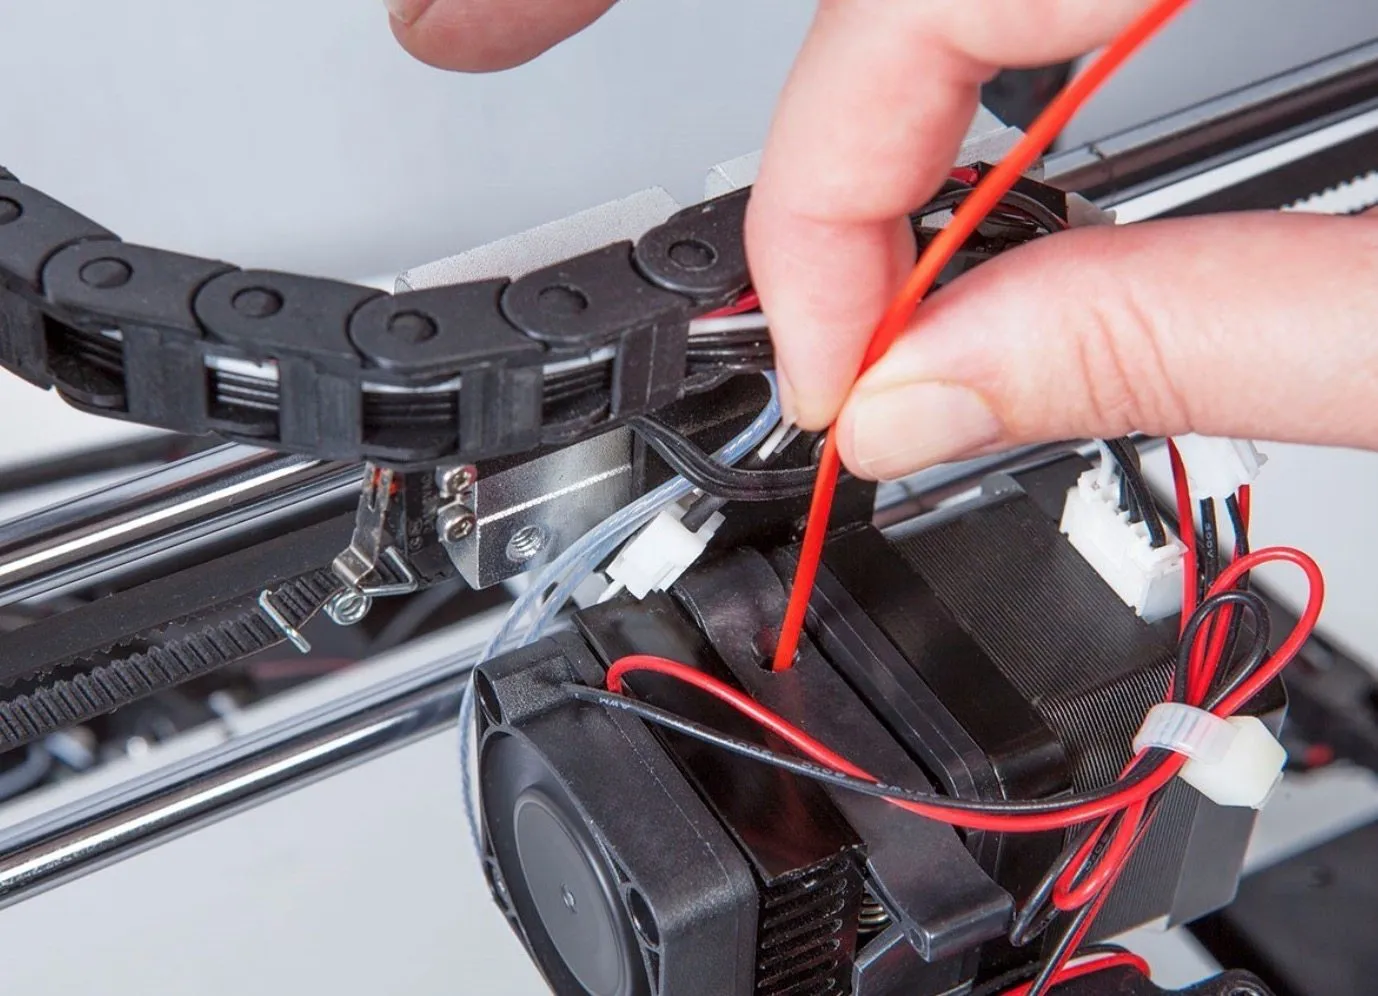
If the filament kicks back and won’t feed through, you might have to open the fan assembly and push it in manually. That’s exactly what happened to me. The extruder just wouldn’t grab it on its own.
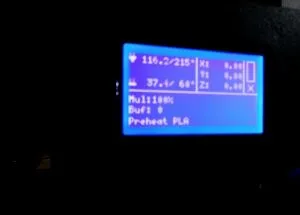
Once the filament’s loaded, you’re good to go. The SD card comes pre-loaded with about 5 models, and I started with the Monoprice logo just to see what this thing could do. The LCD shows print progress in real time along with x, y, and z coordinates, which is a nice touch.
What really struck me was how fast the whole process went. I’ve assembled a Reprap Mendel before, and that was a much longer, much more frustrating ordeal. This time? Four screws and I was printing within 45 minutes. Cura pairs great with this machine and everything ran smooth from the start. The HICTOP Prusa I3 is another budget-friendly option that works well with Cura if you’re thinking about adding a second machine.
Quick tip: use a brim for smaller prints and a raft for bigger ones. It makes a noticeable difference in adhesion.
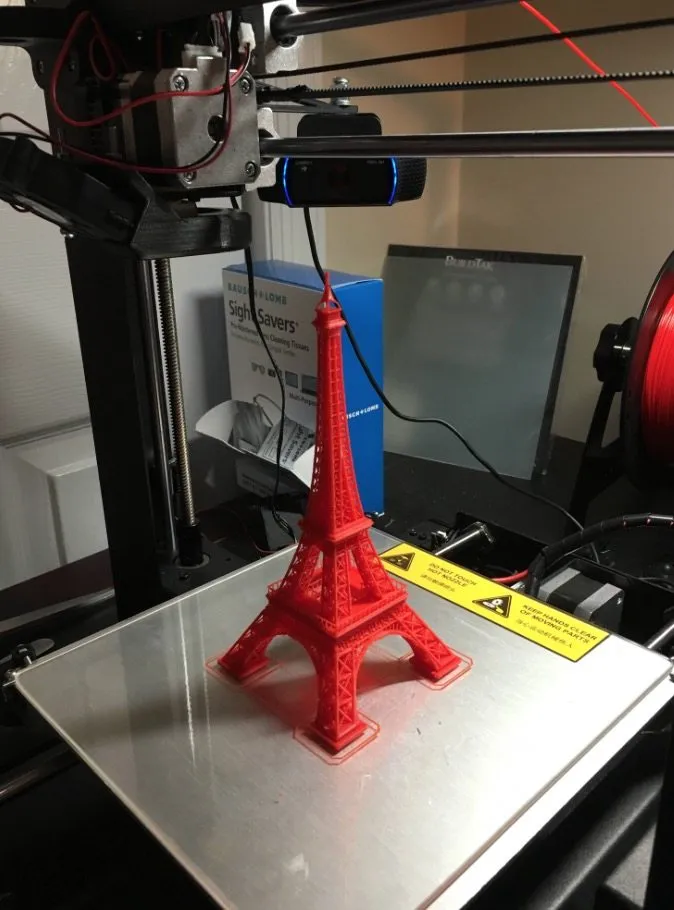
My first finished print came out looking sharp. A lot of budget printers leave you picking off strings and smoothing rough edges, but this one was genuinely clean.
When I tried more detailed designs, the fine detail fell a bit short. That said, for anything that doesn’t need pinpoint geometry, this printer seriously overdelivers for the price. If sharper detail matters to you at this budget level, the Printrbot Metal Simple Kit hits 100-micron resolution.
For truly intricate work, you’re realistically looking at a higher-end machine. The MakerGear M2 gets you that kind of precision if you’re ready to spend more. But for everyday stuff like household items and replacement parts, the Maker Select handles it no problem.
PLA prints come out nearly flawless on this machine. ABS is more of a coin flip.
PET gave me real trouble. Periodic blobbing, lots of stringing, and layers that wouldn’t always bond to the ones below. I’d stick with PLA if you want consistent results.
Frequently Asked Questions
We highly suggest sticking with PLA filament for the best results. ABS might turn out different results, and PET sometimes produces blobs or stringing with layers not fusing well.
Assembly takes about an hour if you take your time. The tower attaches to the base with four screws, and the instructions clearly outline which wire goes to which motor.
Basic prints come out great, but very complex detail is not exact. For highly detailed work, you would want a higher-end printer. For basic to moderate detail, this printer performs well for its price.
Final Thoughts
The Monoprice Maker Select 3D Printer is honestly one of the best deals you’ll find at this price. Highly detailed, complex prints aren’t its forte, but that’s not what a budget printer is for.
I’d recommend it to anyone looking for a solid entry-level machine for fun projects or practical household stuff. If you need sharp details and tight geometry, you’ll want to step up to something like the MakerBot Replicator 2.
Don’t walk in expecting plug-and-play. There’s a learning curve. But at this price, it’s hard to beat if you’re just getting your feet wet with 3D printing.


