
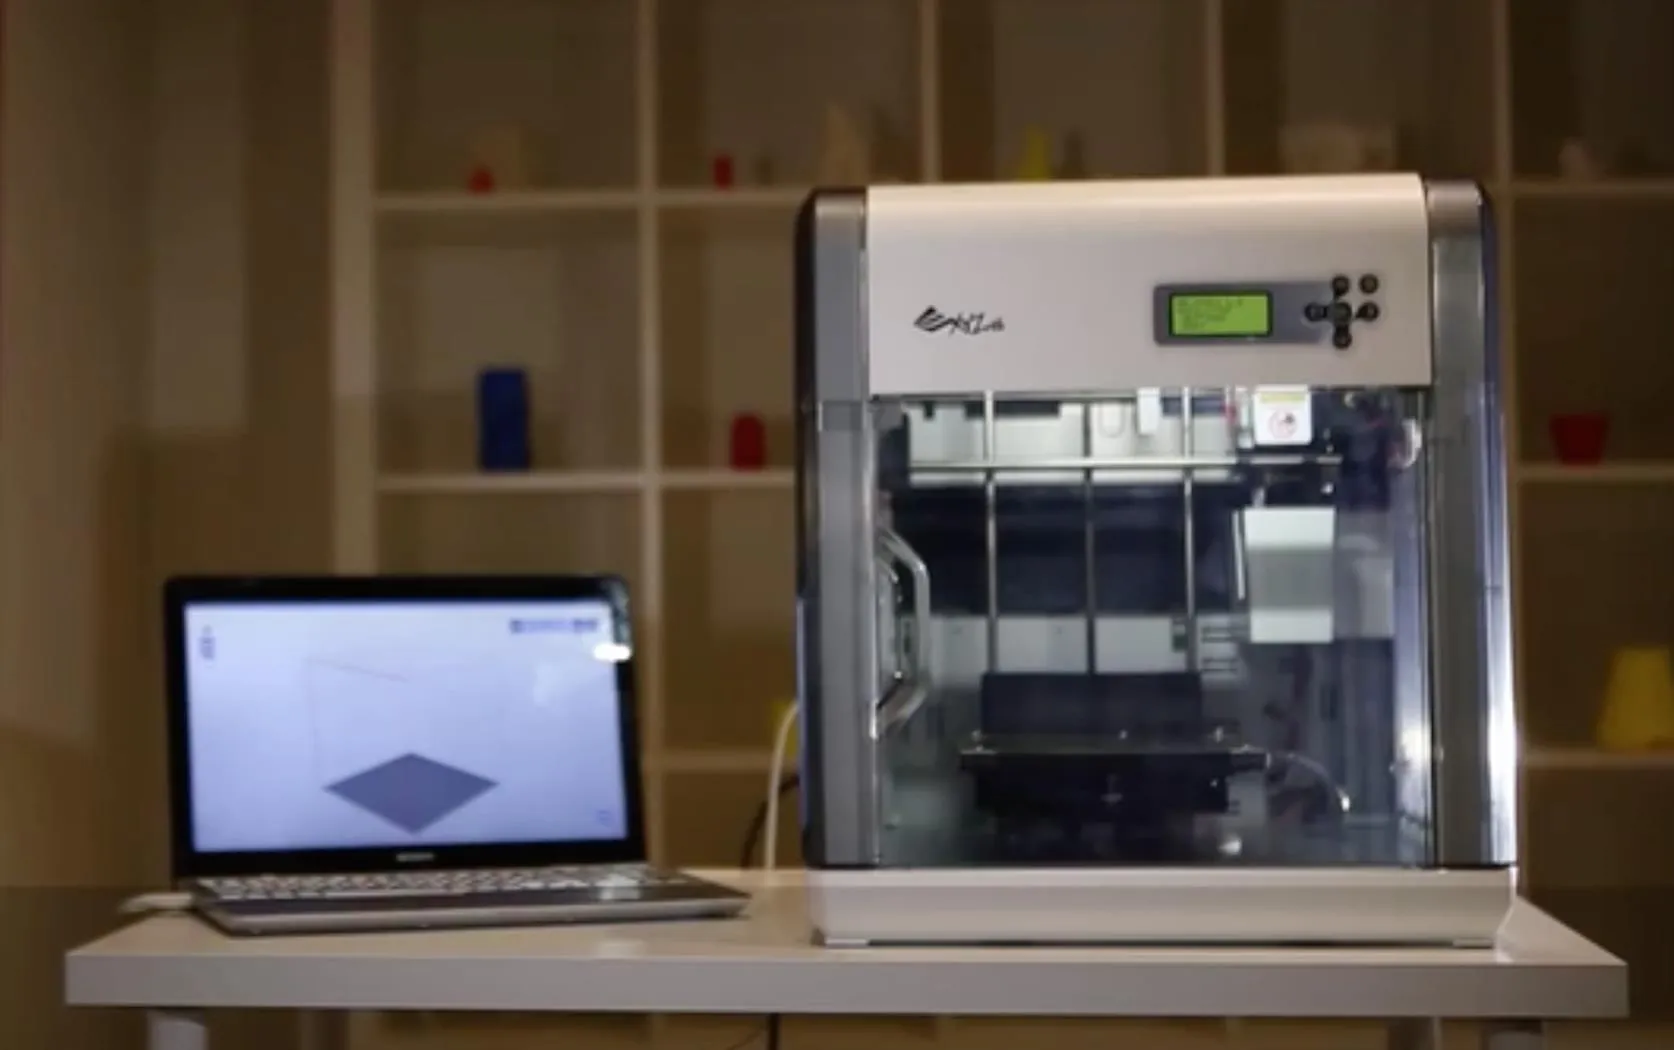
The XYZ Printing Da Vinci 1.0 3D Printer took its time getting to me, but the wait was worth it. When I cracked open the box, I was relieved to see all the wiring neatly organized and held in place.
I did run into a problem immediately, though. My unit wouldn’t feed filament. So I called support.
Within an hour, someone called me back. I’ve never had a company return a call that fast. Not once.
The rep walked me through a series of troubleshooting steps, and we eventually figured out the extrusion head had gotten bumped off balance during shipping.
Snapping it back into place was all it needed. That kind of responsiveness made me feel confident about the purchase right from day one. The QIDI Tech I is the only other printer I’ve dealt with where customer service comes anywhere near this quick.
Overview
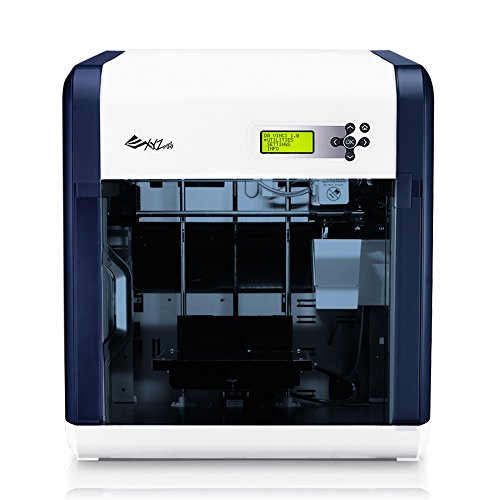
XYZ Printing Da Vinci 1.0 3D Printer
An enclosed desktop printer we've run daily for over a year without a single failure. Proprietary ABS cartridges and genuinely excellent customer support.
Pros
- Outstanding customer support with quick response
- Extremely reliable over long-term use
- Great value for the money
Cons
- Proprietary filament cartridges limit options
- Software lacks drawing capabilities
Photo Gallery

Key Specifications
| Spec | Detail |
|---|---|
| Build Volume | 200 x 200 x 200 mm |
| Filament Type | Proprietary ABS cartridges (1.75mm) |
| Filament Included | 300 gm white sample roll |
| Replacement Cartridge | 600 gm (about 240 meters) |
| Connectivity | USB |
| Enclosed | Yes |
| Price Range | Budget-friendly |
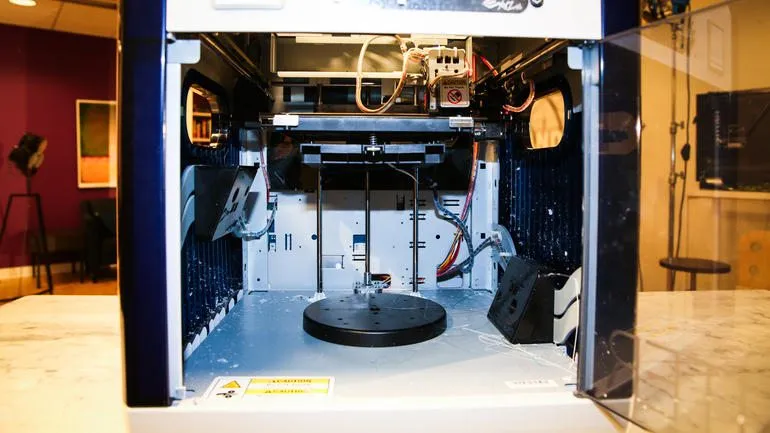
The First Print
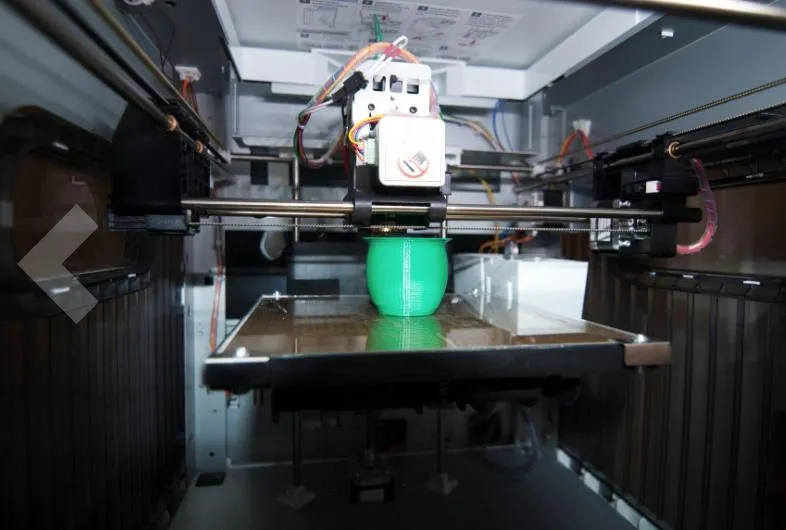
I eased into it by printing the demo part first, a little bird bath, just to get a feel for how the machine handles. The result genuinely surprised me for a first print.
The Da Vinci ships with a spool of free white ABS filament, which is a nice bonus.
After the demo went well, I tried printing one of my own SolidWorks parts saved as an STL. It came out awful. There’s really no sugarcoating it.
I reached out to support again and heard back quickly from the same rep. He pointed me to a free online STL correction tool and suggested running my files through it before printing.
I uploaded my parts, got the corrected files back by email within 5 minutes, and ran the same print again. This time? Perfect.
I use this printer to prototype products for clients, and it’s given me genuine confidence that it can keep up with my workload. The MakerGear M2 is another machine I rely on for professional-grade results, particularly for detailed functional parts. Through plenty of trial and error, I’ve learned that standard STL laser-generated parts come out incredibly accurate but weigh slightly more than ABS prints. That matters for my work since the products I design are weight-sensitive.
Once all my prototype parts were dialed in, I assembled my first test unit.
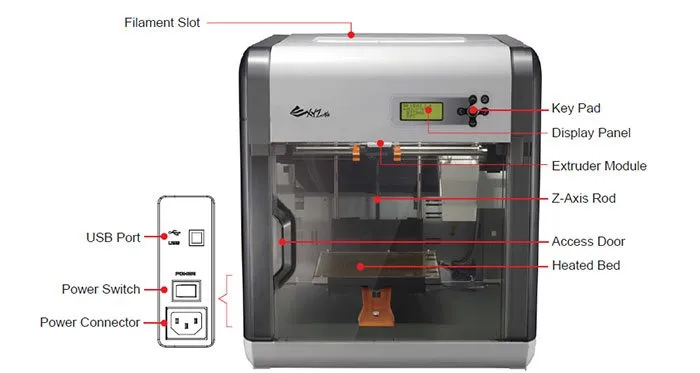
Some Things To Be Aware Of
There are a few things the product listing doesn’t spell out that I really wish I’d known before buying.
- Amazon shows replacement filaments as rolls, but they’re actually cartridges. The one in the box is single-use. You can’t refill it.
- The software can’t draw or design anything. You’ll need a separate program for that. I use SolidWorks, but there are plenty of free alternatives out there.
- There’s no real manual for the included software. It has a surprising number of settings though, so set aside some time to poke around.
- Support is fantastic. Quick responses, reps who actually know what they’re talking about. Can’t praise them enough.
- Grab a set of jewelers files. You’ll want them for cleaning up finished prints and handling fine detail work.
- Your STL files will probably need repairs before printing. NETFABB Cloud Service handles this well.
- Software installation can be finicky on older systems. I run WebRoot and it fought me the whole way. If you hit a wall, try disabling antivirus during the install.
After getting replacement parts from support and stocking up on filament, I felt good about the purchase overall.
The only thing I’d take a star off for is the lack of proper setup and software documentation.
My 7-Day Review
One week in with the XYZ Printing Da Vinci 1.0 3D Printer, and it’s barely been turned off. I’ve printed dozens of prototype parts for my models, and every one of them came out looking great.
I picked up a cartridge of black filament and swapped it in with no issues. The changeover process is fast and painless.
For reference, the printer ships with a 300 gm sample roll of white filament. Replacement cartridges only come in 600 gm units.
Each 600 gm cartridge gives you roughly 240 meters of material to work with.
Software Settings
There are a lot of settings buried in the software, and I’d suggest playing around with different combinations to see what works best for your prints. It would take a while, but honestly, there really should be a manual explaining what each toggle does.
That said, the defaults produce good results the majority of the time. When I need multiple copies of a part, I just click “import” once for each one I want.
Each import places the part at the right distance and position on the print surface automatically. I ran 8 prototypes off a single design file, and all 8 came out clean.
If you’re the type who doesn’t mind learning through some trial and error, this printer rewards that patience.
My 1-Month Review
A month in and this printer is running almost every day without a hitch. I’ve gone through about 1 and 1/2 filament cartridges with no binding or control issues.
The software gets more intuitive the more you use it. Every once in a while I’ll tighten the single screw on the X belt and make a small table adjustment, but it’s a quick fix that takes a couple of minutes at most. The Printrbot Simple Metal levels itself automatically before each print, which takes that kind of manual maintenance off your hands entirely.
Recalibration is mostly just waiting for the automatic measurements to run. I’d really recommend doing a quick calibration check before each print so you don’t get caught off guard by drift.
My 6-Month Review
Six months in with the XYZ Printing Da Vinci 1.0 3D Printer, and I’ve accumulated enough tricks and workarounds that I figured it was time to share what I’ve learned.
Hundreds of hours of print time. Not one failure, not one clog, not one incomplete print or malfunction. Zero.
It just works. The longer I use it, the better I get at positioning parts to avoid warping and adhesion issues. The UP Mini is another enclosed machine that delivers this same kind of long-haul reliability.
You will need to recalibrate the bed roughly every 20 hours of printing. I’m not going to pretend it isn’t a little tedious.
But skipping it means inaccurate prints, so you do it.
If a “999” error code pops up, it’s almost always because the printer head missed the contact plates on the bed. When that happens, use the “jog” command on the x-axis to get things realigned.
Keep a close eye on the printer head and contact pin during your first print after any adjustments.
I’ve only needed to re-tighten the X belt once in six months. Here’s how you’ll know it’s time: if circles start printing out slightly oval-shaped, the x-axis belt needs tightening.
The Da Vinci website has a step-by-step walkthrough for that.
Where you position your parts on the bed matters way more than most people realize for getting a clean print. On open-frame printers like the Robo 3D R1 Plus, positioning becomes even more critical because there’s no enclosure keeping temperatures stable.
Early on, I kept running into stray fibers that would harden on the extruder head. My first instinct was to clean it with a Dremel and a soft wire wheel. It worked, but it wasn’t a great long-term solution.
What actually solved it for me was silicone mold release. After cleaning the head, I spray a bit onto a Q-tip and coat the extruder surface.
Just be careful to keep it off the contact pin. If some does get on there, a nail file and a light brushing takes it right off.
I started doing this back in March, and the fiber buildup problem hasn’t returned since. If you don’t have mold release lying around, cooking oil works as a substitute.
Frequently Asked Questions
The Da Vinci 1.0 uses proprietary ABS filament cartridges. The printer comes with a 300 gm sample roll of white filament, and replacement cartridges come in 600 gm units providing about 240 meters of print.
Customer support is exceptional. Within an hour of my first call, I received a phone call back. The reps are knowledgeable and walked me through troubleshooting until the issue was resolved.
Recalibration is needed about every 20 hours of printing. The process takes several minutes for the automatic measurements. Checking calibration alignment before each print is recommended.
Final Thoughts
A full year in with the XYZ Printing Da Vinci 1.0 3D Printer, and here’s where things stand: hundreds of builds, and the only maintenance has been tightening a few screws.
Setup needed a hand from support to get the head readjusted after shipping, but they handled it quickly. Everything’s been smooth sailing since.
I’ve printed complex functional parts, simple household stuff, client projects. You name it. I’m still running the original software (1.1.29.3) and firmware (1.1.G) because staying on the older version lets me use third-party filaments that XYZ doesn’t offer.
One I’ve really enjoyed is a translucent filament from Zen ToolWorks.
This machine has more than earned back what I paid for it through the work it’s done for my business. I’d recommend it to hobbyists and working professionals alike. At this price point, the value is hard to argue with. The Monoprice Maker Select is the other strong contender at this price point if you’d rather go with an open-frame printer that accepts universal filament.


